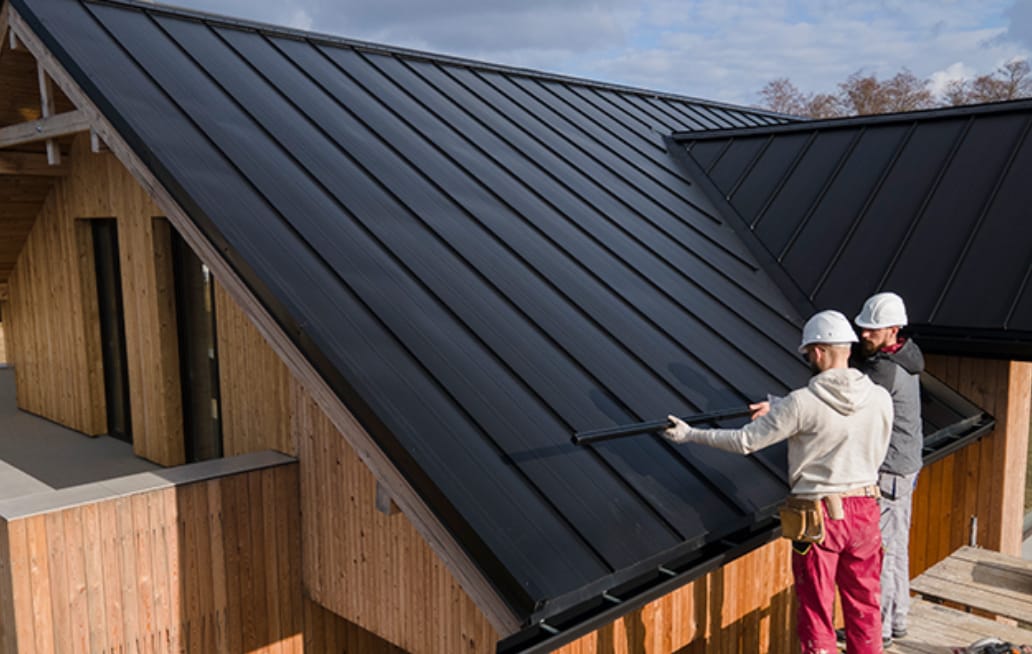
Dealing with metal roofing without skills can be challenging, so many homeowners decide to hire professional workers to get the job done. But if you want to upskill at any cost, learning how to cut metal roofing can be a good start. Here are step-by-step processes to cut metal roofing like a pro.
Measure and Put Mark on the Panels

Measuring is key to a successful metal roof cutting. Taking measurement of the dimensions of the area allows you to make a precise and perfect cut before installation, preventing water from dropping to the ceiling. Not to mention it ensures the aesthetic of your metal roofing.
Using a tape measure, you can decide where to cut the roof and put a mark on it. Mark on the underside of the sheet for better visibility.
Secure the Metal Panels
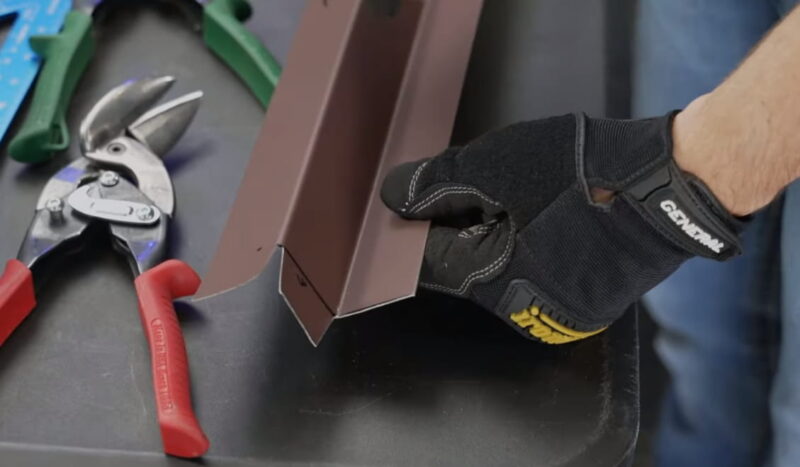
After marking the metal roofing sheet, you’ll need to place it on a flat and stable surface and secure it firmly. This is an important step of how to cut metal roofing because it helps ensure the preciseness of the cut. Securing the sheet prevents it from moving during the process.
When it comes to flat surface, use either sawhorse or workbench. Secure it with clamps or weights so the sheet does not move when you cut it using circular saw or any cutting tool. Adjust the pressure when cutting for even results or when you meet a curve.
Cut Depends on the Mark
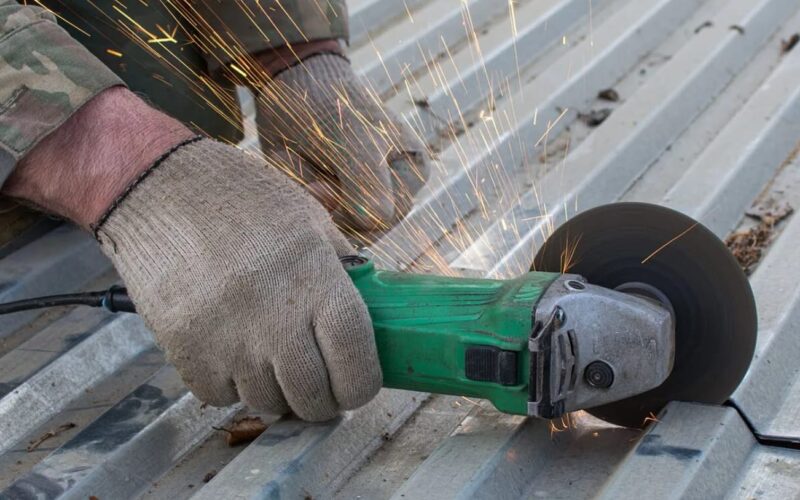
The next step is cutting the sheet. There are several tools you can use to cut the sheet appropriately, including circular saw. How to cut metal roofing with circular saw is much easier and quicker, not to mention it can tackle multiple sheets in one go.
Steady hands are needed to get straight and precise cuts. Cut along the mark carefully with consistent pressure to make sure you stay on track. Feel free to use multiple cutting tools depending on your needs.
Finish the Sharp Edges
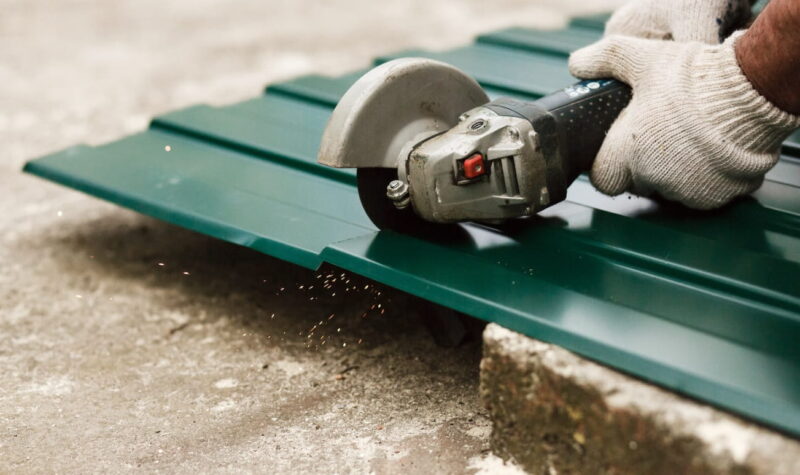
Finishing is an essential stage of how to cut metal roofing. Most cutting tools leave rough and sharp areas at the edge of metal sheets, which can be harmful and visually irritating. That is why finishing is required to achieve a perfect outcome.
Look over the edge for jagged or sharp parts. Smooth the rough edges using a sandpaper or metal file until it is safe enough to handle during installation. Circular saws give neater results than manual metal shears but still it is important to inspect the edges before installing the metal roofing sheets.
Metal Roofing Is Ready to Install
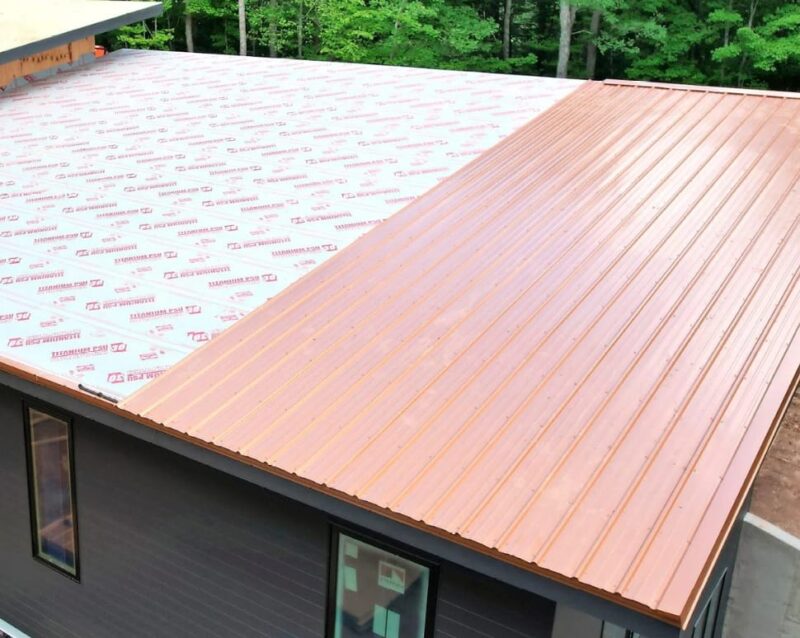
After finishing sharp and rough edges, your metal roof is ready to install. Check if you have done the cutting precisely or if it requires recutting. A good indicator of perfect cutting is your metal roofing sheets can sit neatly on the roof without leaking.
Cutting metal roofing is not for everyone because it requires special skills and tools. But if you want to know how to cut metal roofing properly, the steps above can help you meet the goals. Ensure your safety by putting on dust mask and other safety gear.
