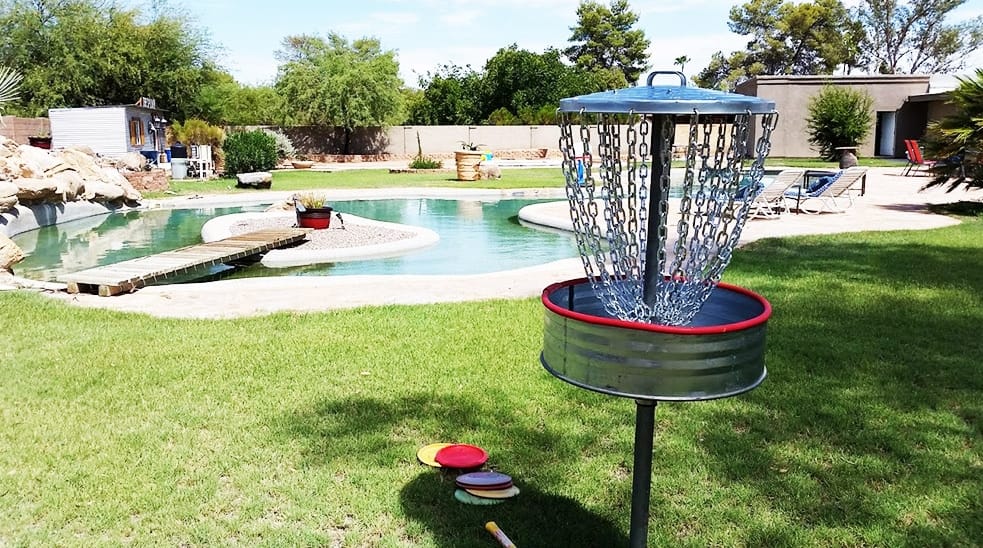
Playing disc golf is very fun. And like any other sport, if you want to get better, you need to practice and practice. But what if the local course is too far away from your home?
No problem. You can practice at home. Of course, for that, you will need a disc golf basket. Below, we tell you how to make a DIY disc golf basket.
Items You Will Need
To make a homemade disc golf basket, you will need the following items.
- Plywood
- Steel barrels
- Steel posts
- Chain coil
- 2 rubber air hoses (15 3/8-inch)
- 2 closet flanges
- 2 flange extension rings
- 2 PVC coupling
- 4 hose clamps
- 6 corner brackets (either 4-inch or 6-inch)
- 8 sets of 10-24 bolt (2-inch)
- 12 T-nuts
- 12 nylon locking nuts
- 12 zinc-plated eye bolts
- 18 drywall screws and washers (1-inch)
- 36 zinc-plated quick links (3/16-inch)
- 36 self-tapping metal screws
The Steps to Make a DIY Disc Golf Basket
Step 1
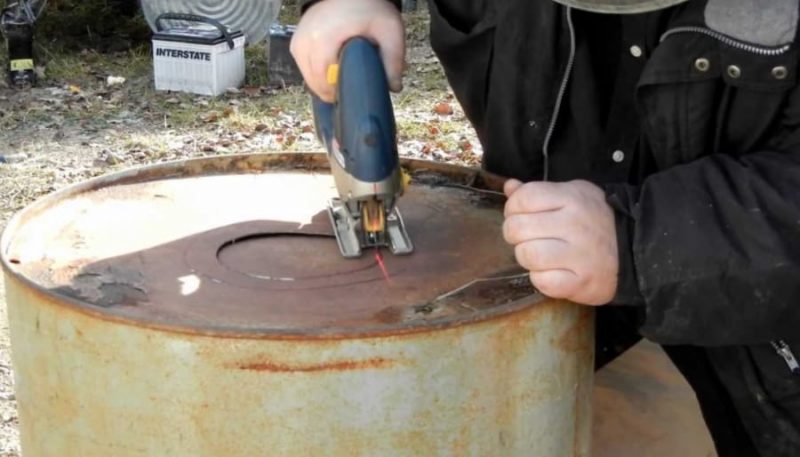
First, cut off the top and bottom of the steel barrels using a circular saw. Cut them off about eight inches deep. Once the parts are cut, use a metal file to smooth their edges.
Step 2

Next is reinforcing the disc golf basket top. To reinforce the top, drill six holes in the portion of the steel barrel.
Add the T-nuts and screw the eye bolts in. Use the washers and nylon locking nuts to secure the parts.
Step 3
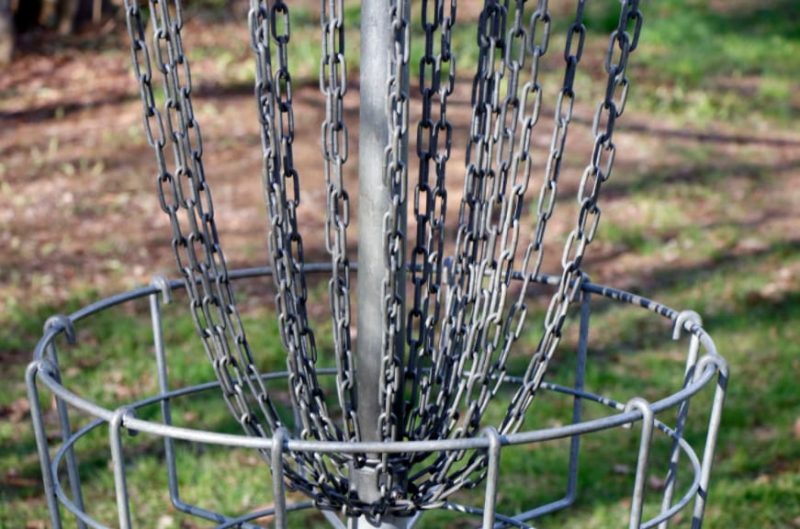
Now, attach the chains. The chains are divided into two: inner and outer. To attach the outer chains, drill holes around the portion of the steel barrel.
The holes should be five inches apart. Then, attach the quick links and leave them open.
Step 4

The next step is to secure the basket to its post. For this, use the PVC coupling. Slide the coupling down, about 4 inches from where the base of the basket should be located.
Once the coupling is in place, slide the closet flange down to it. Screw the closet flange and screw the base of the basket to it.
Step 5
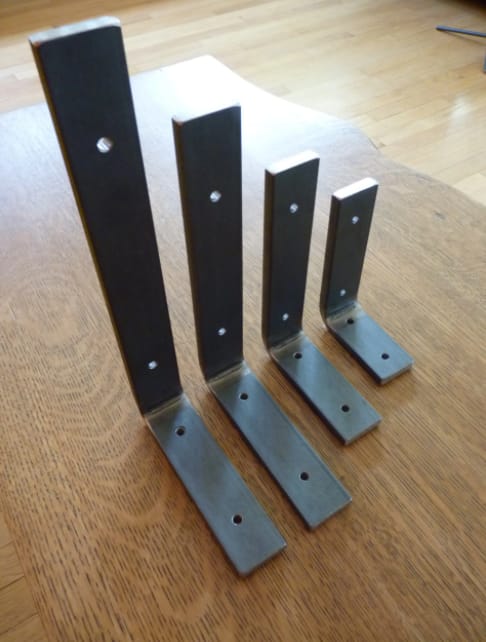
Grab the two L-brackets. Then, attach the brackets to the top of the steel pole. Take the portion of the steel barrel and screw it onto the brackets.
Step 6
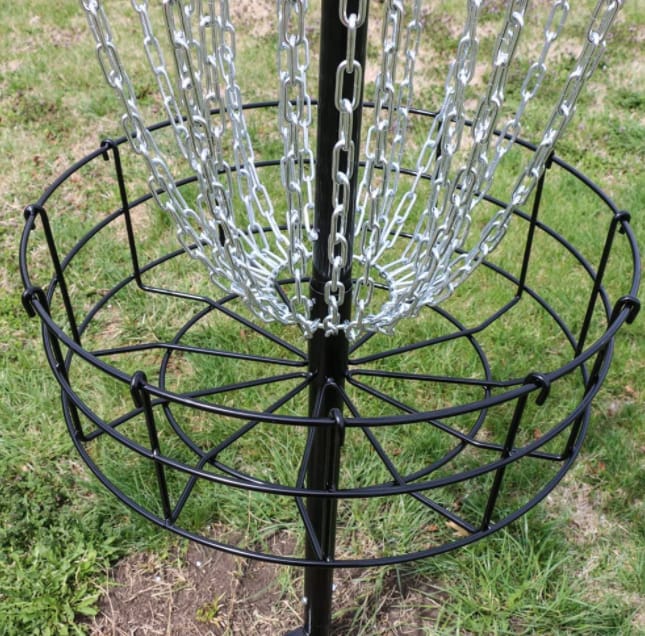
Next, cut the chains. Once cut, attach the chains to the top of the portion of the steel barrel.
To get the chains attached, use the inner bolts and outer clips. As for the bottom of the chains, get the hose clamp and attach the chains to it.
[su_note note_color=”#feefd9″]Read also: 7 DVD Storage Ideas with Unique Appeal[/su_note]
Step 7

Once the DIY disc golf basket has been assembled, install the basket and the pole into the ground.
You can put the pole into a table umbrella base if you want it to be portable. If you want it to be in a place permanently, dig a hole, pour cement into it, and place the pole.
And that’s how to make a DIY disc golf basket. Do keep in mind that the above are general instructions. If you want, you can modify it according to your preference to make your practice more challenging or easier. Have fun!
