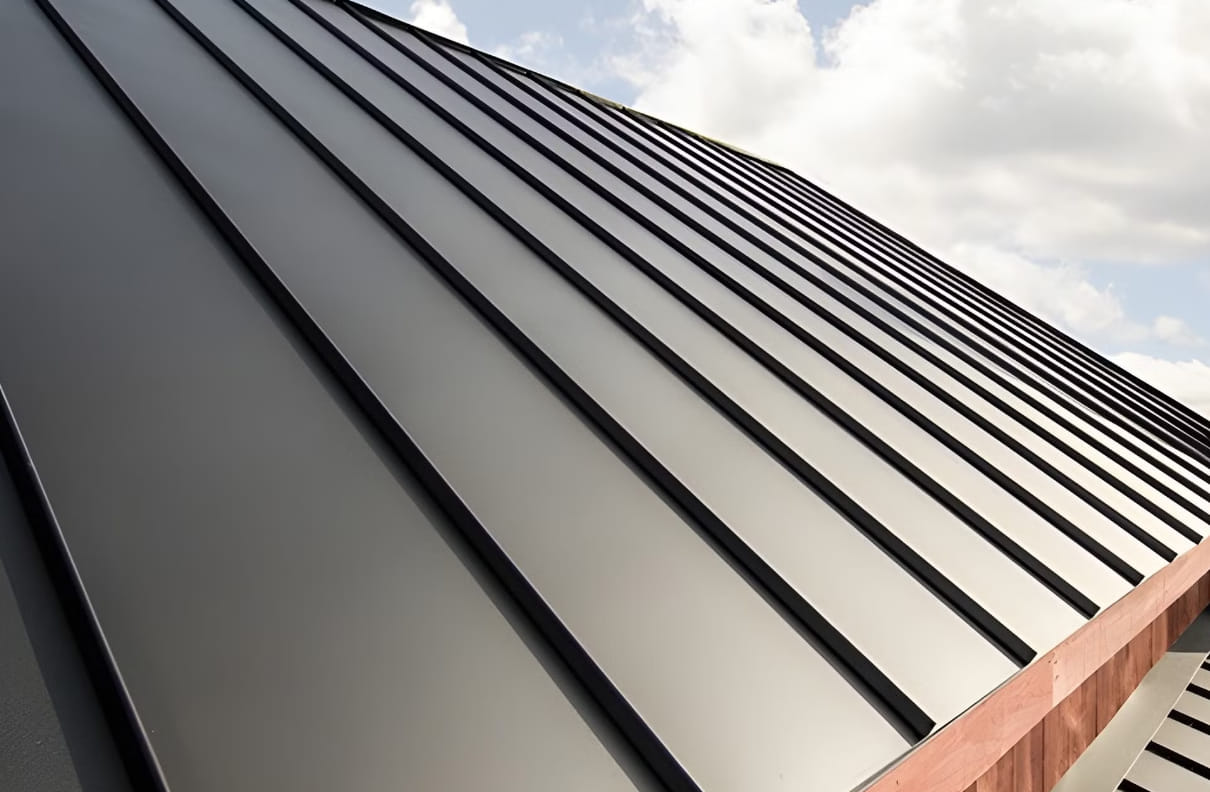
6 Important Steps of Standing Seam Metal Roof Installation
Standing seam metal roofs are excellent in many ways. Not only does this roofing solution offer durability and aesthetics, but also it boasts longevity for budget efficiency. If you are a DIY enthusiast or want to start career as a pro roofer, get to know more about standing seam metal roof installation.
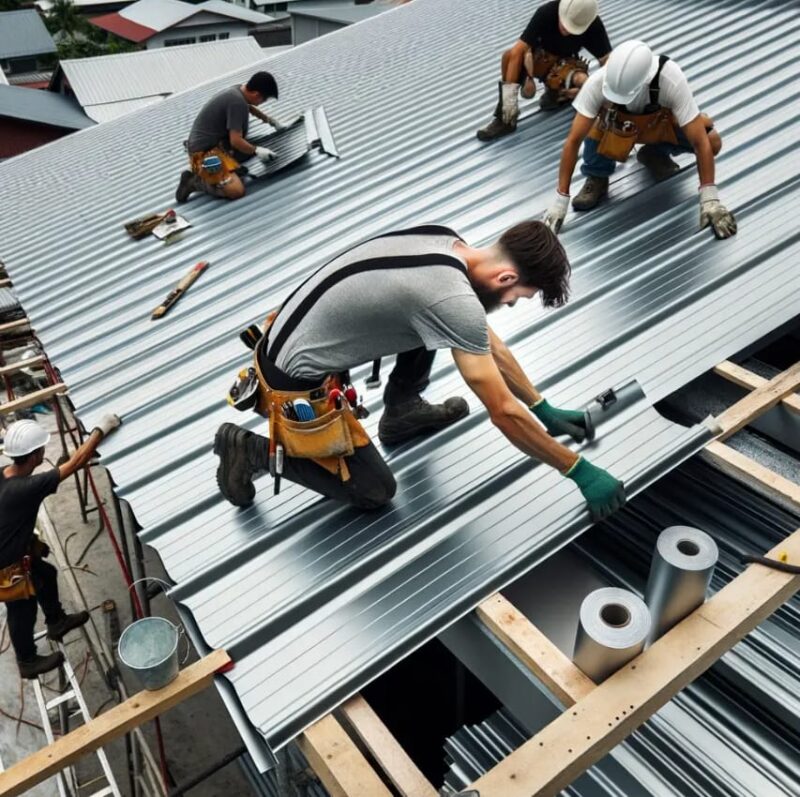
The first thing you’ll need to do a roofing project is preparation. Ensure your equipment and tools are around, including safety gear and the roof. Safety gear like footwear, gloves, and protective eyewear are essential to keep you safe while working.
At this stage, it is also important to evaluate the condition of your roof before installation. If you notice any damage, try to fix it so the standing seam metal roof can be well-installed.
Underlayment is essential when it comes to standing seam metal roof installation. Applying weather-resistant underlayment helps protect your roofing from moisture and ceiling. You can choose synthetic underlayment that offers safety and durability than felt.
The next step of DIY standing seam metal roof installation is measuring the panels. Calculate the dimensions of your roof and decide how many standing seam panels that you need to buy. Accurate measurements are crucial before installing this metal roofing.
After measuring, you can order the panels from a trusted supplier. You may need to add some extra panels in case of measurement errors.
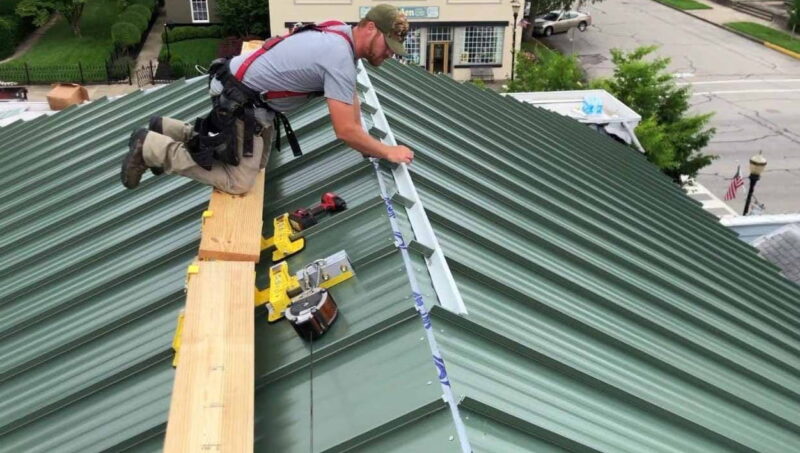
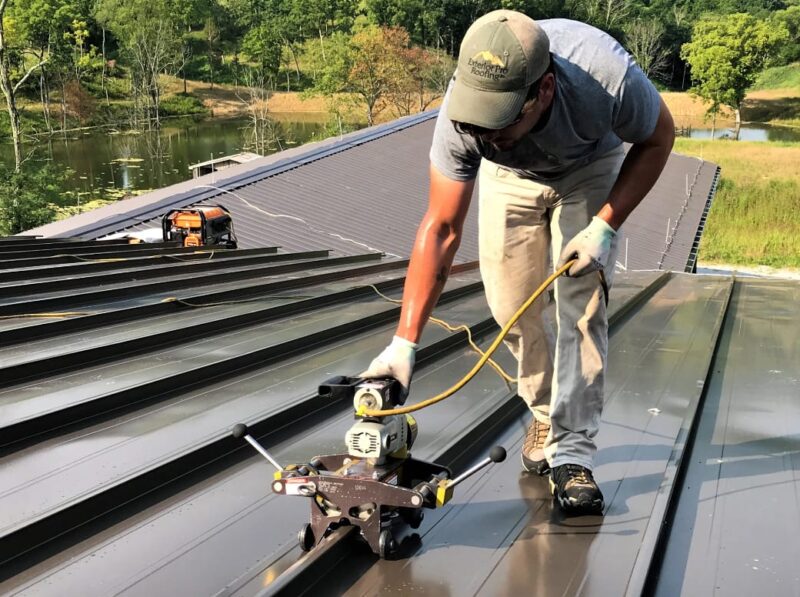
Now you can start installing the standing seam metal roof. Make the eave your starting point to do the project. Be careful when positioning the first panel to make sure it aligns the roof edge perfectly. Once the first panel is installed, secure the panels using concealed fastener.
Interlock the seams between the first and second panel for extra security. After that, continue to install the rest standing seam roofing panels.
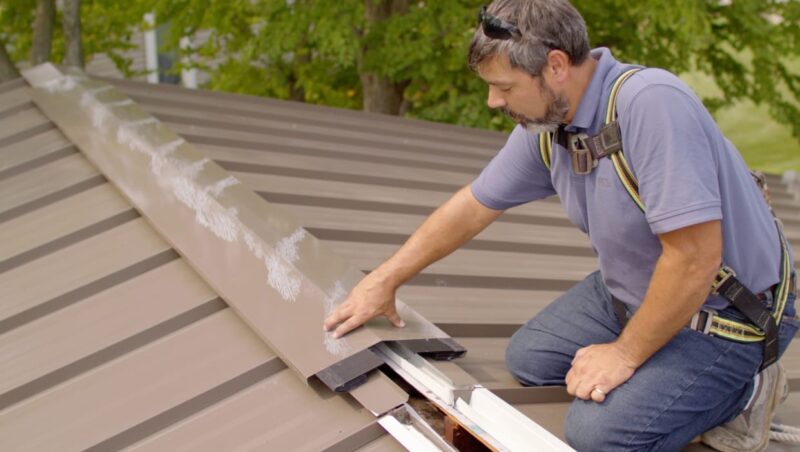
The next step of standing seam metal roof installation is flashing and trimming. Roof flashing helps direct water away from specific area of the roof to prevent leaking. There are several areas that need flashing roof, such as chimneys, valleys, and roof transition.
You will also need to add edging and trim to enhance curb appeal. These details offer a perfect look to the standing seam metal roofing.
Finishing is the last stage of your metal roof installation. Inspect the roof for gaps and seal them to ensure total weather resistance. Water can penetrate the smallest gaps so you do not have options than applying high quality sealant.
After installing sealing, you can conduct an inspection to ensure the panels are secure and perfectly sealed. Evaluate if there is a visible gap that may cause water leaking.
Overall, standing seam metal roof installation is not a complex project but it needs extra effort and attention to achieve a precise result. If you are a DIY enthusiast who want to upskill, following these steps can help you get the task done like a professional.