Explore the differences between glue-down, floating, and nail-down wooden flooring installations, and discover which method suits your home best.
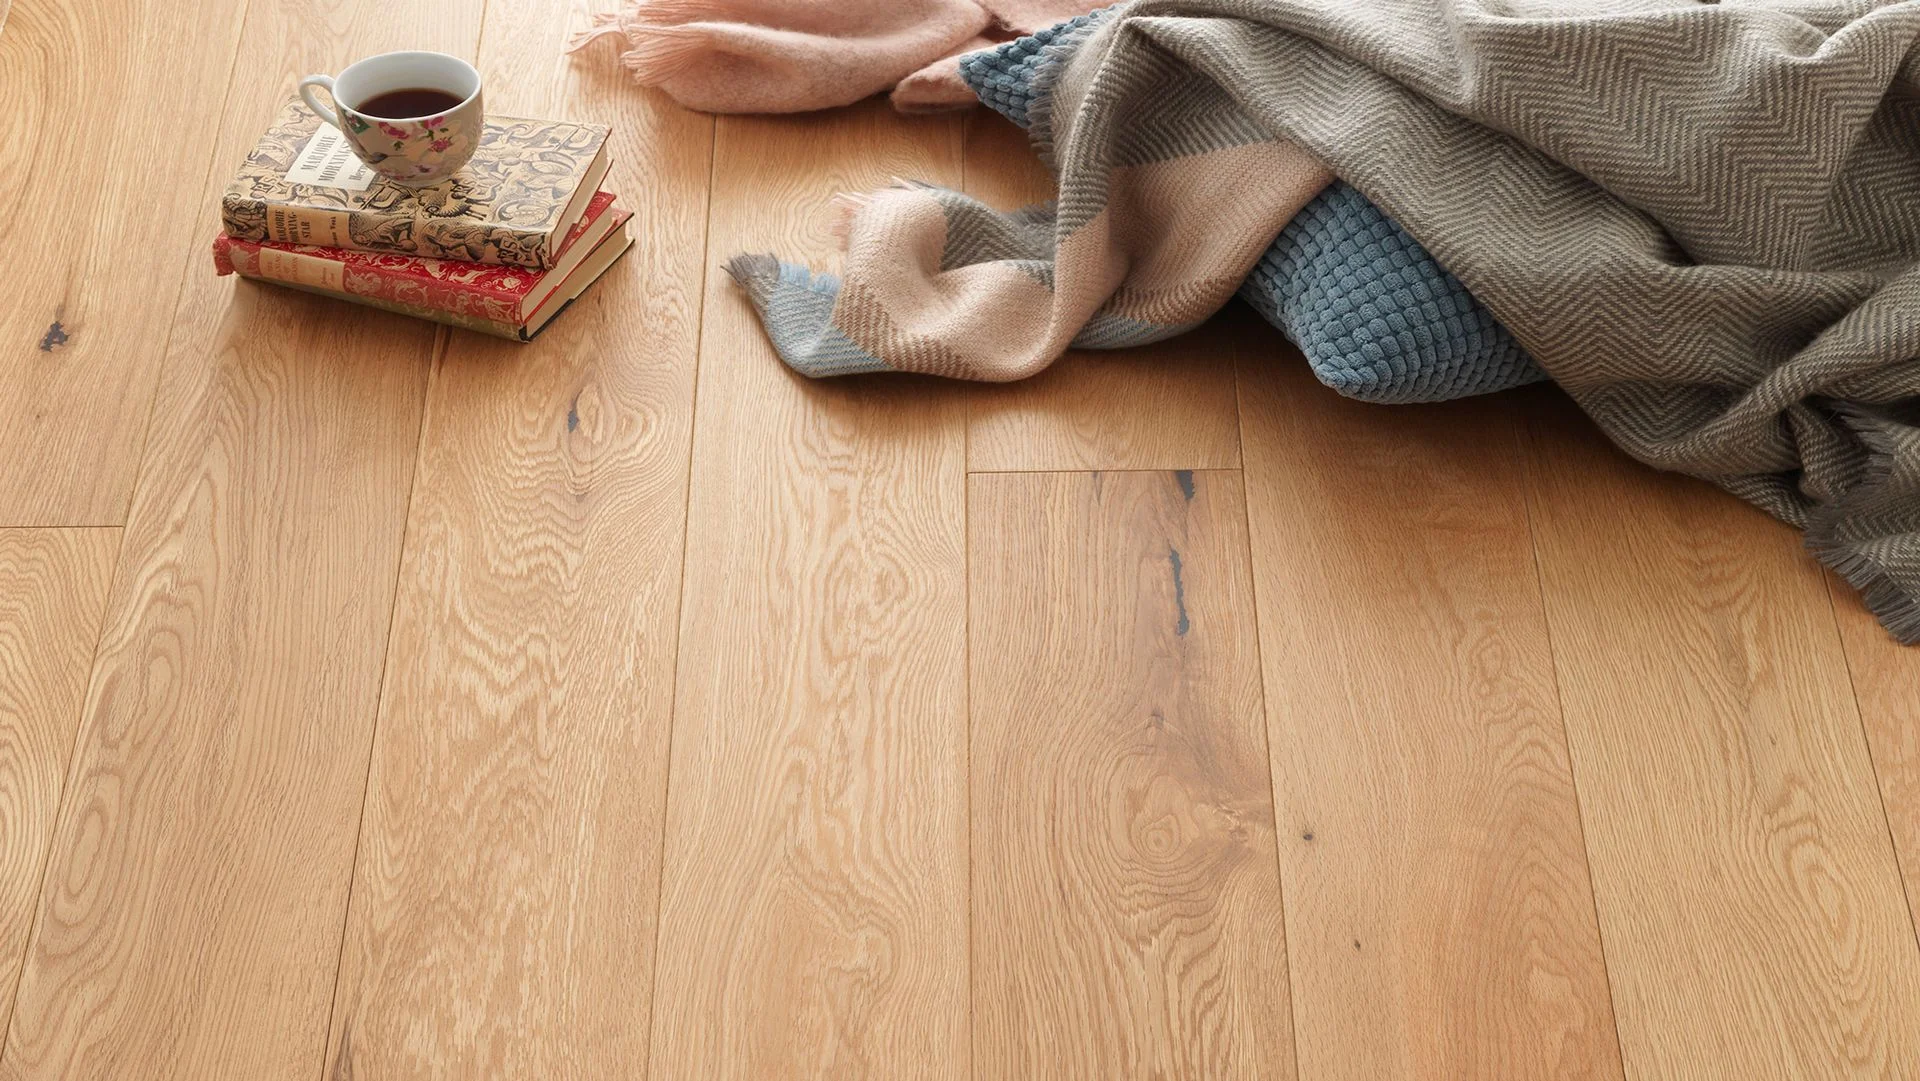
The selection of wooden flooring can be overwhelming, as it involves not only choosing the material but also deciding on the installation method. Among the prevalent options are glue-down, floating, and nail-down techniques, each offering distinct characteristics and application guidelines.
Understanding Installation Methods
When evaluating different types of flooring, it's crucial to consider how each is installed. Some installation methods lend themselves well to DIY projects, while others are better suited for professional handling. Adam Robertson, Managing Director of Urbane Living, emphasizes that "the right approach hinges on various factors including subfloor condition, property type, the flooring material, and whether underfloor heating is involved."
Ian Tomlinson, Managing Director of Chaunceys Timber Flooring, echoes this sentiment, stressing that there isn’t a universal solution for all scenarios. "It's essential to assess the needs of your space; generally, we recommend fully bonding the flooring to a suitable subfloor to achieve the best results," he says.
Floating Floors: Popular for DIY Projects
Floating floors have gained traction among homeowners, especially those looking to install engineered flooring themselves. Rather than being fixed directly to the subfloor, a floating floor rests on an underlay, allowing for minor movement.
Adam Robertson explains, "Using a vapor barrier where necessary is vital, and selecting the right underlay based on room conditions is key. An expansion gap around the perimeter is also crucial, as wood fluctuates with temperature and humidity." Ian Tomlinson notes that while floating floors are often cost-effective and easy for DIYers, they might feel a bit bouncy underfoot. Additionally, he advises against installing floating boards wider than 220mm and highlights that floating options over underfloor heating require a low-tog underlay to mitigate heat transfer inefficiencies.
Pros:
- Cost-effective
- Easy for DIY installation
- Good acoustic properties
- Readily available
Cons:
- Can have a bouncy feel underfoot
- Less efficient heat transfer when used with underfloor heating
- Not ideal for wider plank flooring
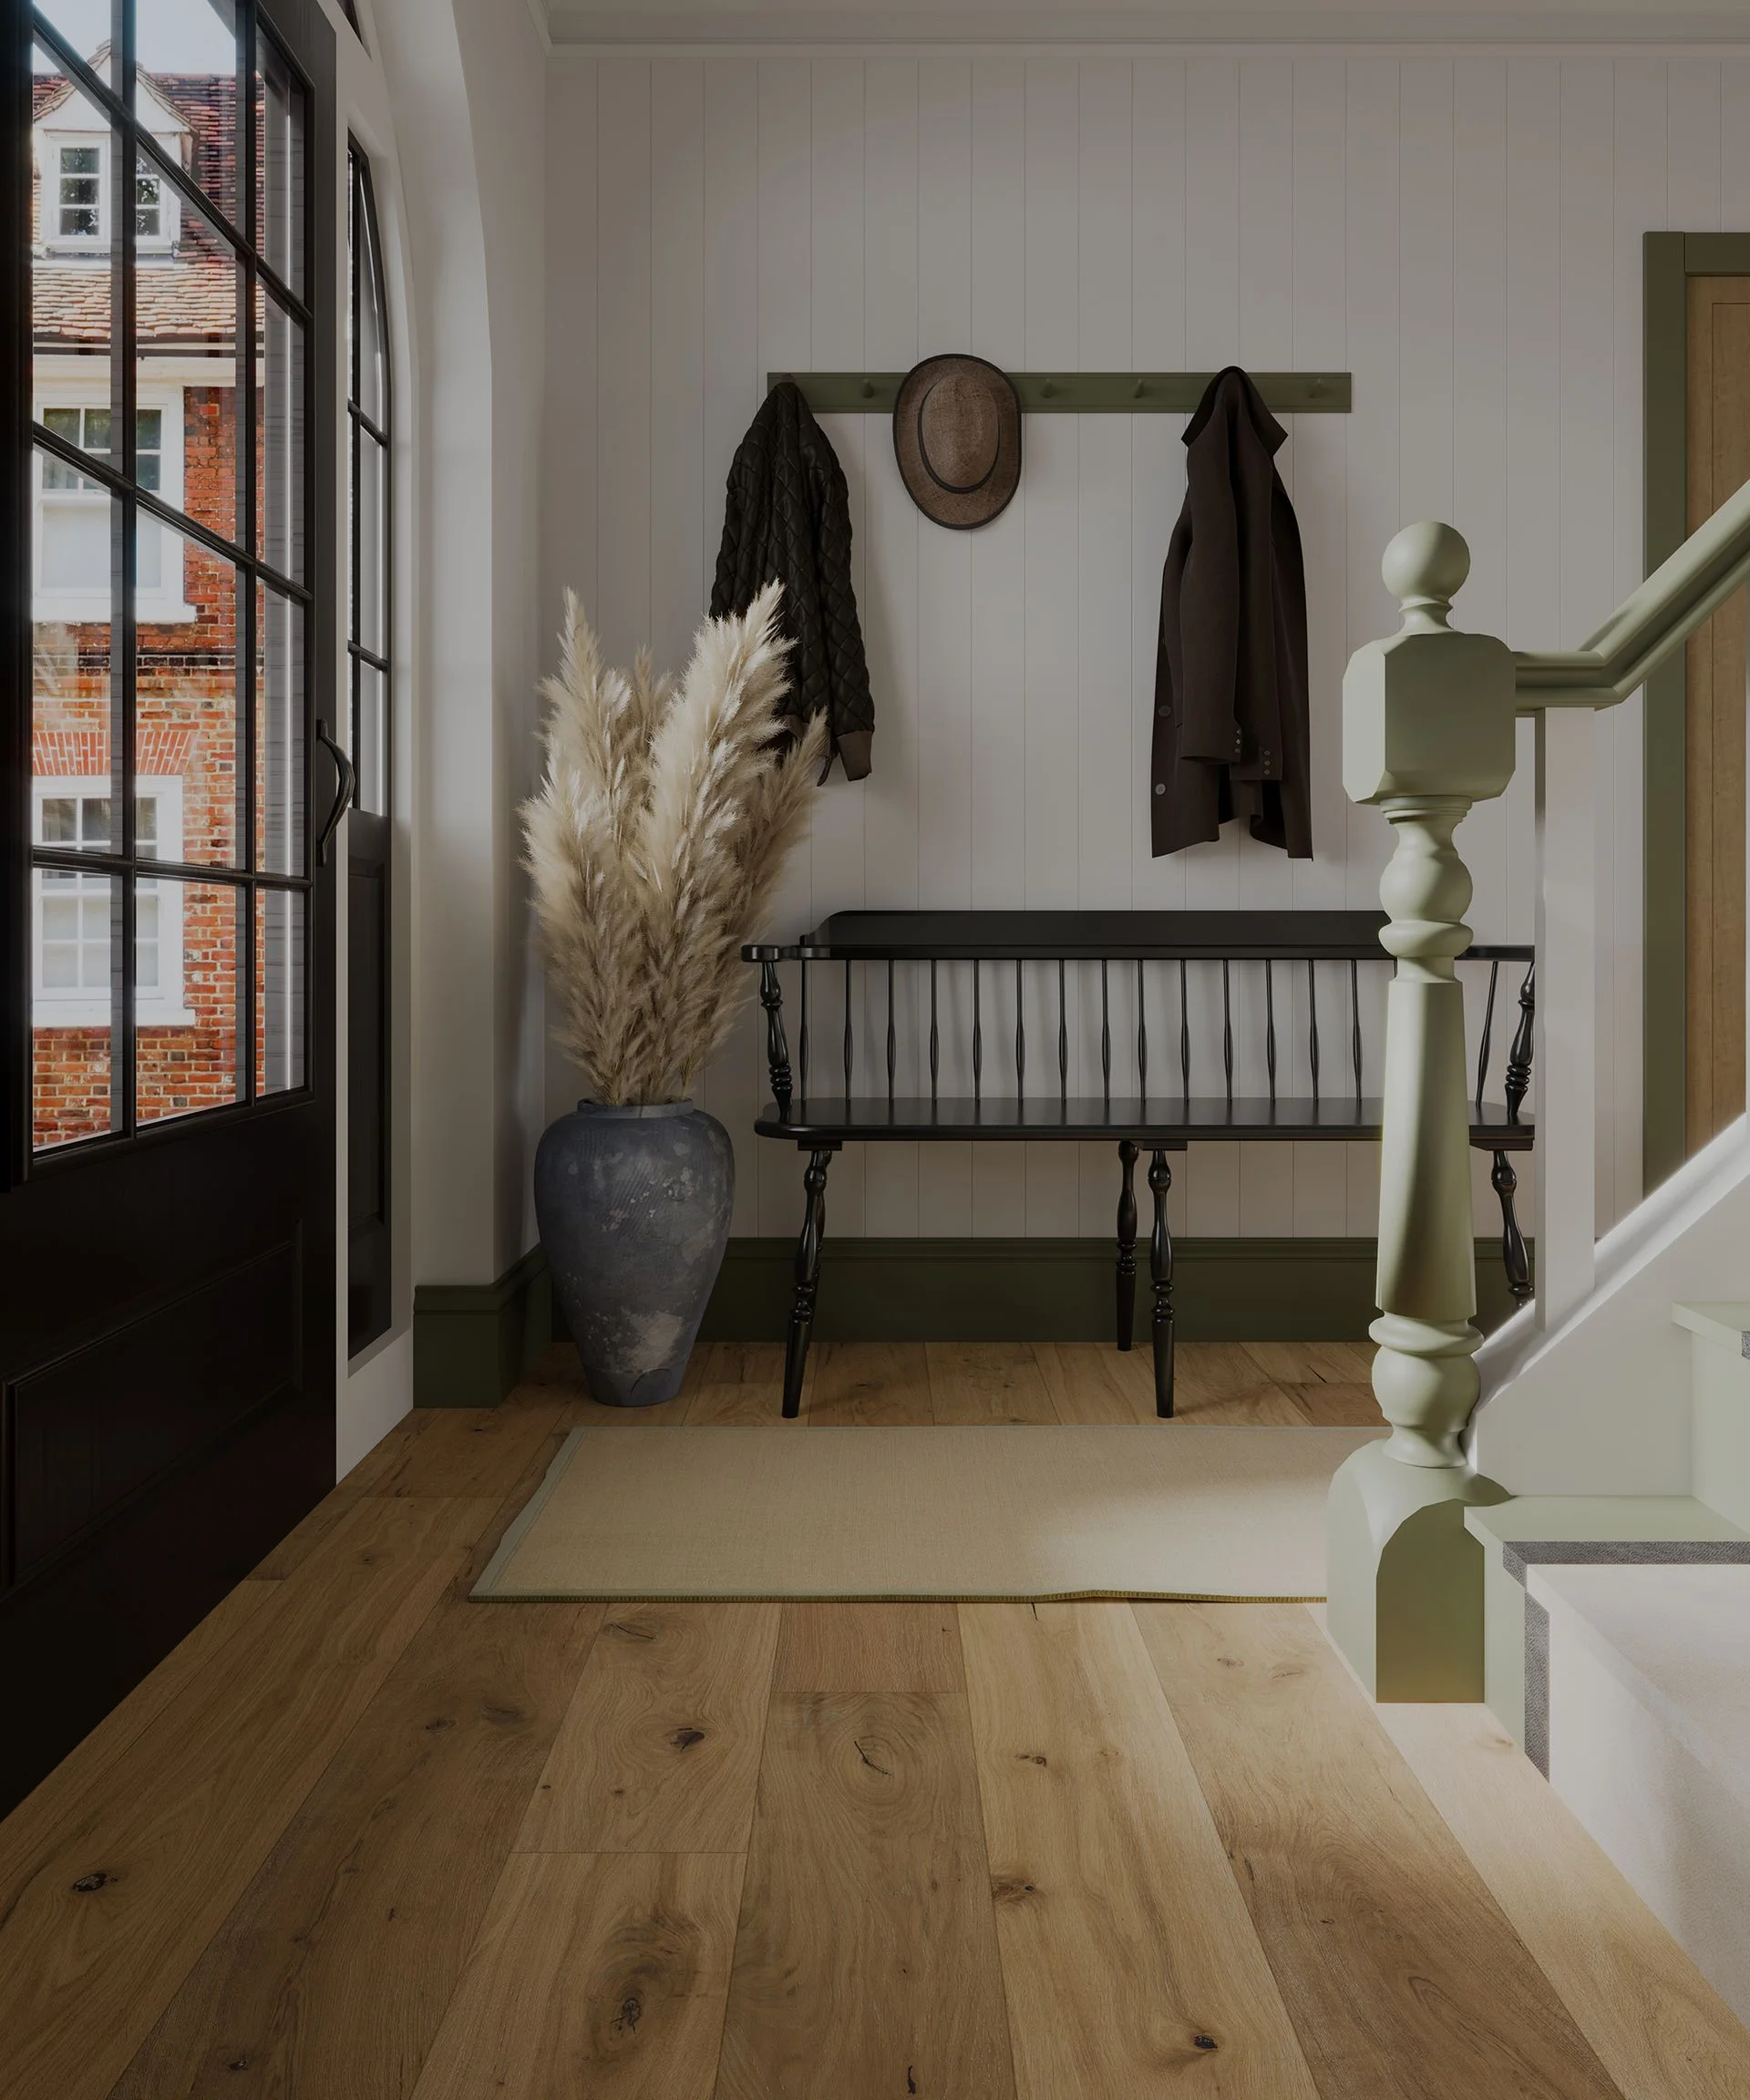
Glue-Down Floors: The Professional Choice
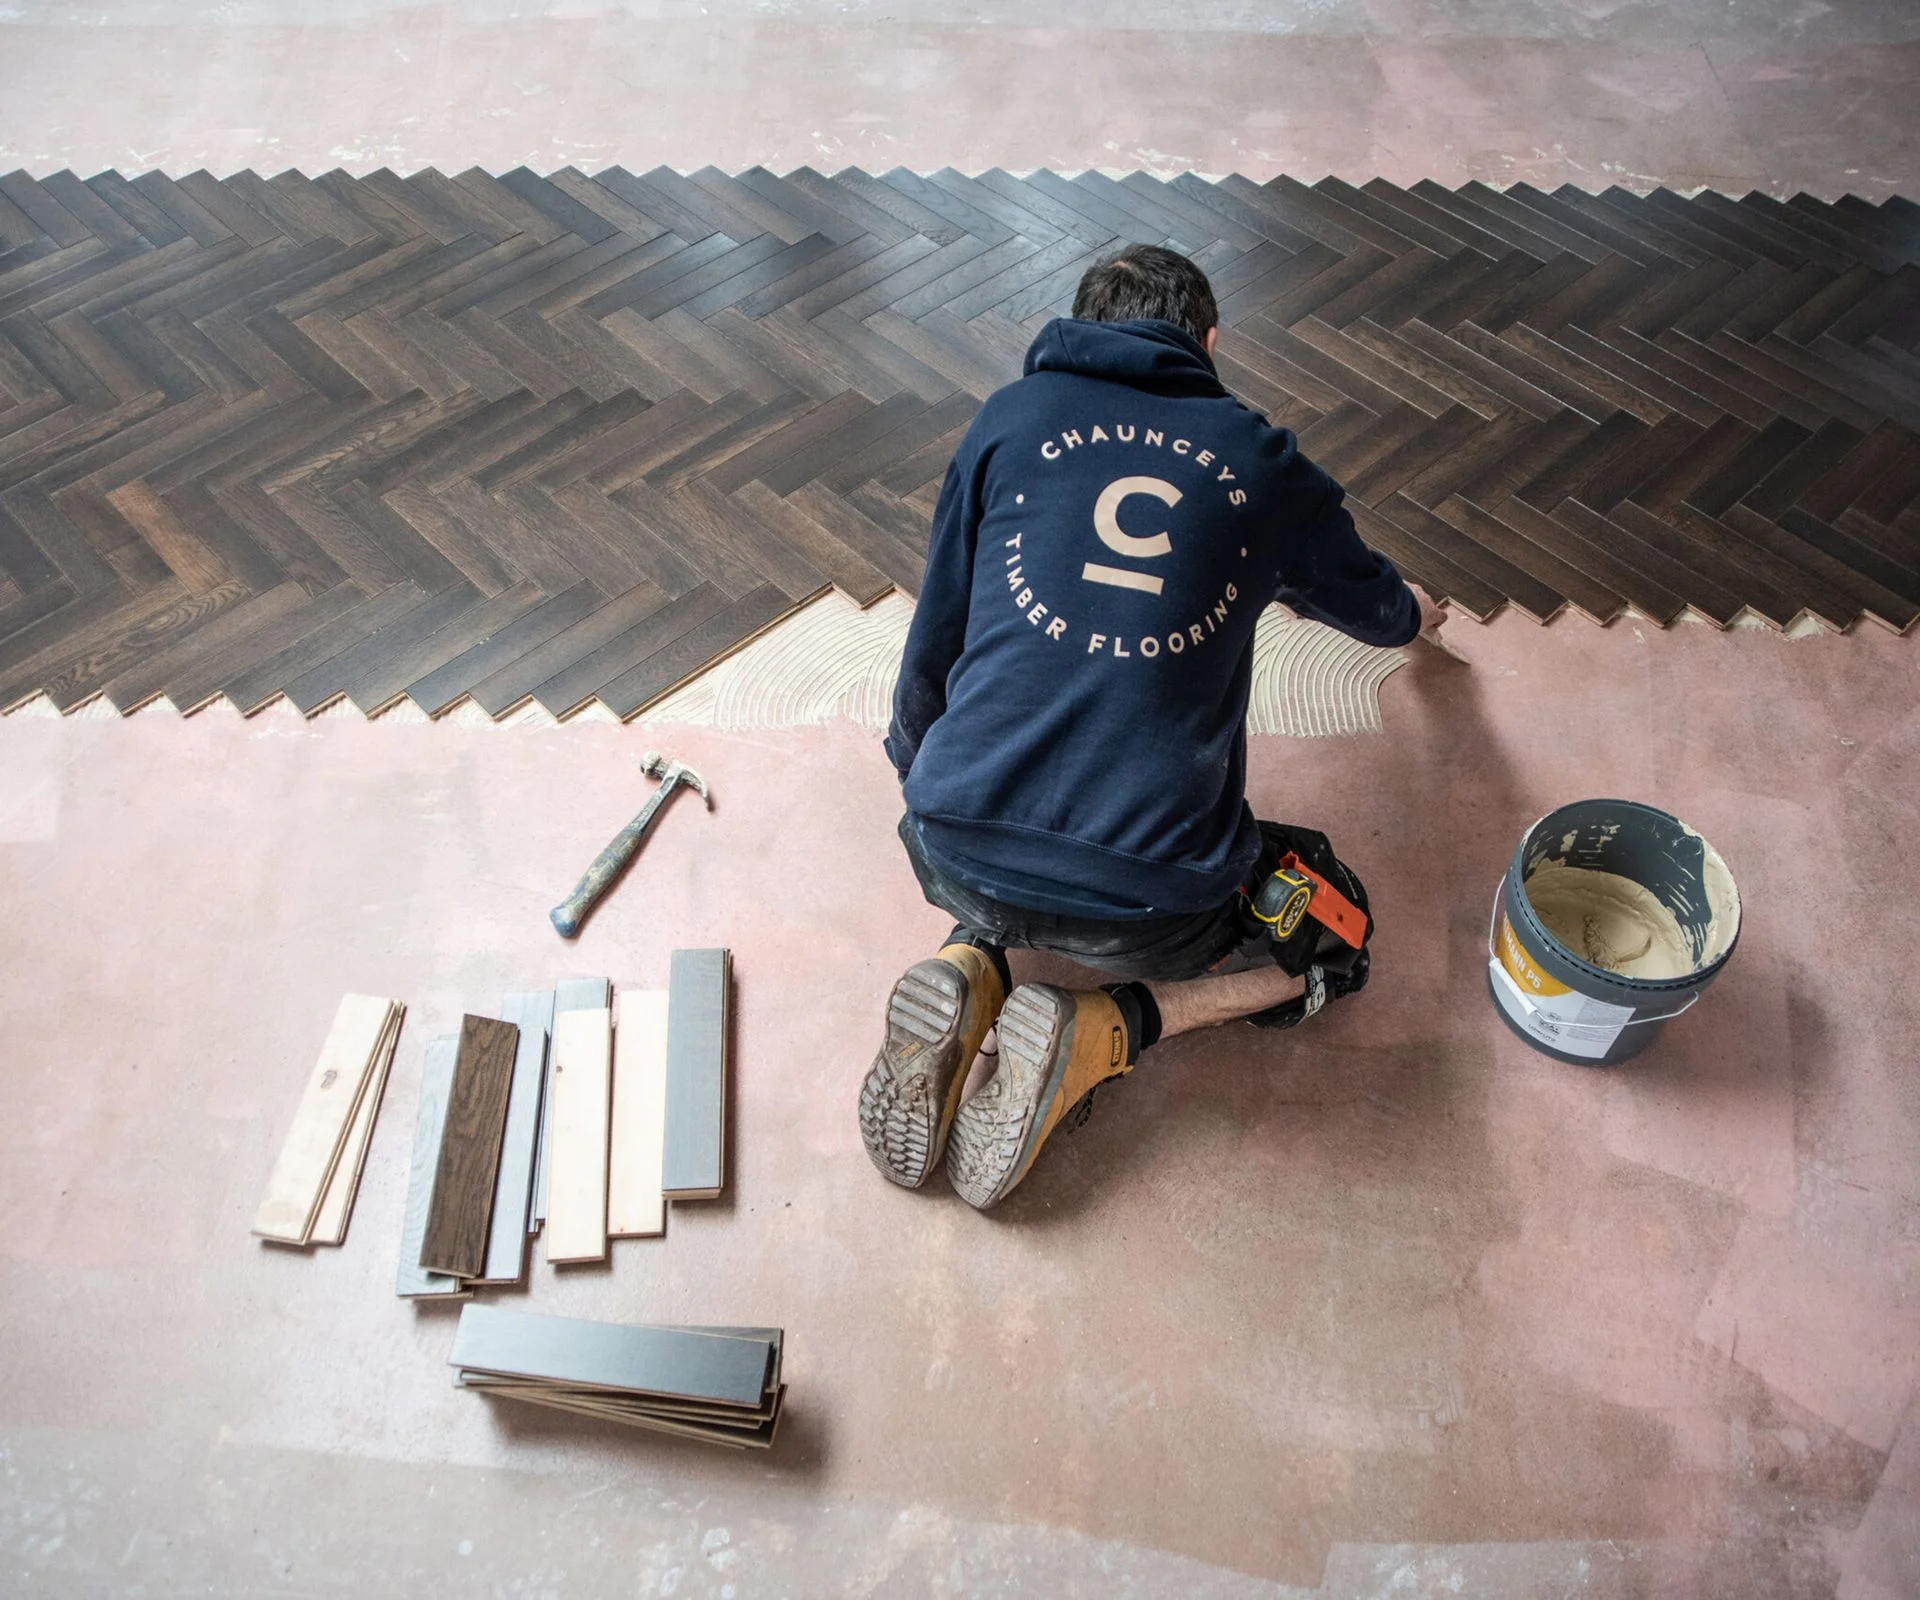
Glue-down, or bonded, flooring is often preferred by professionals for its stability. According to Ian Tomlinson, this method employs a flexible adhesive to secure boards directly to the subfloor, resulting in minimal movement.
"This technique is particularly effective over concrete surfaces," Ian explains, adding, "It's our go-to choice when looking for a high-end finish and a solid feel underfoot." Adam Robertson concurs, noting that proper subfloor preparation is vital for achieving lasting results.
However, attention should be paid when installing glue-down floors over underfloor heating. Adam advises maintaining proper adhesive temperatures and keeping the floor temperature below 27°C to prevent damage.
Pros:
- Feels solid and stable underfoot
- Excellent heat transfer with underfloor heating systems
Cons:
- Requires meticulous subfloor preparation
- Risk of damage if floor temperature exceeds limits
- More complex installation process compared to floating options
Nail-Down Flooring: Embracing Tradition
Nail-down flooring, also referred to as "secret screw" installation, is a classic method where nails are driven diagonally through the boards into the underlying structure. This approach is often associated with timbers and is best suited for solid wood floors.
Adam Robertson explains, "While traditional, nail-down installation may be less common today, it excels in certain applications, especially in older homes where solid oak is suitable. However, potential squeaks can occur, and it's essential to ensure compatibility between the floor and subfloor." Ian Tomlinson points out that adequate load-bearing thickness is necessary, particularly for engineered boards requiring a stable subfloor.
Pros:
- Ideal for solid wood installations
- Provides a substantial underfoot feel
- Perfect for timber subfloors
Cons:
- Time-consuming to install
- Not every subfloor type is compatible
- May lead to sound issues if not done correctly

Preparing for Installation
The success of any wooden flooring project hinges on proper preparation. According to Adam Robertson, ensuring the subfloor is clean, dry, level, and secure is paramount before installation commences. He advises allowing sufficient time for screed to dry, which can vary with the seasons, and emphasizes the importance of acclimatizing the wood to the room's environment prior to installation. "Every detail matters at this stage," he adds.
To achieve a long-lasting floor, Ian Tomlinson concurs that careful evaluation of moisture levels in both the subfloor and the flooring is essential. Proper preparation can significantly enhance the performance and lifespan of the finished floor.
Before diving into installation, prospective DIYers should familiarize themselves with common pitfalls and missteps frequently encountered during flooring projects. Understanding these can help ensure a smoother installation process and a more satisfactory result.


Discussion
Sign in to join the discussion.