Enhance your garden by properly dividing Shasta daisies this fall to promote growth and create new plants for a vibrant bloom next year.
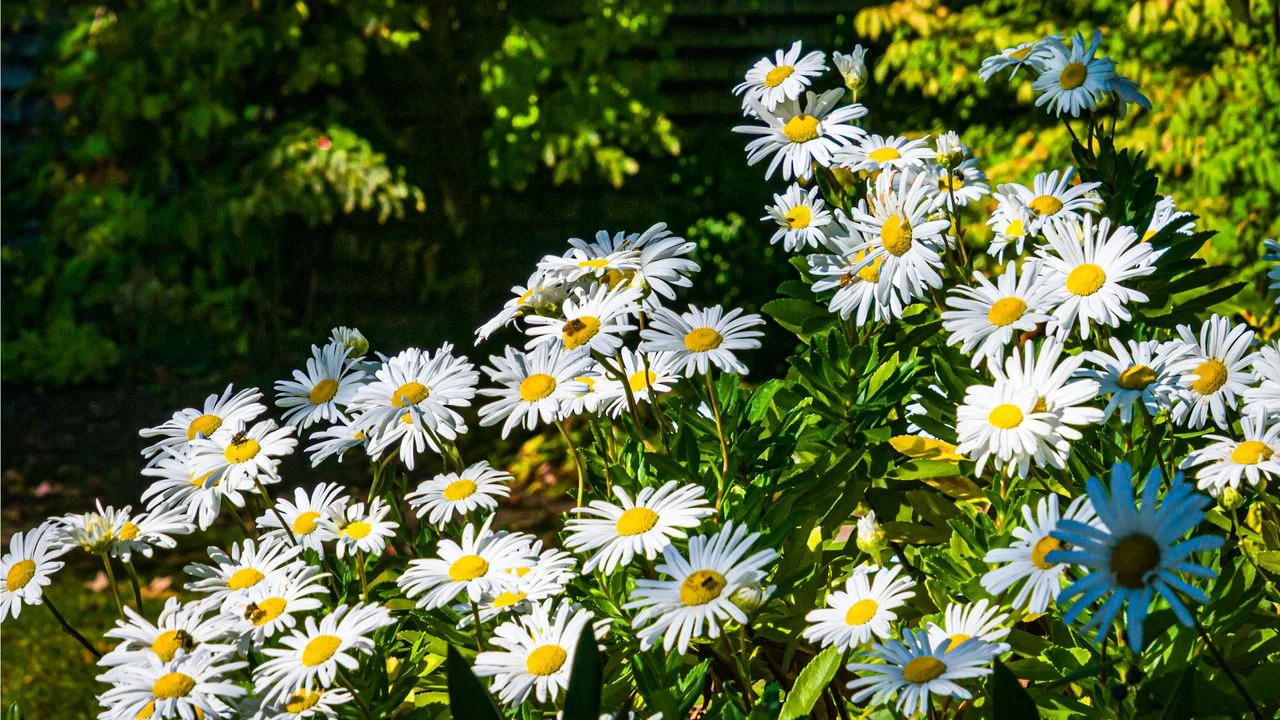
Shasta daisies are beloved for their eye-catching white petals and bushy growth, making them a popular choice for cottage gardens. If you're looking to expand your flower beds with more of these perennial favorites, fall is the ideal time for division.
Dividing Shasta daisies can be done in spring or fall, but fall is particularly effective as long as it's done before the ground freezes. Using a garden knife, such as a hori hori knife, you can propagate multiple clumps to replant, ensuring a thriving display of blooms come summer. It's advisable to repeat this division every 2-3 years to prevent overcrowding and to keep the plants blooming vigorously.
However, timing and technique are essential; improper handling can damage the roots and jeopardize the health of the original plant. Here's a guide on how to successfully divide your Shasta daisies.
Timing the Division Right
Timing is pivotal when dividing Shasta daisies. As Lindsey Chastain, a homesteader, explains, "Overcrowding can lead to sparse growth, which stifles blooming." It's best to wait until early fall, after the flowers have finished blooming. Before you divide, cut back the daisies to about six inches, ensuring you use clean, sharp pruning tools.
If you're in a cooler region, aim to divide the plants at least 4-6 weeks prior to the ground freezing, giving the roots ample time to establish in their new spots.
Carefully Lifting the Plant
To begin the division process, you'll need to extract the plants from the ground. Start by watering the daisies the day before to moisten the soil. Then, carefully dig around the clump using a garden fork or spade, avoiding damage to the root crown. Once free, lift the entire clump to ensure you bring as much of the root system as possible.
Separating the Clump
With the plant out of the ground, it's time to separate the clump. Gently brush away excess soil to expose the different crowns. Smaller clumps can usually be pulled apart by hand. For tougher separations, a clean, sharp spade or garden knife can be used, but it’s best to reserve tools for only the most stubborn sections.
When separating, ensure that each new section has several healthy shoots along with a robust root system. Remove any weak or diseased parts to maintain the health of your replanted daisies.
Replanting Your Daisies
After dividing, each section can be replanted. Place them back into the soil at the same depth they were originally growing. It's essential to space the new plants at least 1-2 feet apart to allow for ample growth. Using a trowel with a depth marker can help ensure uniform planting depth of about 5-8 inches.
Once planted, water the sections thoroughly and consider adding a light layer of mulch (without covering the crown) to retain moisture and protect young roots from frost.
Watering Wisely
Establishing your newly divided daisies requires careful watering, particularly in the cooler months of fall and spring when the risk of waterlogging increases. "It's vital to keep the divisions evenly watered; however, overwatering can be detrimental," warns Lindsey. Touch the soil before watering to assess moisture levels. Consider using a soil moisture meter to gauge when to water effectively.
As the cooler weather approaches, you’ll want to monitor both the moisture levels and the temperature, only watering during dry spells.
If you're set to fill your garden with Shasta daisies, now's your chance to not only propagate but also to explore new varieties. Consider incorporating the lively 'Banana Cream II' Shasta daisy for added interest in your collection.
Whether you're looking for inspiration to elevate your garden or to keep up with the latest tips in outdoor gardening, consider signing up for our newsletter to receive updates and expert advice directly.

Discussion
Sign in to join the discussion.