Flushing wipes, letting hair clog drains and ignoring worn seals can lead to expensive bathroom repairs. Learn the warning signs and simple ways to prevent damage.
The expensive bathroom failures often start with habits that seem too small to matter: a wipe flushed away, hair left in a drain, or a split line of silicone ignored for another month. That’s the point experts make here. A blockage or leak can turn a minor maintenance job into damage to floors, ceilings and fittings, with bills rising from tens or hundreds of pounds to well over £1,000.
If you’re trying to avoid an emergency callout, start with what goes down the loo and shower drain, then keep an eye on the seals and the products you use to clean. We asked plumbing experts which everyday habits cause trouble in a bathroom design that might otherwise look perfectly sound.
1. Flushing things the toilet can’t handle
Wet wipes are still a common culprit, says Matthew Powell, founder of WarmZilla. They don’t break down in water like toilet paper. Cotton buds and sanitary products cause similar problems: they can catch on rough pipework, collect grease and other debris, and eventually block the drain.
Slow drainage, gurgling from the toilet or nearby plugholes, and water rising unusually high when you flush can all point to a blockage. Neil Lampton, plumbing expert at property maintenance company Aspect, says a plunger may help if the blockage is in the toilet trap. If it’s farther along the pipe or in the soil stack, it probably won’t reach it. If you don’t have a plunger, try these ways to unblock a toilet without one.
Cost depends on how accessible the pipework is and how far the blockage has travelled. Powell estimates that an early blockage may cost £100 to £200 to clear; one farther down the drain, or one that has caused sewage to back up, can run into several hundred pounds. Damaged pipes or flooring contaminated by wastewater can make the repair much more expensive. The simple rule: flush toilet paper and human waste only, and don’t keep flushing a slow-draining toilet. That can make the bowl overflow.
2. Letting hair collect in the shower
HomeServe home expert Chris Houghton says 19% of people admit to putting hair down the drain. Among under-35s, that figure rises to 27%.* Hair tangles with soap scum and shampoo residue just below the plughole, where it can form a dense clog.
Water pooling around your feet in the shower, a bath that empties slowly, or a bad smell from the drain are signs to act on. Leave the problem and a slow drain can become a full blockage; standing water may also damage shower-tray seals and leak into the floor below.
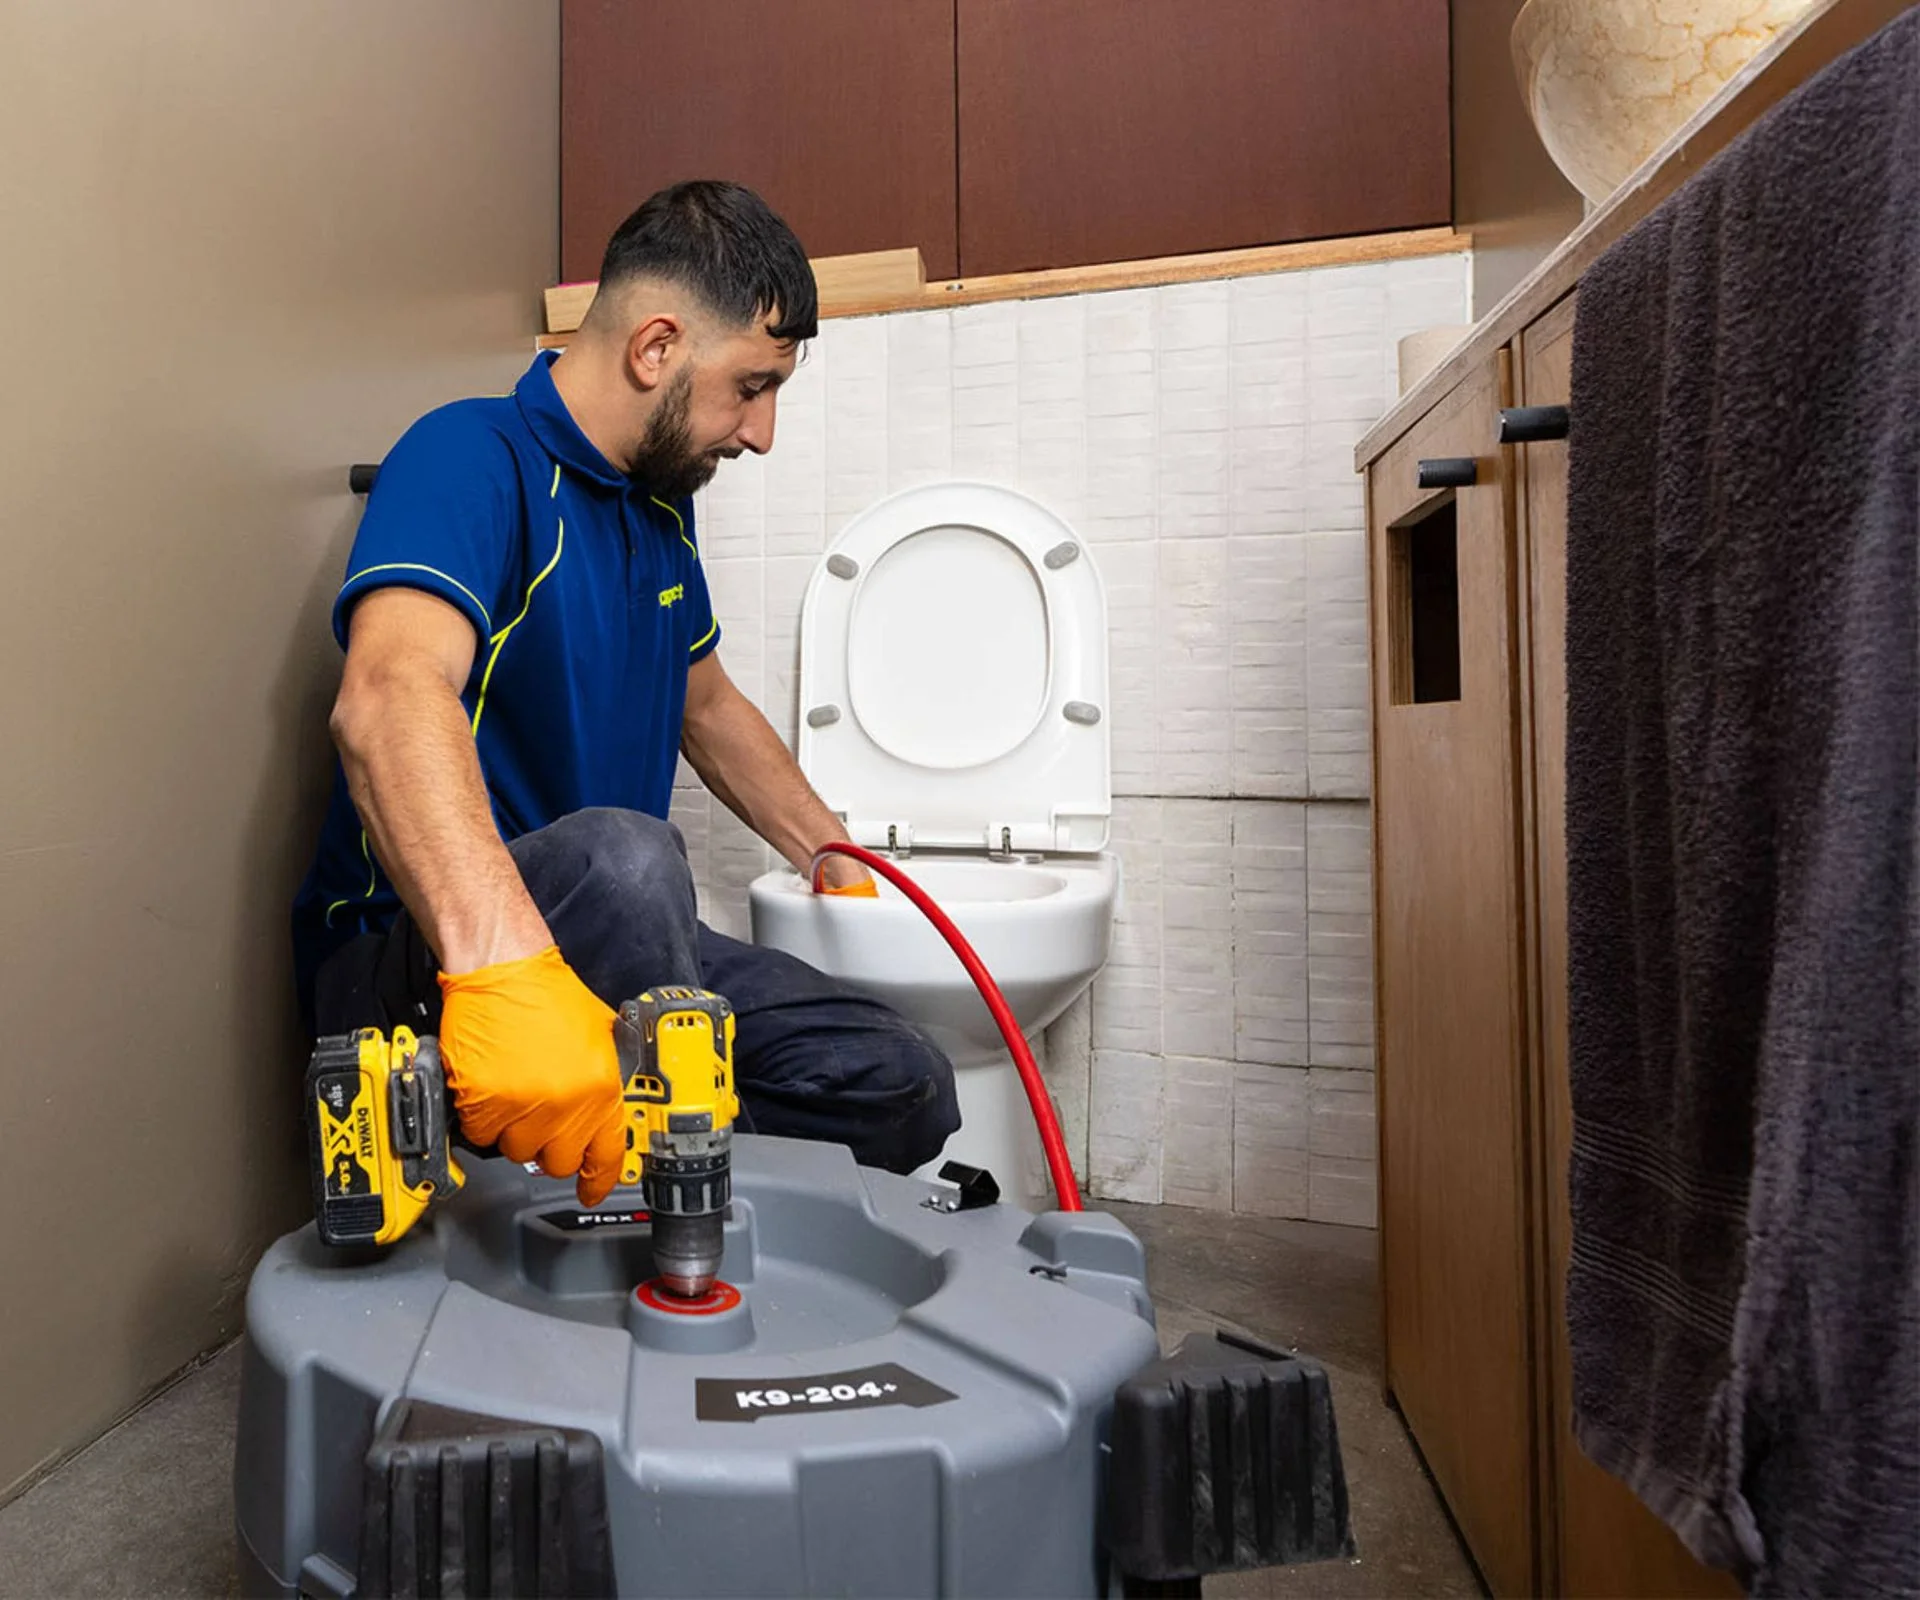
A hair catcher is a cheap first step. Houghton recommends clearing it every few showers and removing visible hair from the plughole weekly. Chemical drain cleaners can work, but Lampton warns that frequent use may damage pipes. A mixture of bicarbonate of soda and vinegar may be effective in some cases. If the shower keeps blocking, a plumber can use specialist equipment to tackle tougher clogs, including tools that reach more than 20 metres into pipes.
*Based on Opinium research commissioned by HomeServe among 2,000 UK adults aged 18 and over. Fieldwork took place between 2 and 5 June 2026.
Shop clogged hair prevention kit
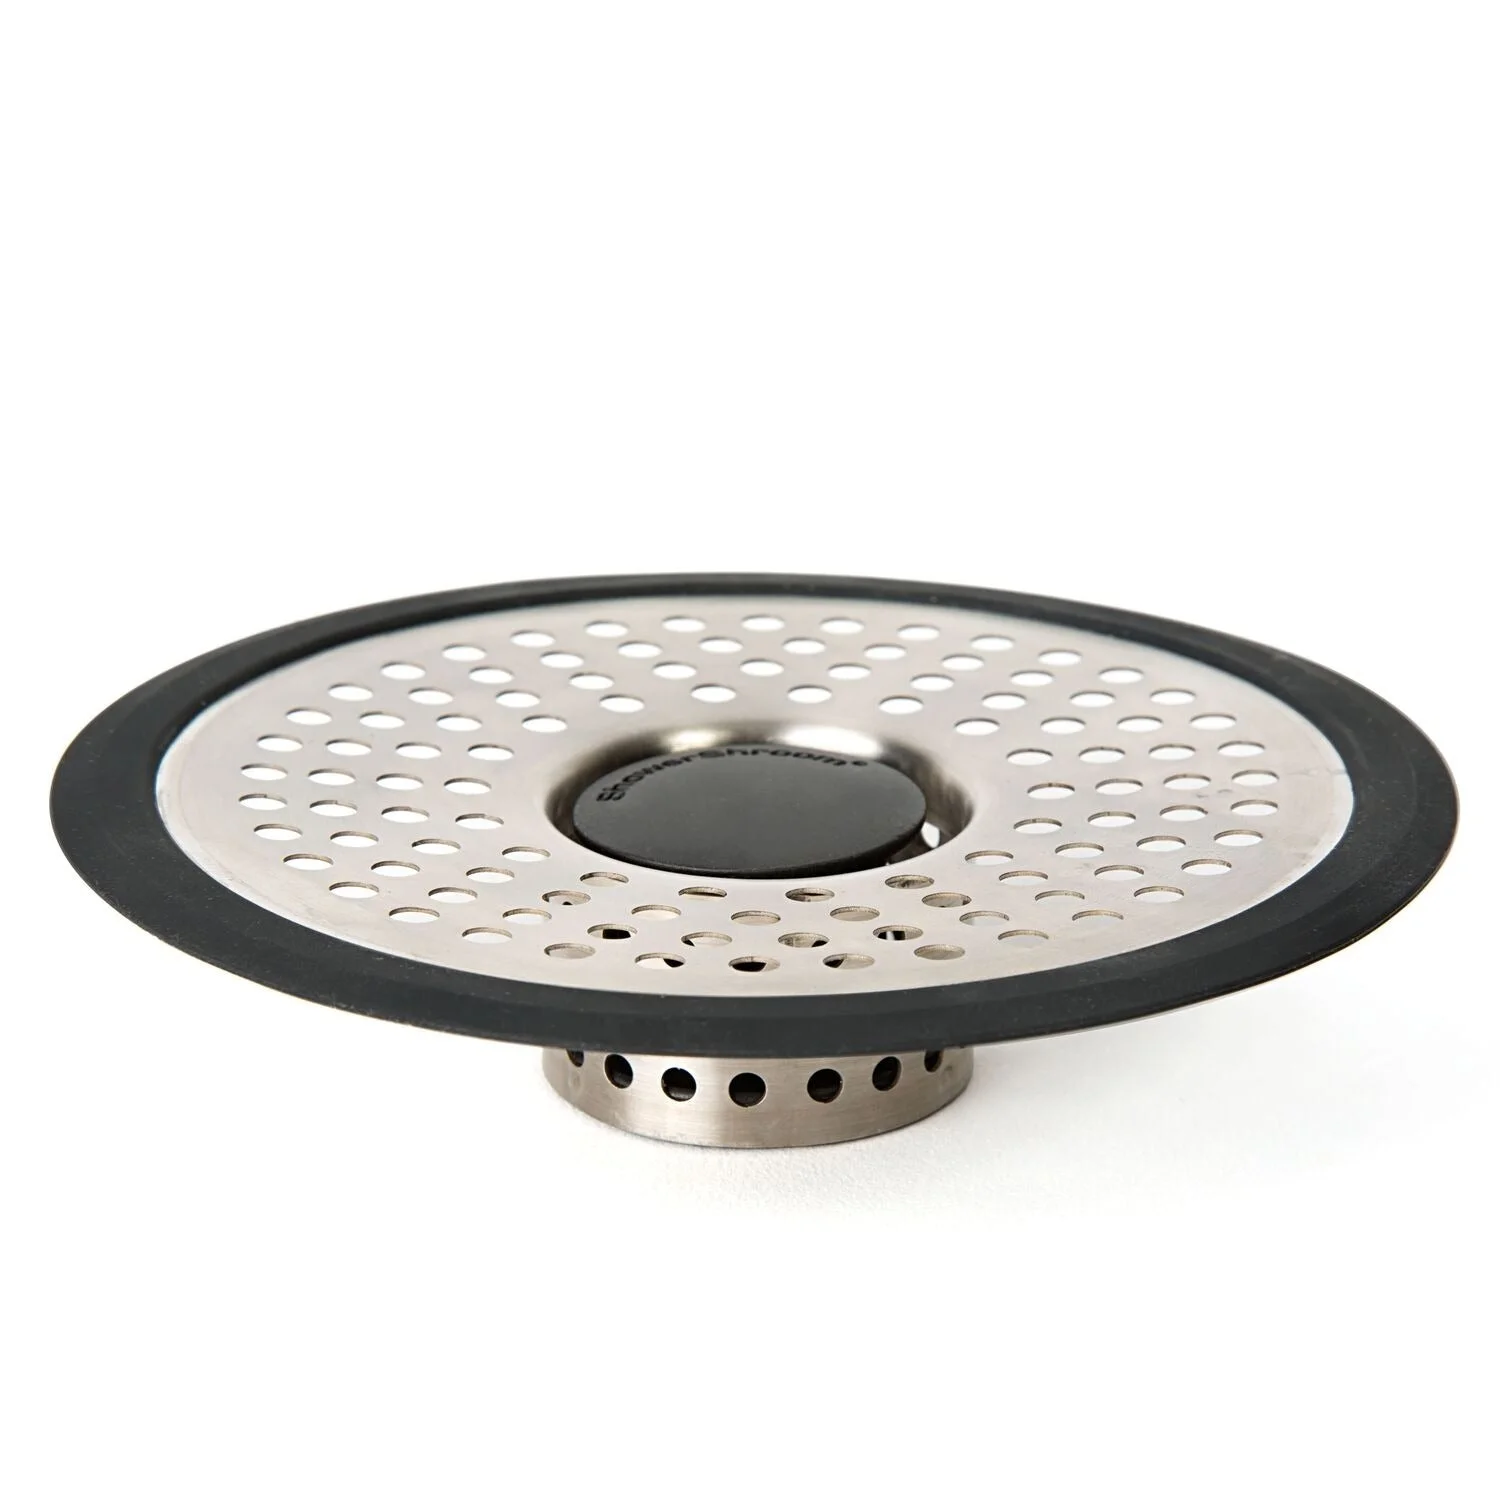 Stylish steel cover
This steel hair catcher fits standard drains, with a silicone border to hold it in place on the shower floor. Lift out the central plastic insert after showering and remove the hair caught around it.
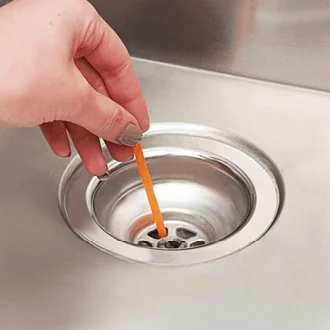 Smart scented sticks
These sticks are made with natural enzymes and are designed to break down hair, soap scum, fat, oil and food residue. The maker recommends putting one down the plughole monthly to help prevent clogs and odours; they leave a citrus smell.
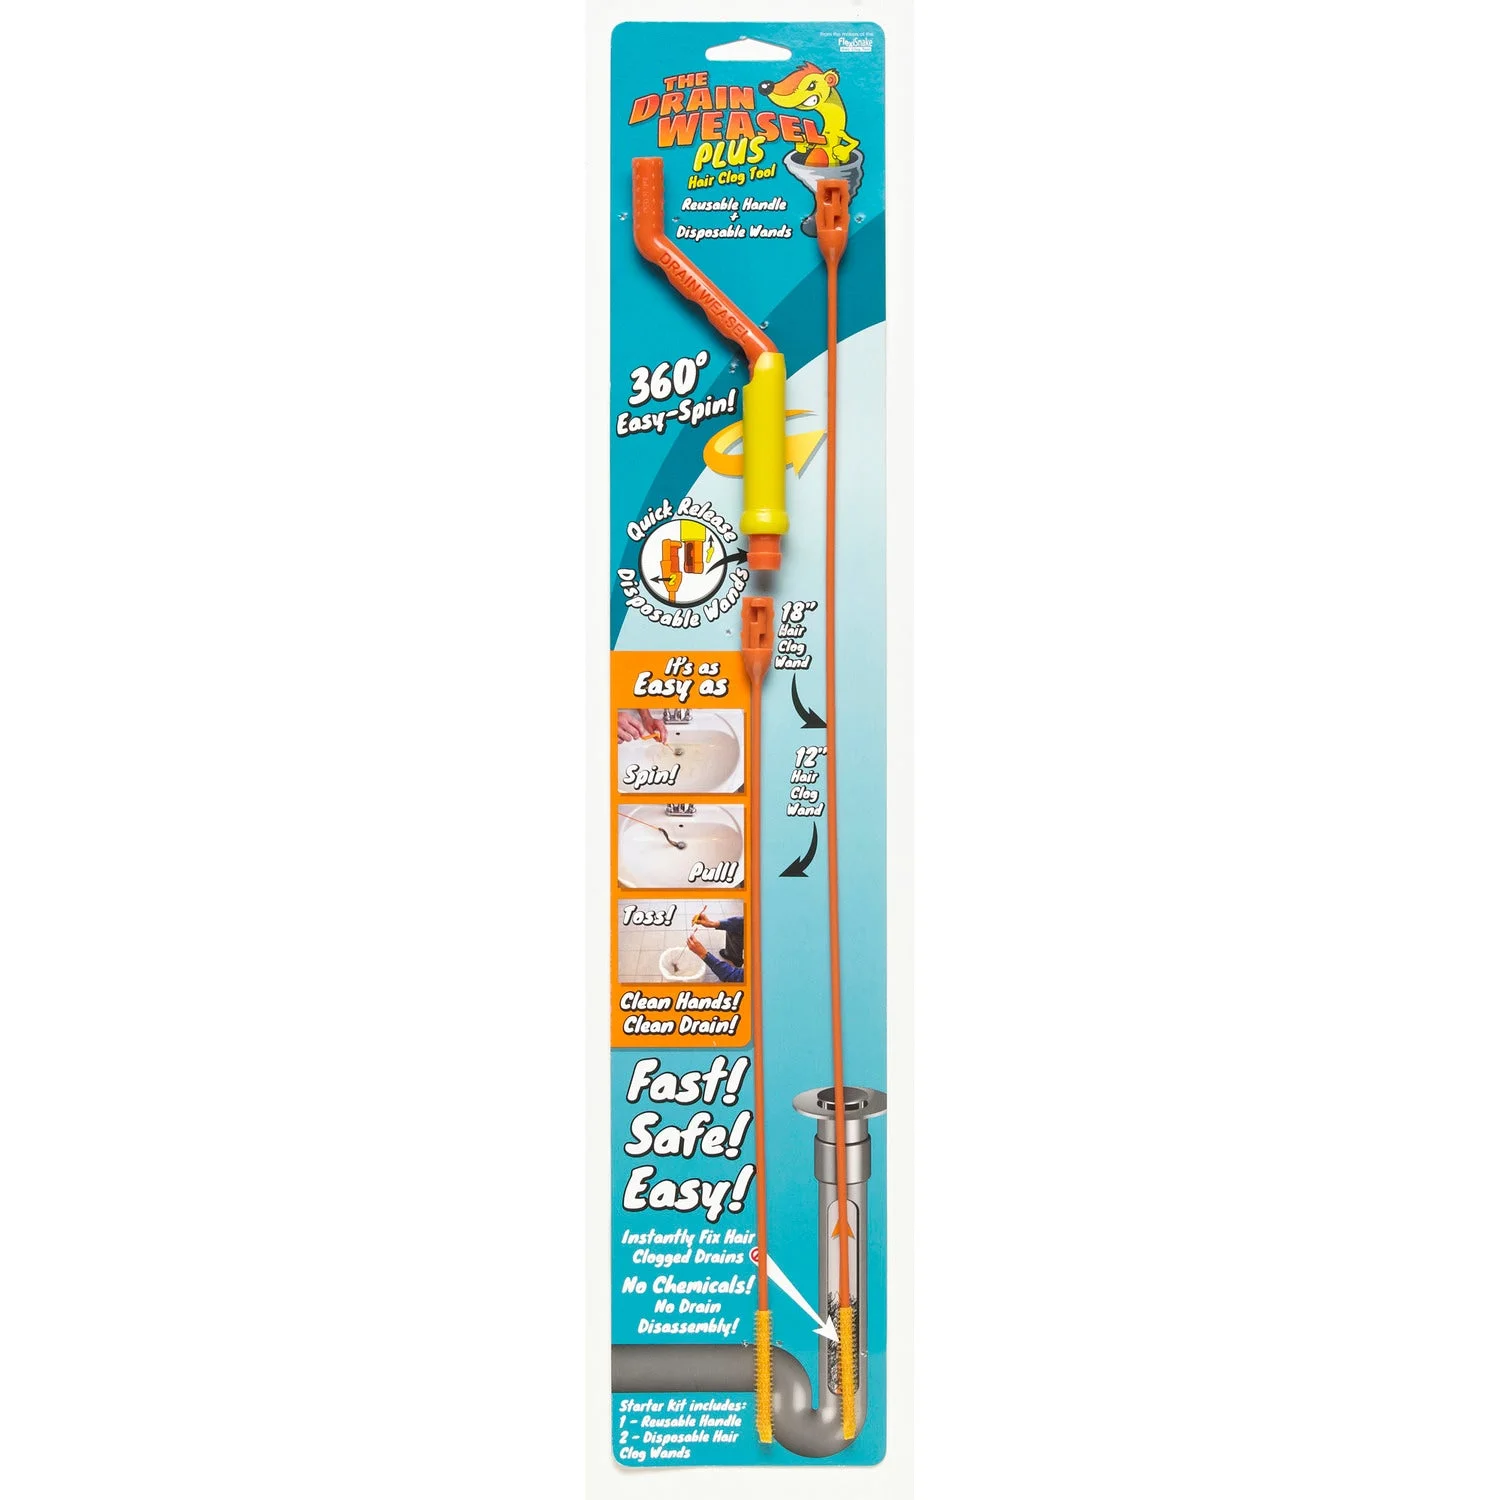 Wonder weasel
This flexible tool is made to hook hair from the pipework without chemicals. The rod releases the caught hair without requiring you to touch it.
3. Leaving split or peeling silicone in place
Black mould and peeling sealant look bad, but the bigger concern is water getting behind tiles or under a bath or shower. Matthew Powell says a split seal can let water escape every time the shower runs. The leak may be hard to spot at first. Later, you might see a stain on the ceiling below, smell mustiness, find loose flooring or swollen skirting boards, or notice tiles shifting. See our guide to black mould in bathrooms.
Replacing a failed seal usually costs around £80 to £150, Powell says. Leave water to damage plasterboard or rot timber and you may need a new floor or ceiling, pushing the bill above £1,000. Check the silicone around baths, shower trays and basins regularly, and deal with gaps or lifting as soon as you find them.
If you’re sealing a shower yourself, remove all the old silicone, clean and dry the surface, then let the new bathroom sealant cure before using the shower. If water has reached the room below, or the floor feels soft, get the area checked. A fresh bead of sealant won’t fix damage already hidden underneath.
Shop silicone cleaning and replacement
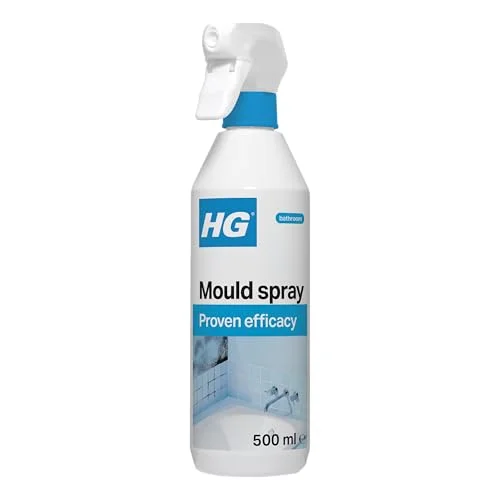 Magic mould spray
This spray is described as removing mould and mildew marks in 30 minutes, before they compromise the silicone.
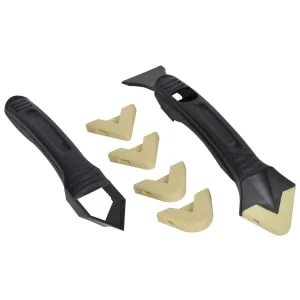 Silicone remover and finisher
This tool removes silicone from corners and flat surfaces, helps finish a new bead, and can also open a sealant cartridge.
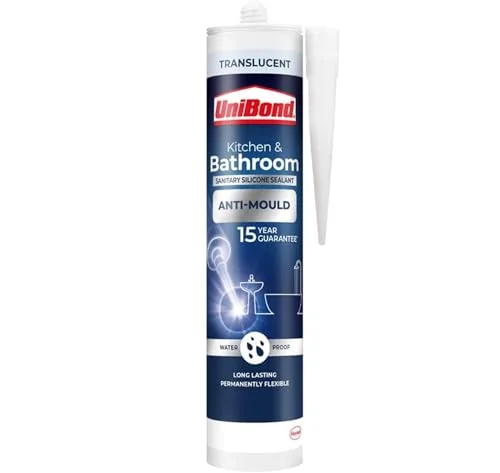 Our favourite sealant
Our pick of bathroom sealants, thanks to its integrated resealable application cap, anti-mould formula and long-lasting protection.
4. Using one strong cleaner everywhere
The strongest cleaner in the cupboard may seem like the quickest option, but a product safe for a toilet bowl may damage taps. James Roberts, a qualified plumber and director at Sanctuary Bathrooms, warns that abrasive pads can scratch finishes, while bleach and some acidic cleaners can harm certain coatings. Even vinegar isn’t safe for every tap: some manufacturers warn it can damage chrome and other finishes.
Scratches, flaking or a patchy appearance are reasons to stop cleaning and check the fitting’s care instructions. Roberts recommends following the manufacturer’s guidance, using a soft cloth, and observing any cleaner’s dilution and contact-time directions. Rinse thoroughly and dry the surface afterwards. If you’ve used the wrong product, wash off the residue and ask the supplier what to do before applying anything else. Cleaning won’t restore a stripped coating; you may need a replacement part or a new bathroom tap, plus fitting costs.
5. Putting the wrong cleaning blocks in the cistern
Cistern cleaning blocks can cause trouble too. Roberts says some bleach or chlorine products damage internal components, while fragments from blocks may prevent the flush-valve seal from closing properly.
A toilet that continues trickling after a flush, or a cistern that keeps refilling when nobody has used it, may have a fault. Those symptoms have other possible causes, so check the mechanism instead of guessing. If a toilet flush problem appears, stop using the unsuitable product, remove any remaining block safely and have the valve and seals inspected. A seal replacement may be enough; otherwise the valve may need changing. Roberts puts faulty cistern-valve replacement at £50 to £300 plus VAT, depending on the mechanism and access. A leaking toilet can also waste water and raise a metered bill.
6. Leaving neat bleach in the toilet bowl
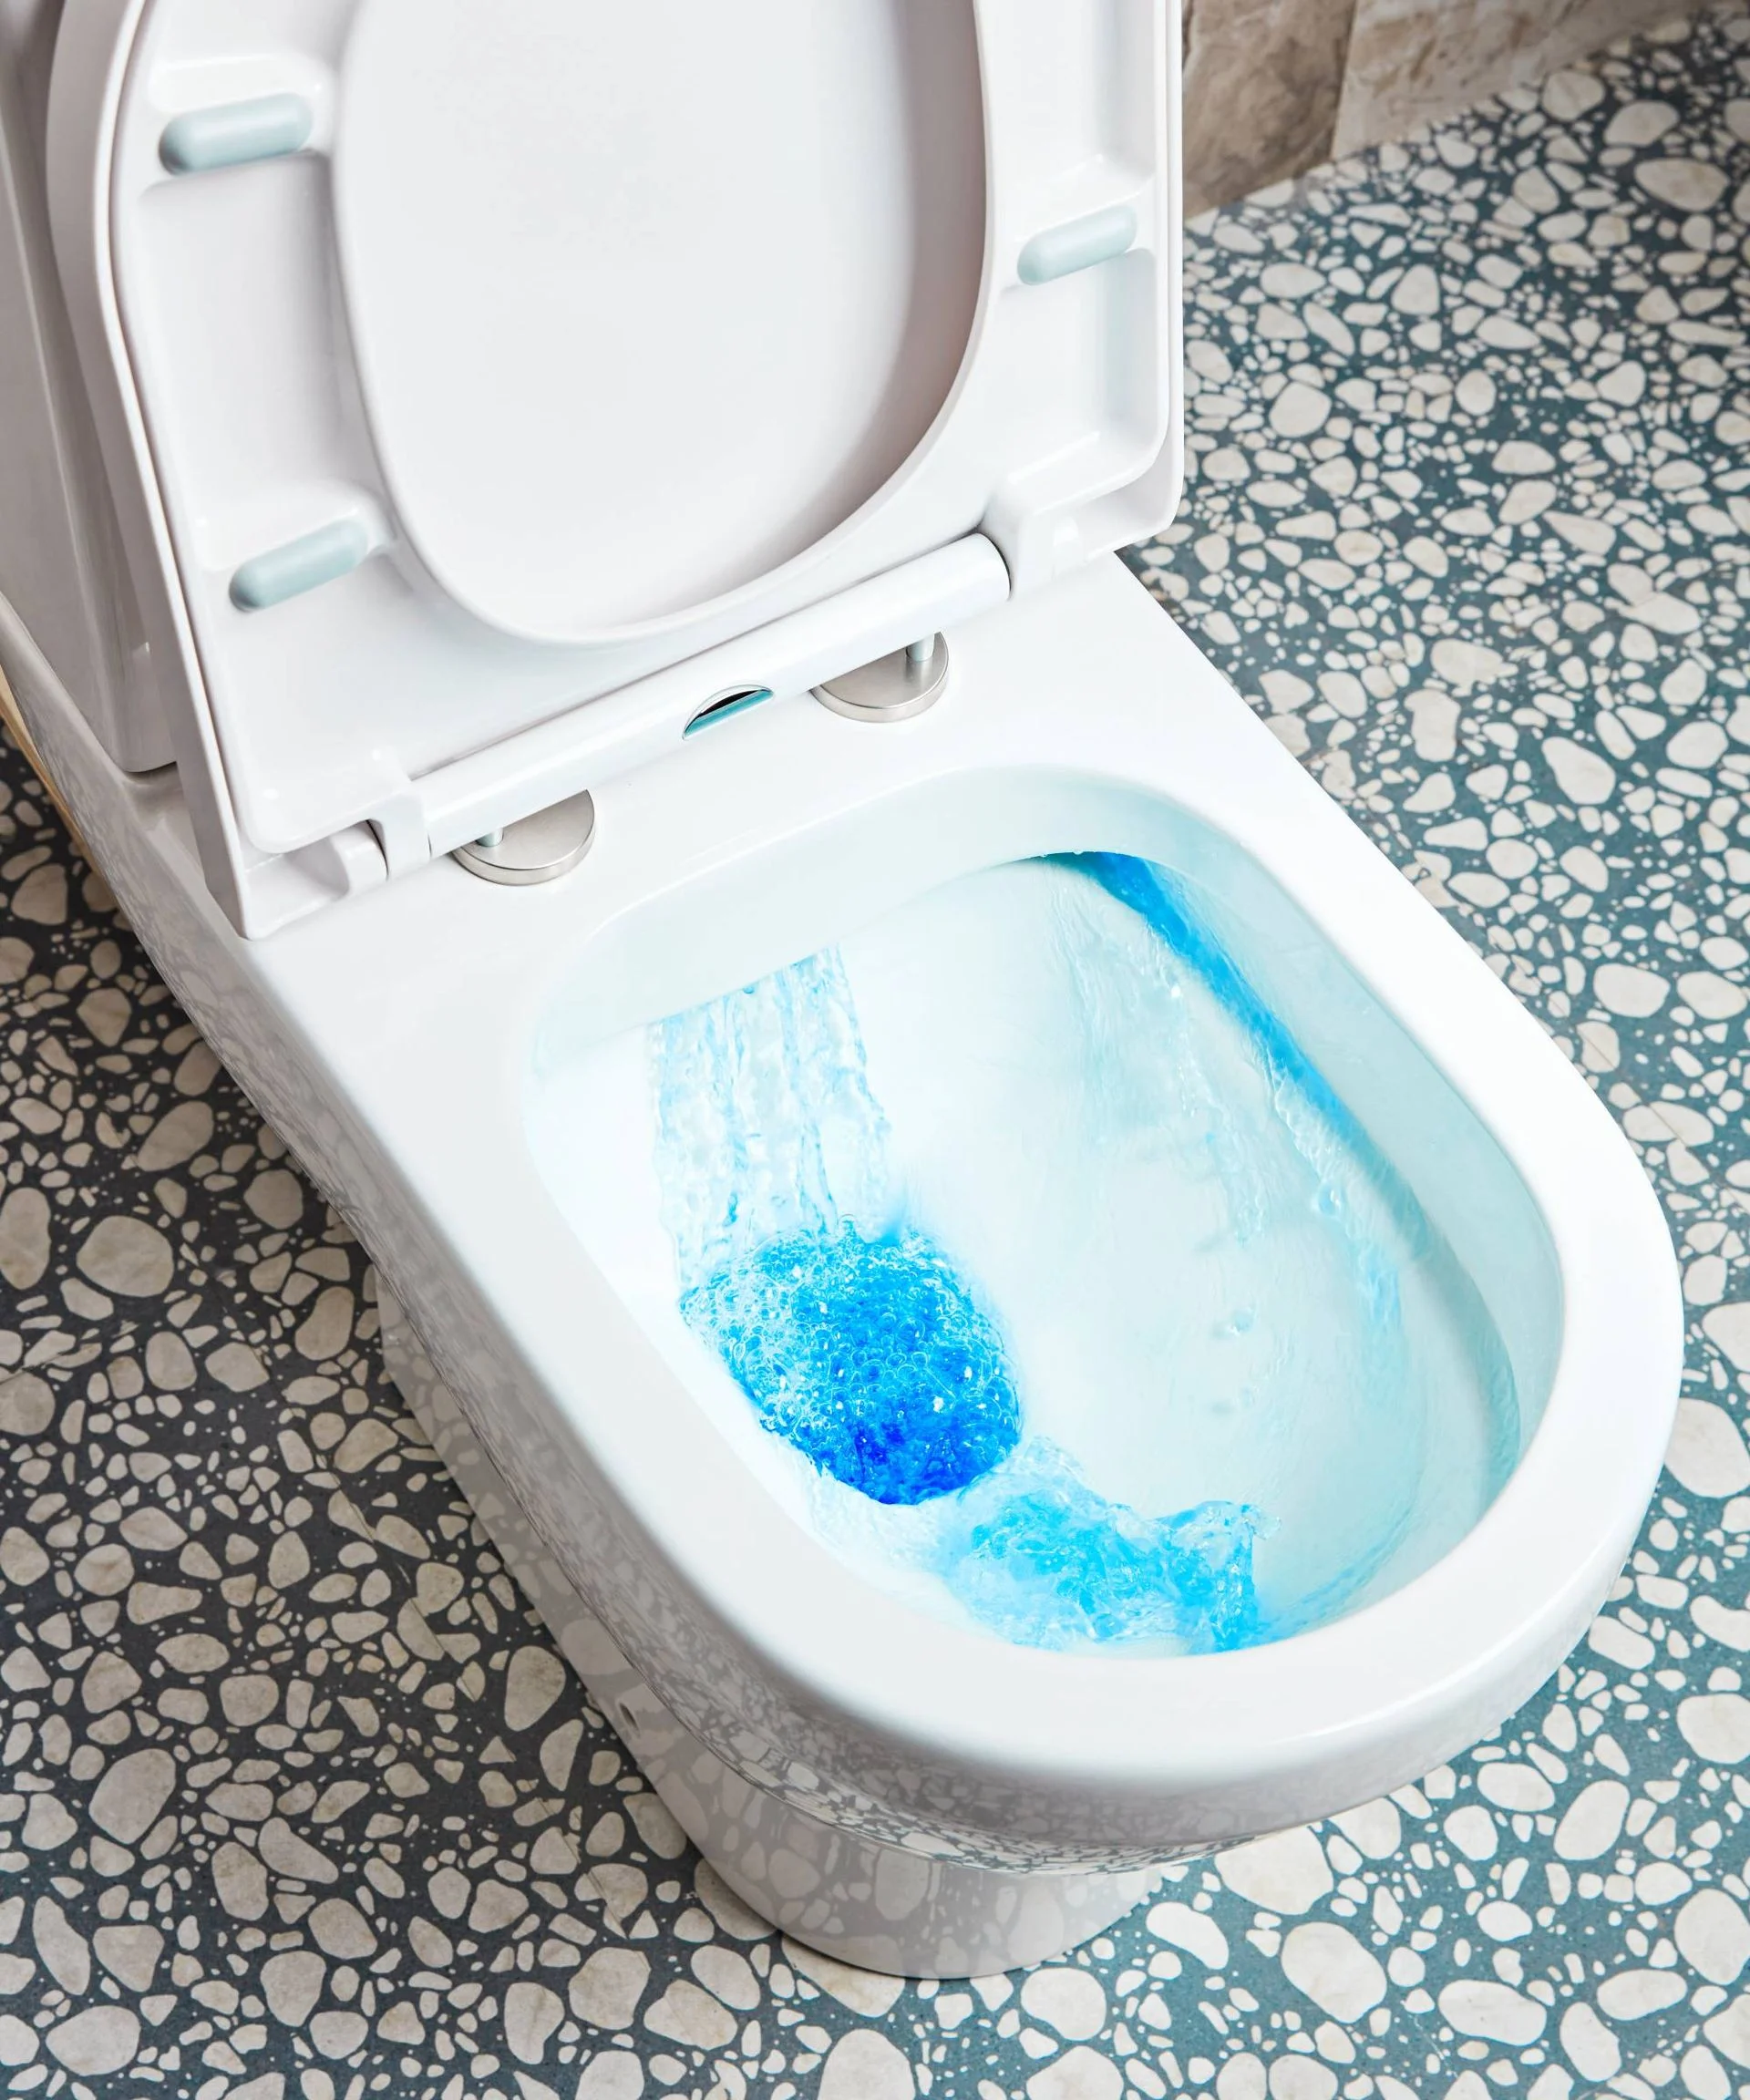
Julie Gokce, Senior Bathroom Expert at More Bathrooms, warns against leaving undiluted bleach in the bowl while you’re out. It can attack rubber seals, washers and plastic parts inside the cistern and flush valve. With weekly use, those components may become brittle, crack and start leaking within a year, she says.
A toilet that keeps running, flushes weakly or leaves water around its base may have damaged parts. Replacing the flush valve and seals typically costs £80 to £150, according to Gokce. If a leak has caused damp or damaged flooring, remedial work can reach £300 to £800.
Use a toilet cleaner made for the job, or dilute bleach heavily and don’t leave it sitting in the bowl. If the internal components are already damaged, replacing them is usually a quicker and cheaper fix than allowing a leak to continue.
7. Ignoring a dripping tap
A tap may drip because it wasn’t turned off fully, or because it continues leaking even when closed. Either way, a persistent drip wastes water and can cause more damage the longer you leave it.
Small bathroom habits can create outsized repair bills. The damage often starts where you won’t see it: beneath a sink, along a cabinet edge or behind a shower screen. A few minutes of upkeep can catch trouble while it’s still cheap to fix.
Julie Gokce warns that a slow tap drip can stain a basin over time, while a leaking waste pipe may rot the cabinet base before it’s noticed. Look for a musty smell, warped wood or water marks inside the cabinet. A dripping tap repair typically costs £60-£120, including parts; repairing or replacing a cabinet or damaged floor can reach £300-£800. Check beneath the sink every few months for drips and damp patches. As Gokce puts it, replacing a £5 washer promptly may save hundreds. Neil Lampton adds that early repairs may mean only an hour of labour and a new washer or cartridge; leave the leak, and the whole tap may need replacing.
8. Leaving water sitting on bathroom furniture
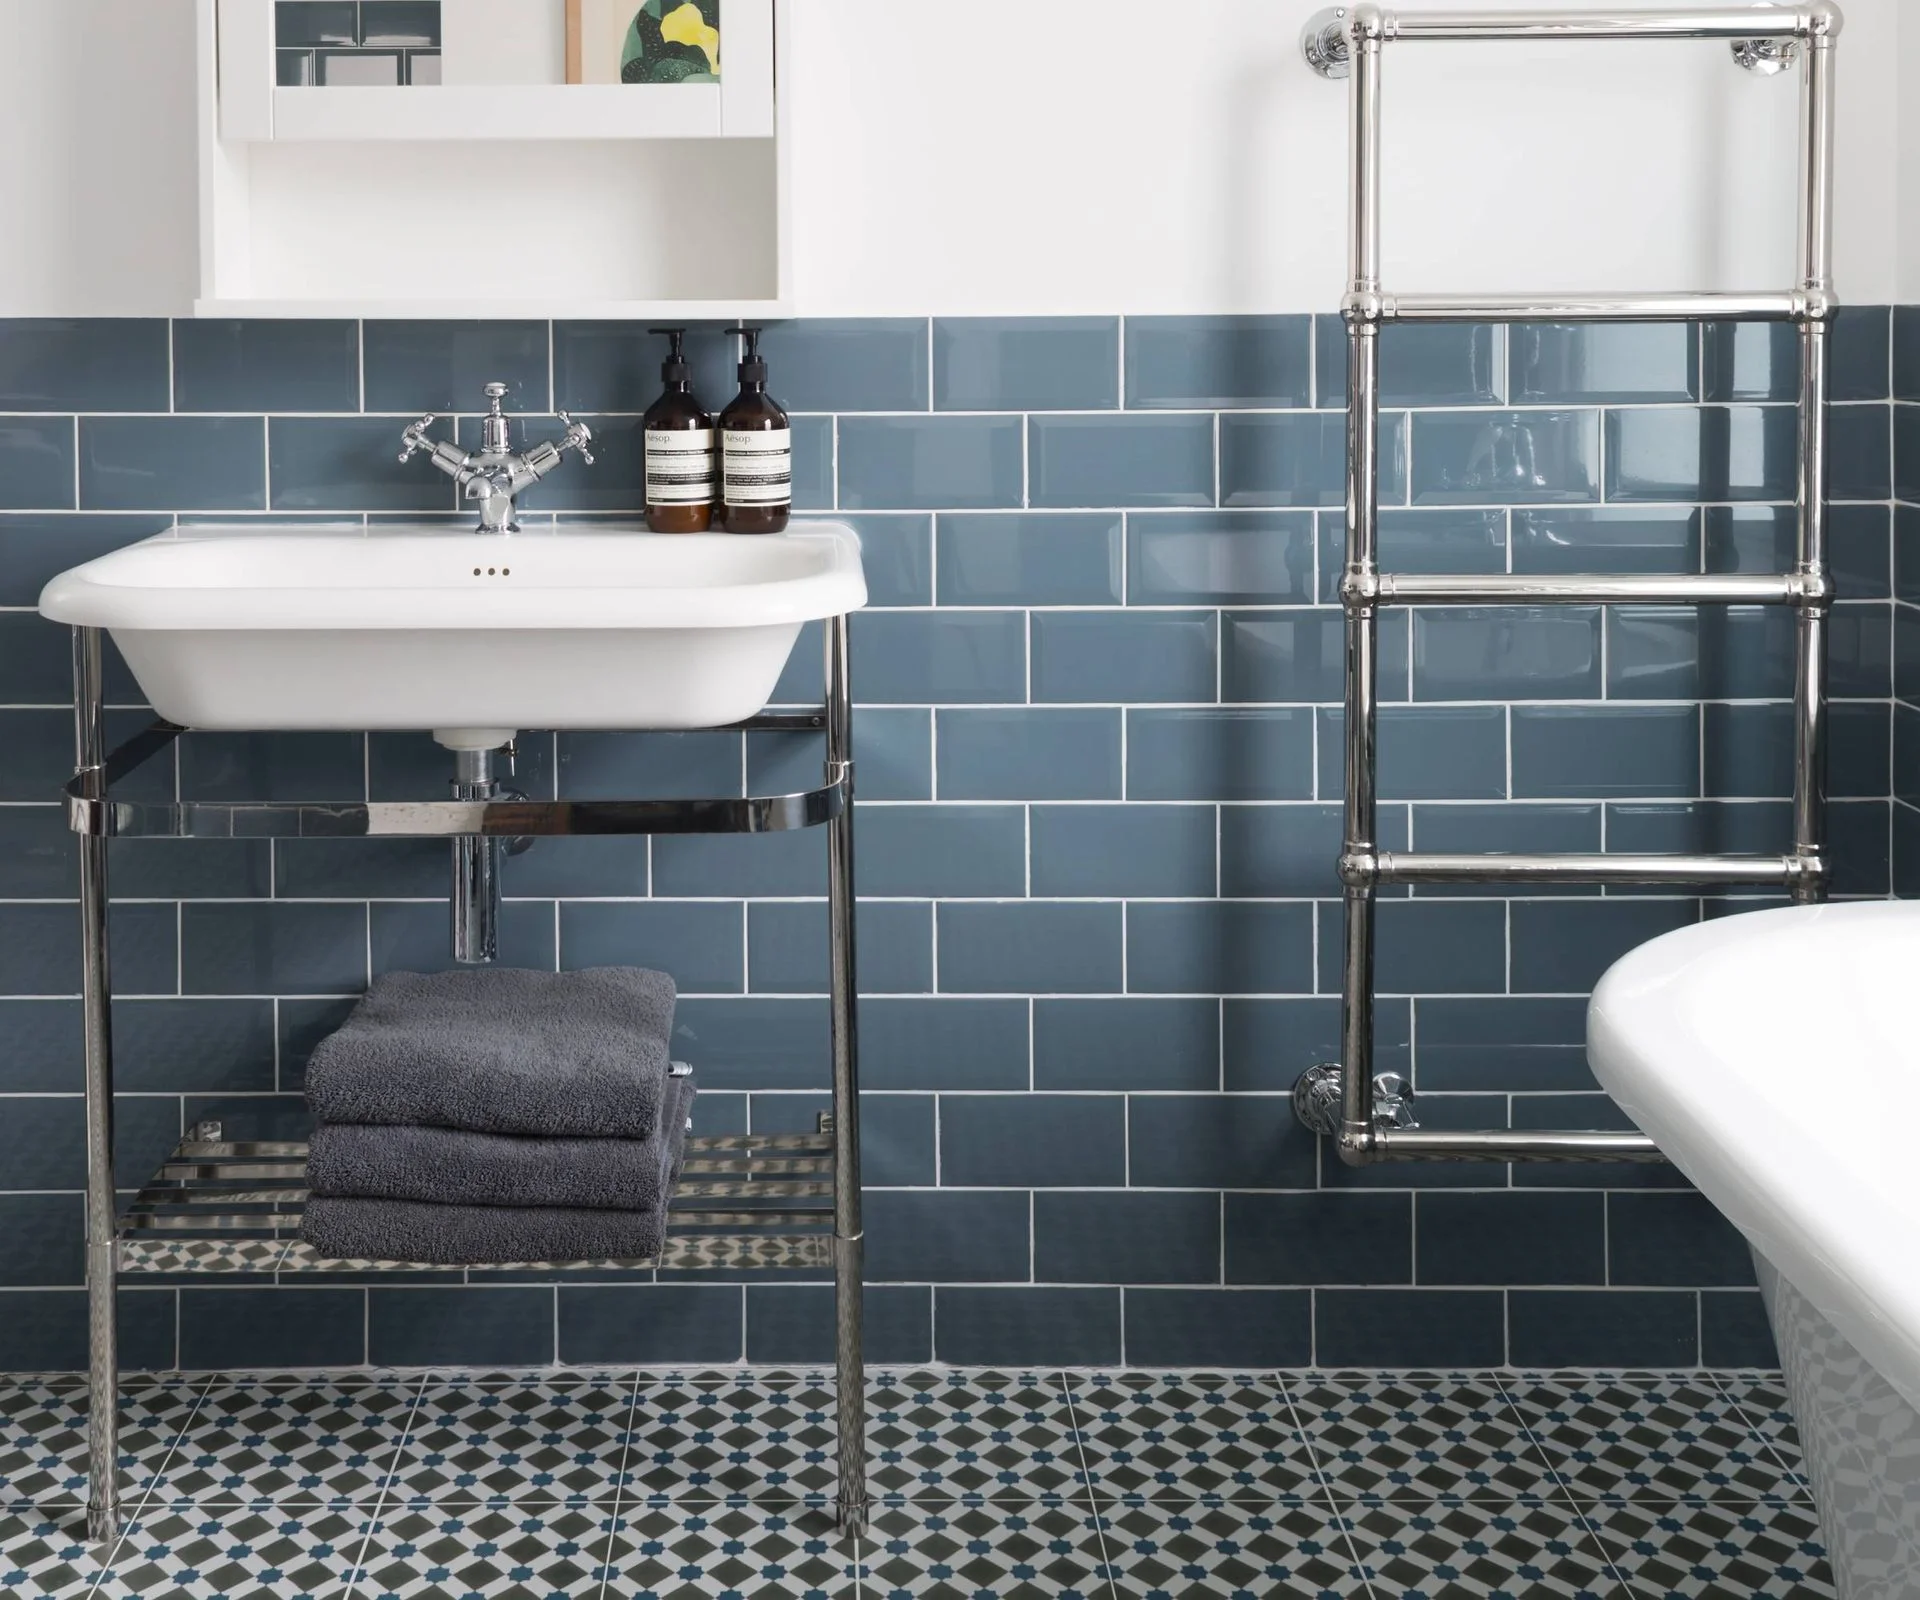
Water on a cabinet front may seem trivial, but repeated splashes can damage timber based furniture, especially at joints and unsealed edges. James Powell says swollen edges, peeling finishes and warped panels are signs that moisture has got in. Depending on the damage, you may need a replacement door or panel; a badly affected unit can mean replacing the whole cabinet and disconnecting and reconnecting the basin.
Dry splashes as soon as you spot them, and run the best bathroom extractor fan when showering to reduce condensation. If the furniture has started to swell, stop the water reaching it and ask the supplier whether replacement parts are available. Surface drying won’t reverse damage inside the material, and paint is unlikely to fix the cause. Heavy condensation can add to the problem.
9. Not wiping down your shower screen
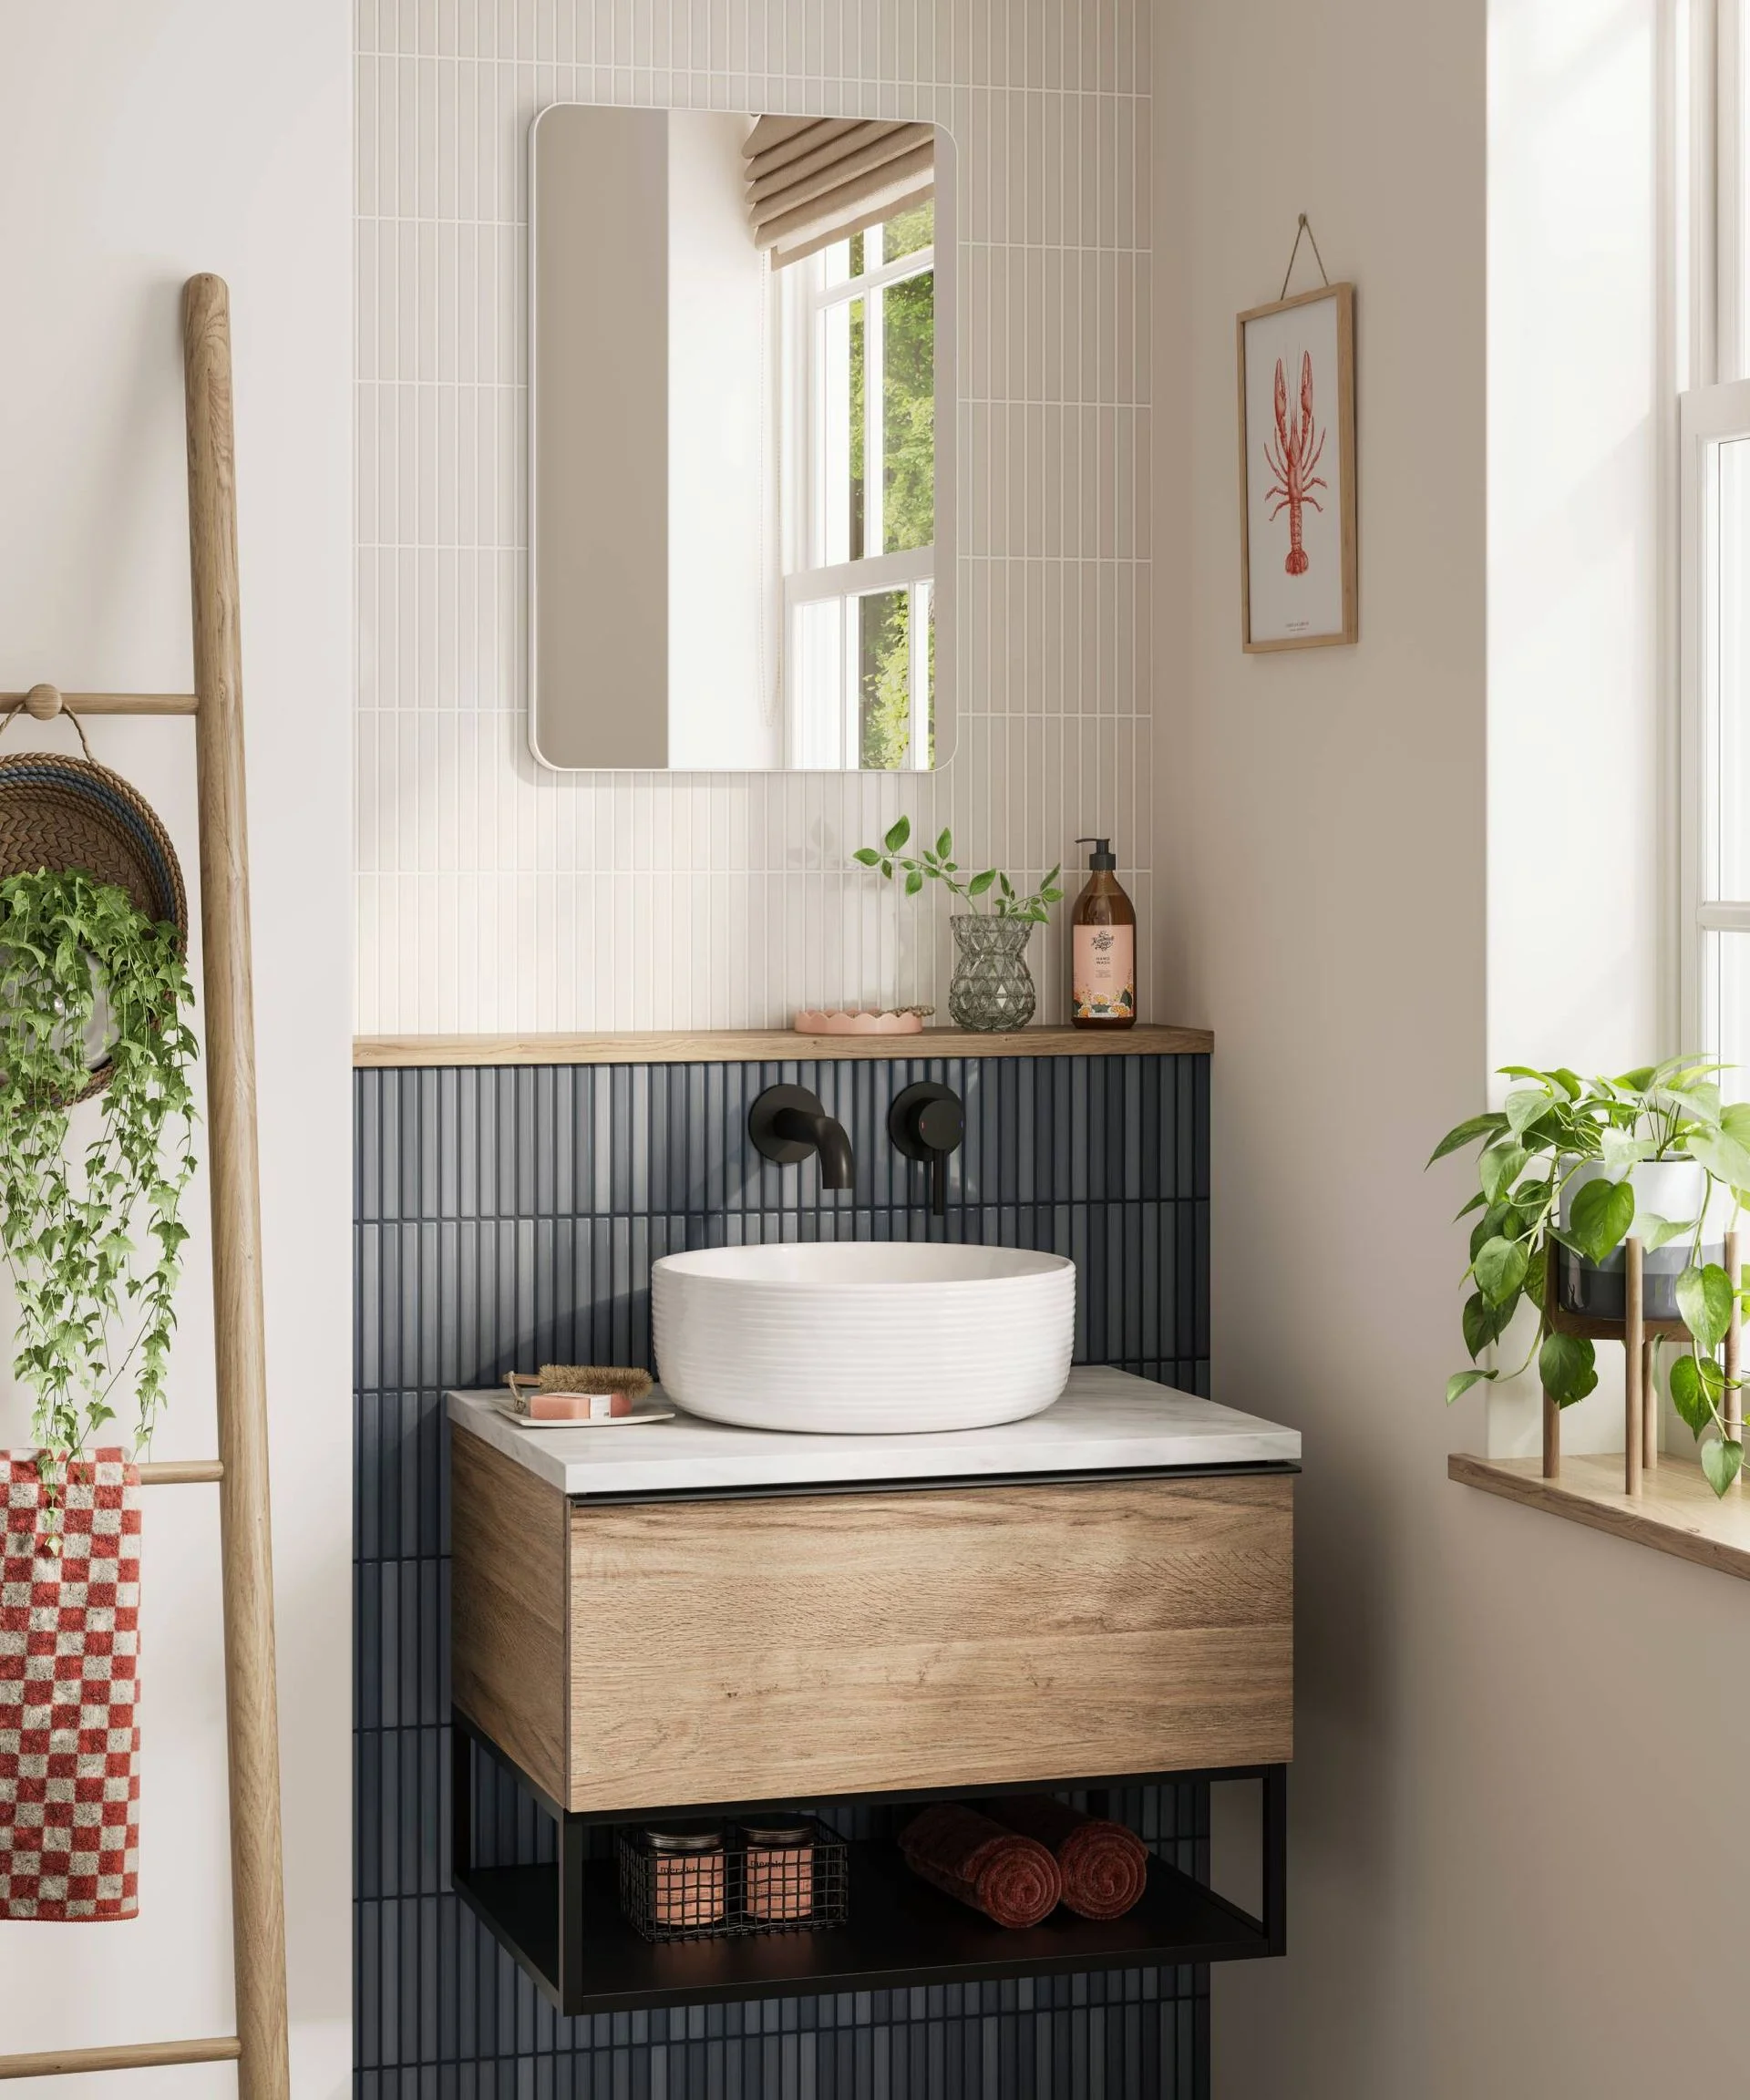
A shower screen left wet collects limescale, and runoff can pool around the silicone sealant. If bathroom ventilation is poor, those damp corners and door tracks can also encourage mould, Lampton says. A cloudy screen or damaged tracks can be costly to replace, so a regular wipe down is a modest bit of prevention.
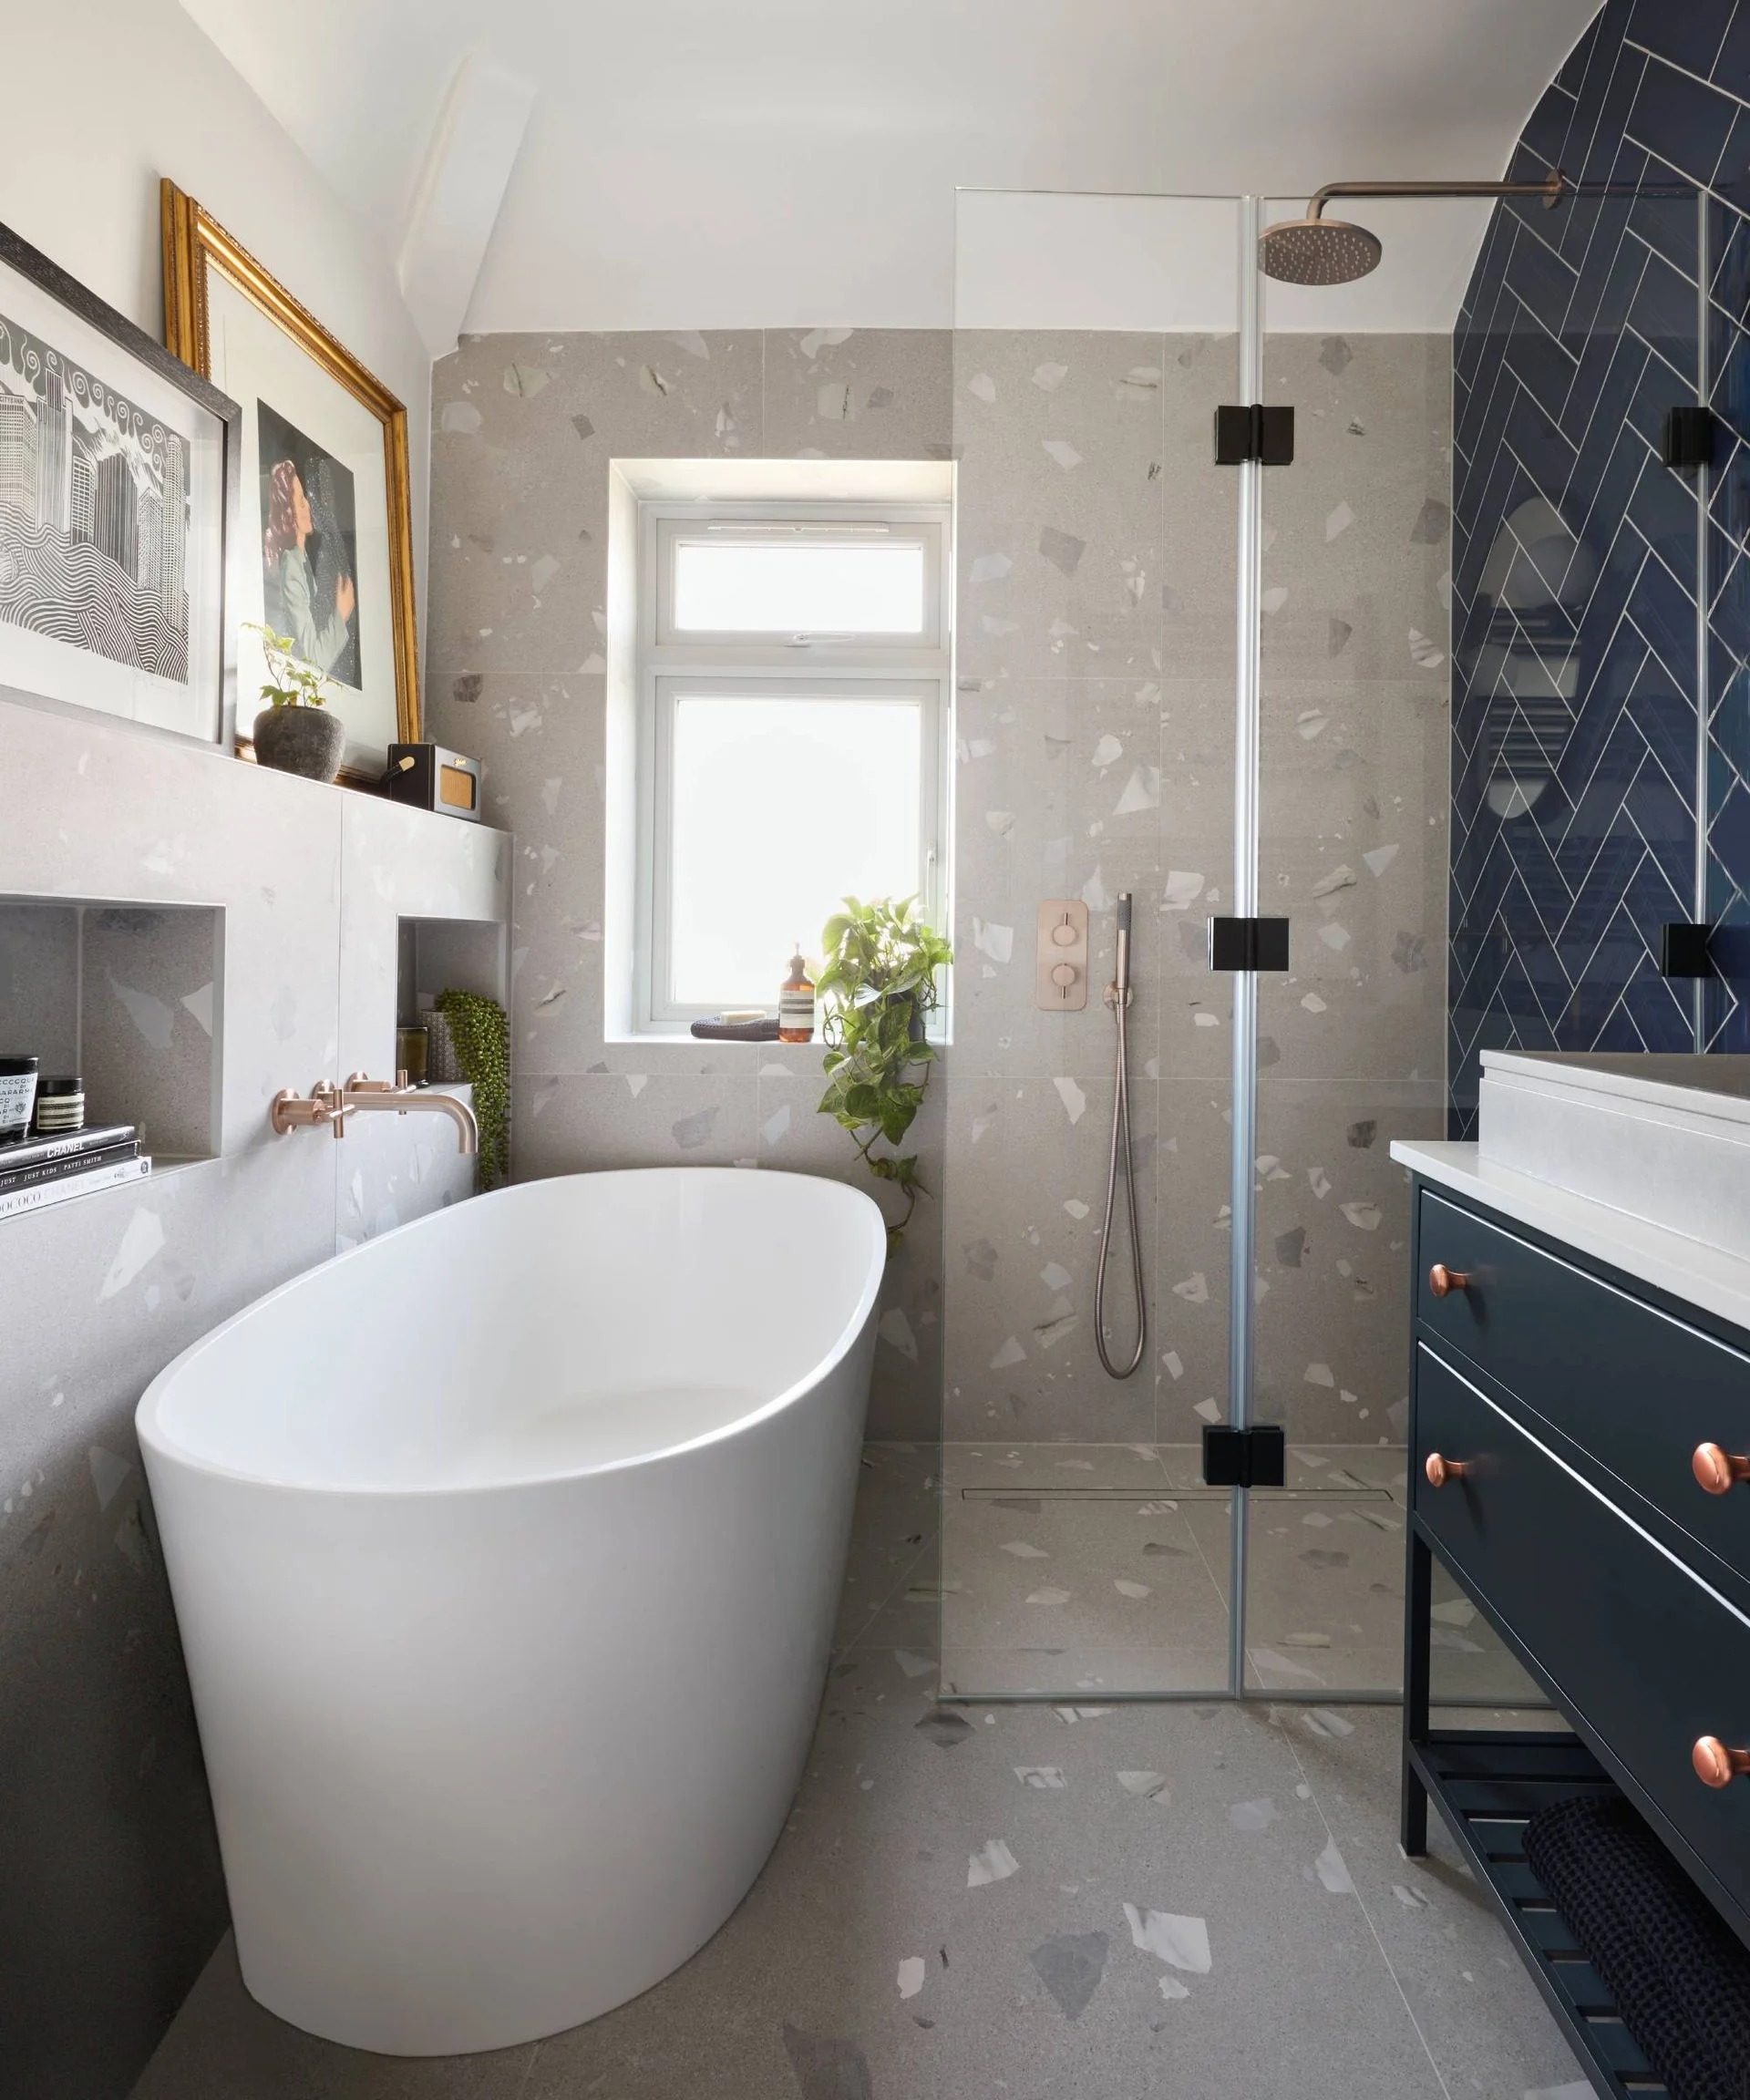
Keep a squeegee in the shower and use it after each wash. Dry water from corners and tracks, clean the screen regularly, and run the extractor fan to help it dry. For routine shower screen cleaning, Lampton suggests a limescale remover or a mix of white vinegar and warm water.
Shop shower screen cleaning
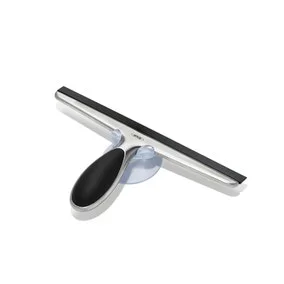 Squeegee those surfaces
A stainless steel OXO squeegee with a suction cup can be kept close by, ready for a quick wipe after showering.
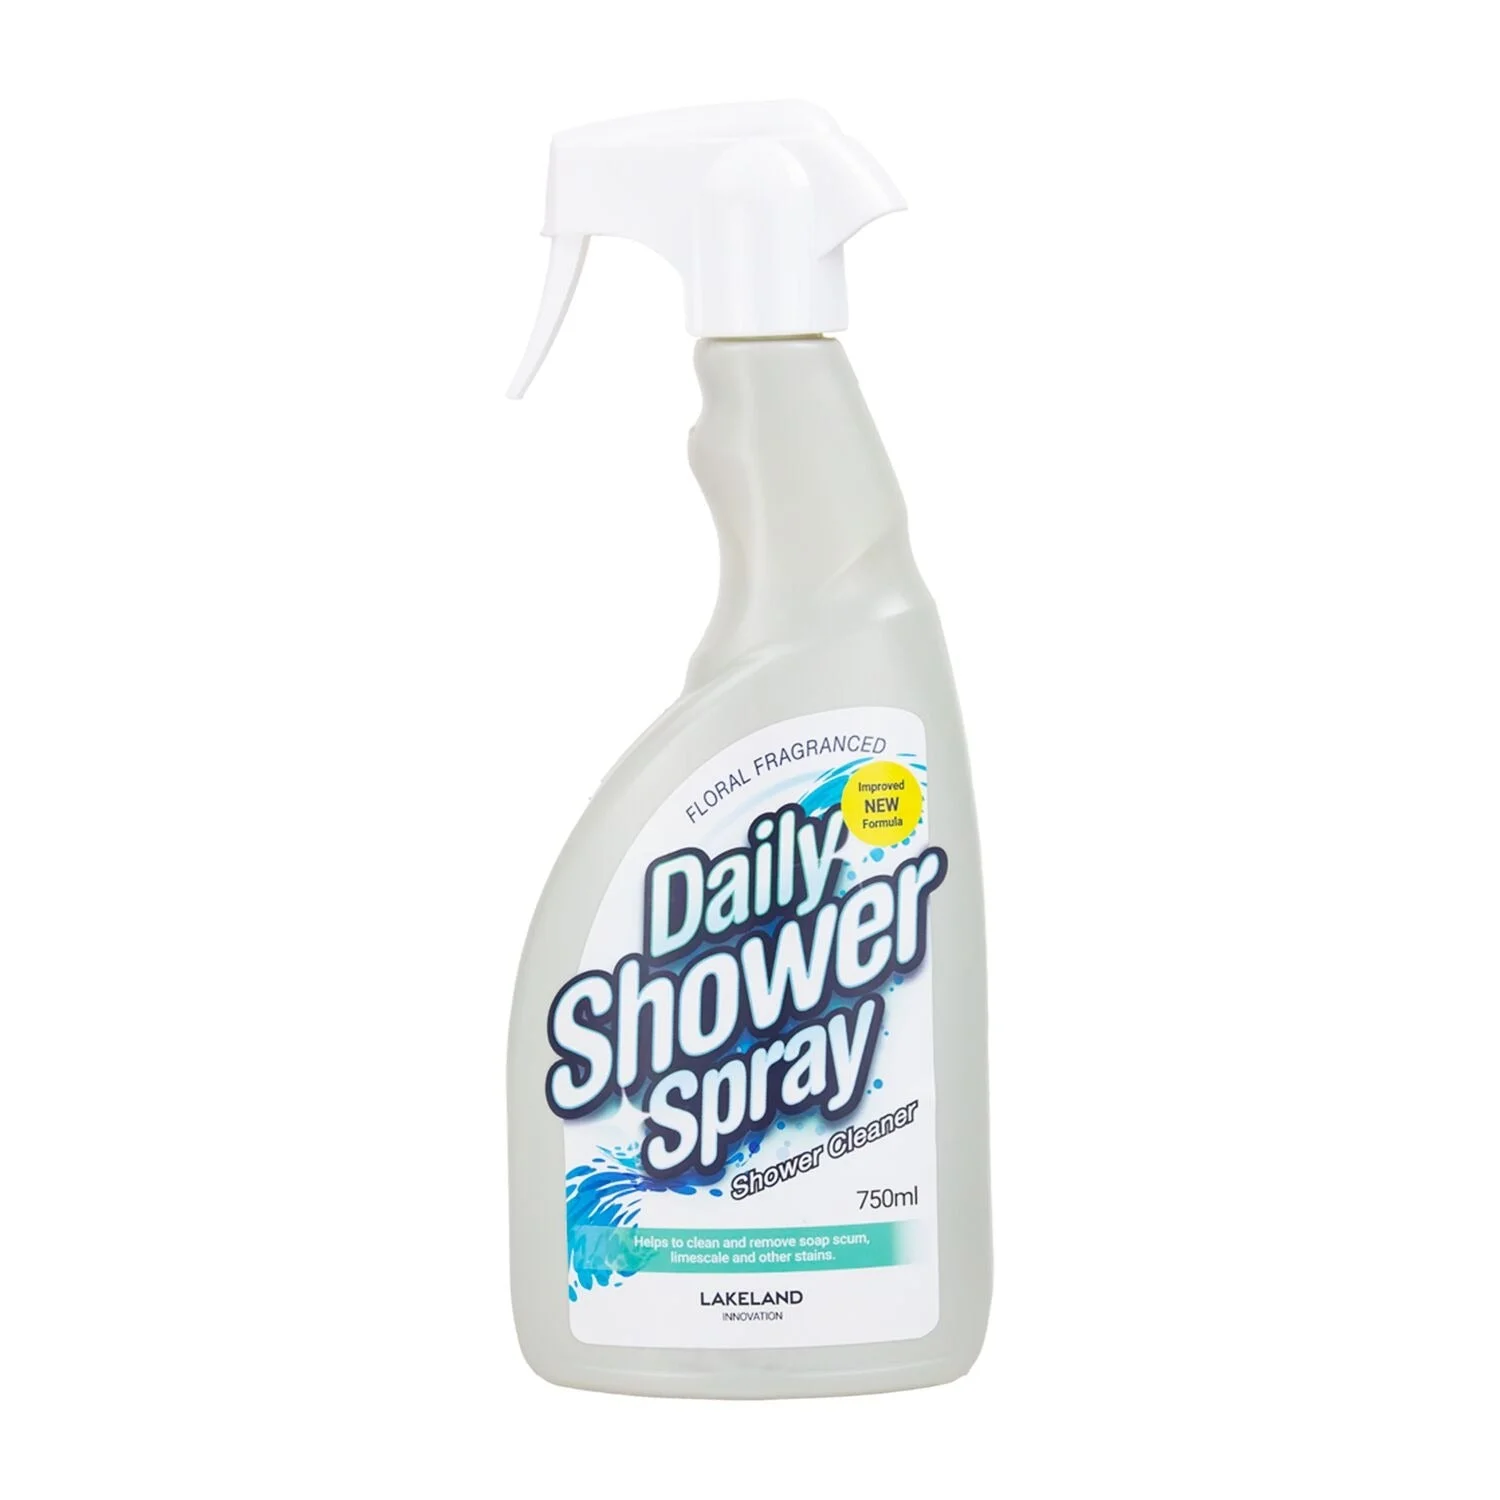 Apply a daily cleaner
A daily spray can help prevent soap scum and mildew from building up; this Lakeland product is described as having a floral fragrance.
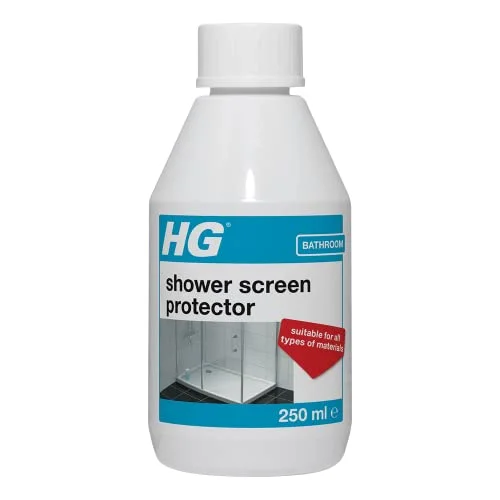 Protect your shower screen
HG’s spray is marketed as a screen protector and cleaner, and can also be used on tiles, plastic shower trays, ceramic baths, sinks and chrome taps.
10. Letting limescale build up on your shower head
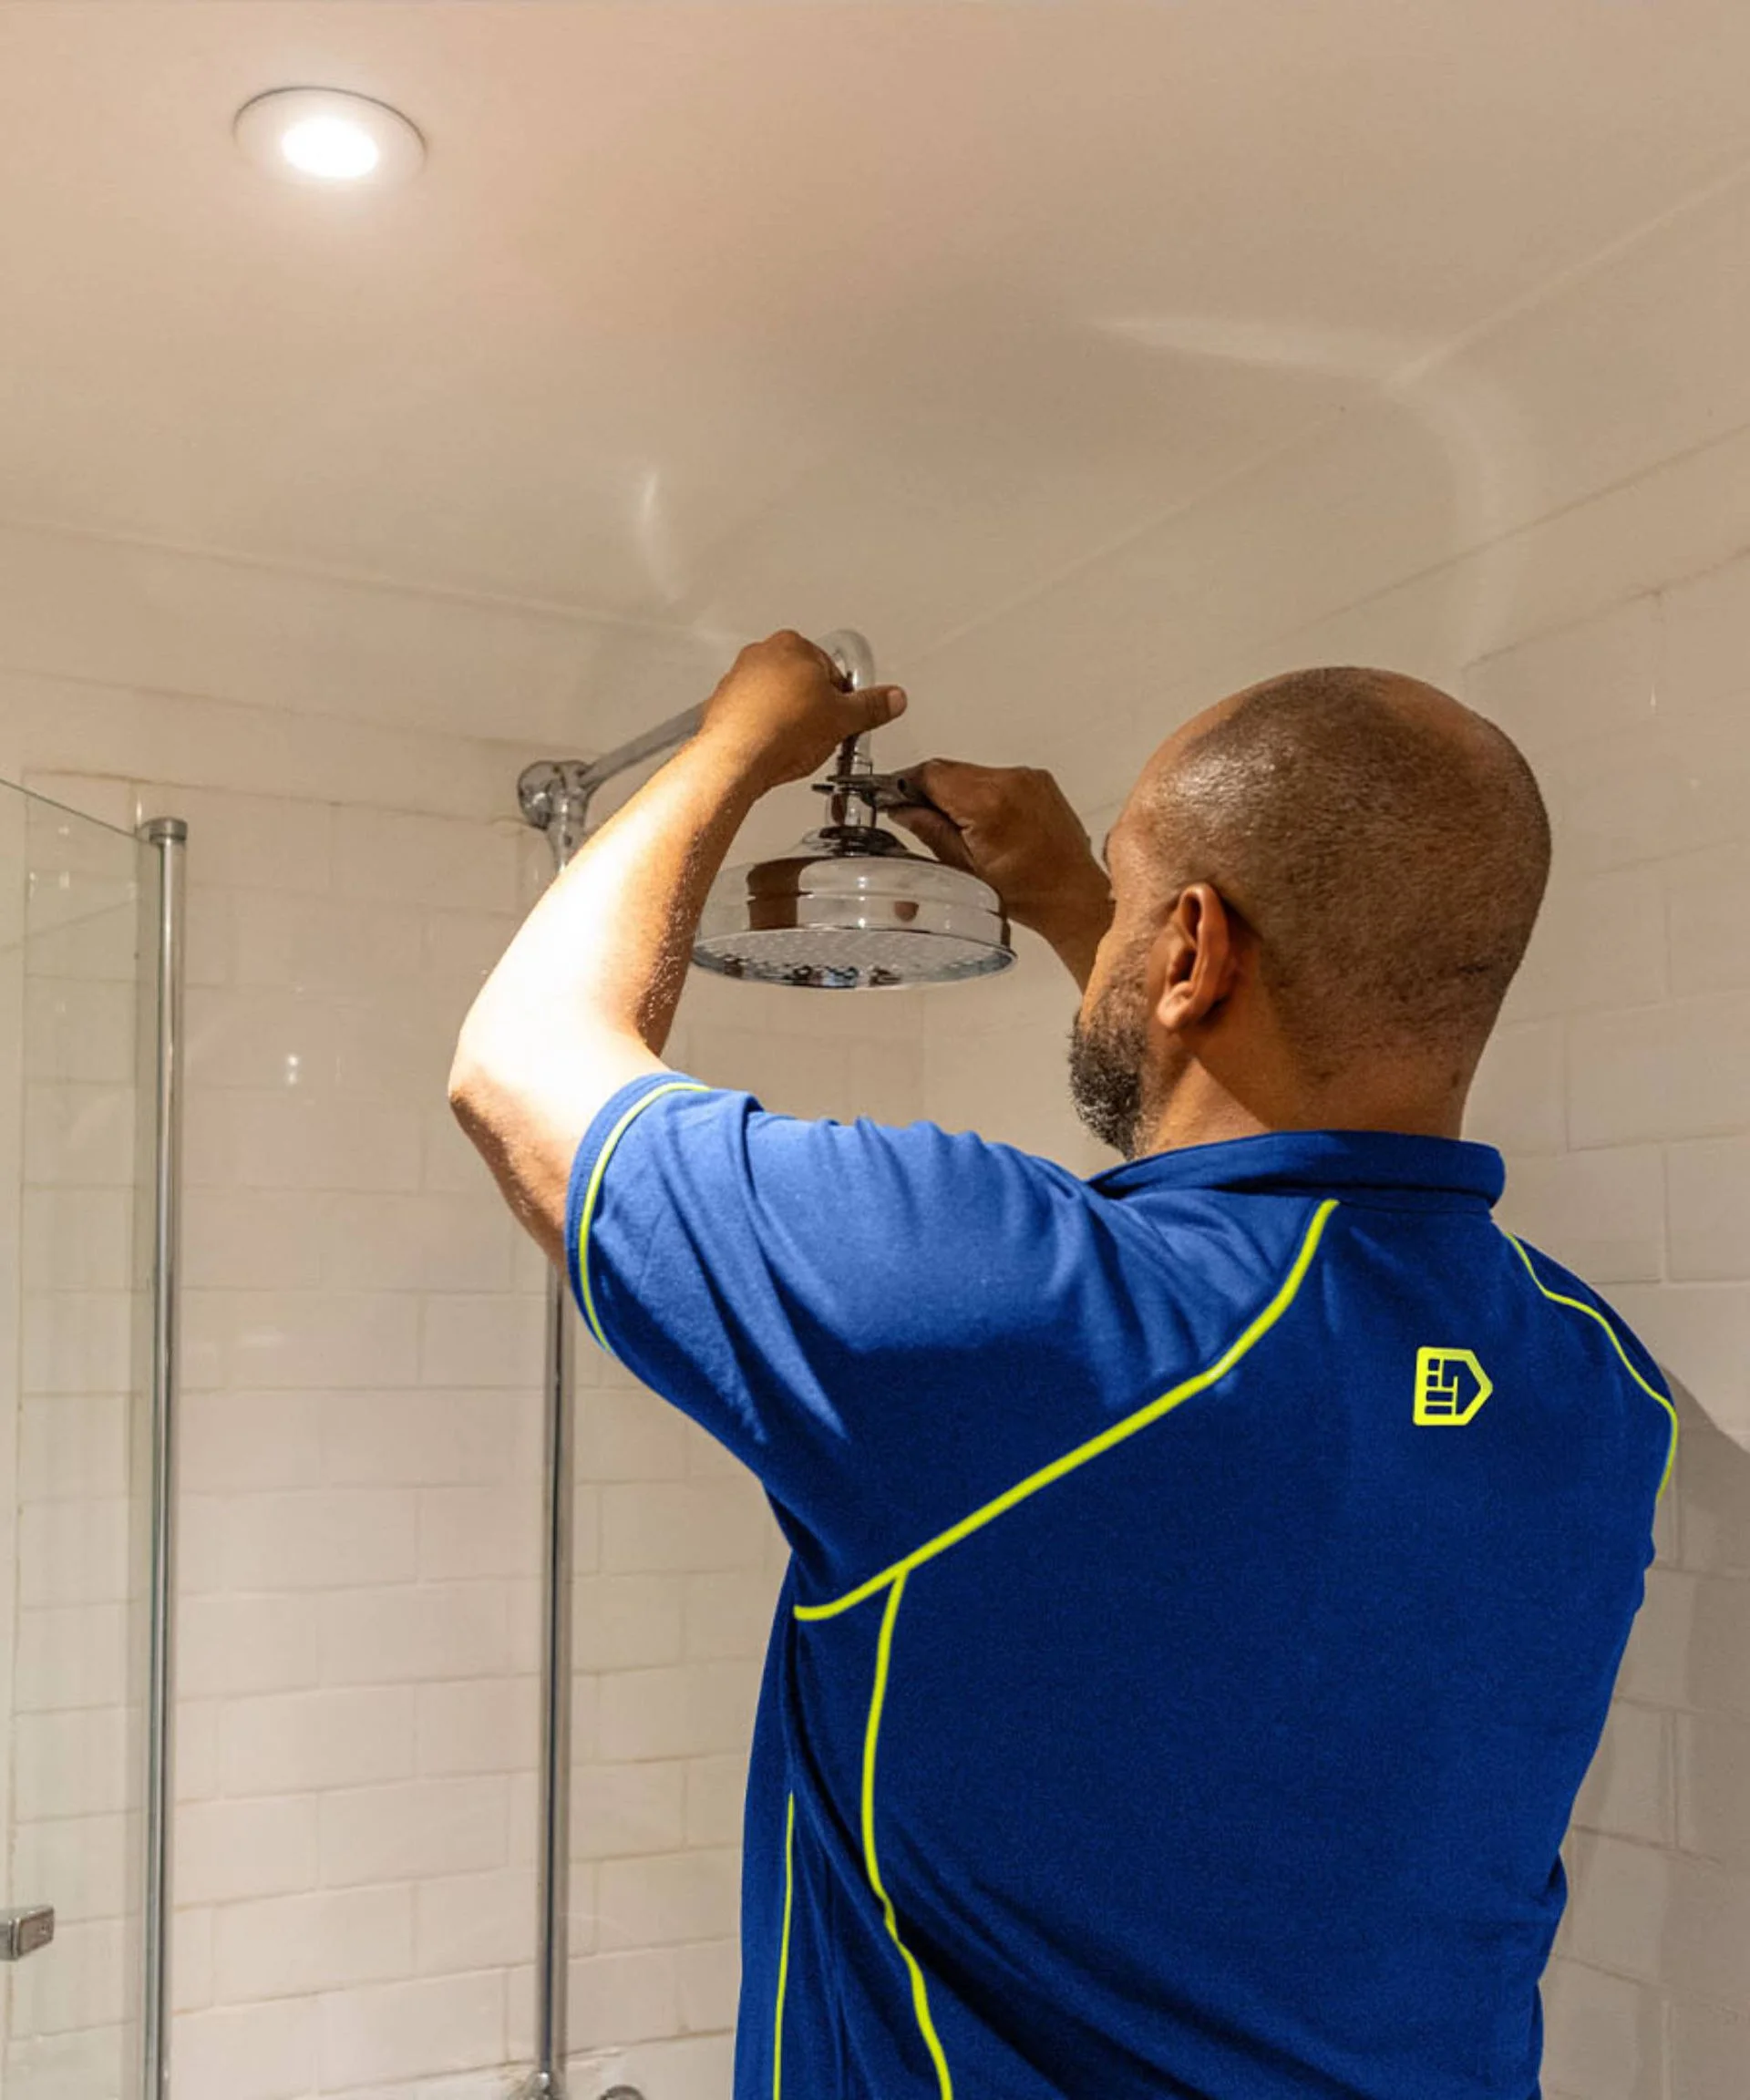
A shower that starts drizzling or spraying at odd angles may have a simple cause: mineral deposits blocking its nozzles. Neil Lampton describes limescale as a hard, chalky residue left by minerals in water. If it builds up, water flow can fall and you may end up replacing part of the shower.
Try removing limescale from your shower head before calling a professional. Wipe the head dry after use and clean it regularly with a suitable descaler. A removable head may be soaked in descaling solution. If a plumber is needed, expect at least an hour’s labour, plus the cost of any replacement parts.
FAQs
Aside from plumbing, what else can be damaged by bad bathroom etiquette?
Some damaging bathroom habits have nothing to do with pipes. A pile of damp towels left on the floor can trap moisture against it, encouraging surface mould and staining grout. Neil Lampton says the cleanup may mean scrubbing or, in worse cases, regrouting.
If you use a shower curtain, keep it inside the bath while showering so water runs back into the tub instead of onto the bathroom floor. Repeated spills can seep through gaps around flooring, bath edges or damaged seals, potentially reaching the floor structure or the ceiling below. After showering, spread the curtain along its rail so it can dry.
The pattern across these examples is straightforward: catch moisture early, clear it away and let the room dry. If your bathroom needs more than a change in routine, browse these bathroom trends for ideas, or look at ways to cut costs on a bathroom makeover.



Discussion
Sign in to join the discussion.