How to Shingle a Shed Roof in 6 Ways: Beginners Must Try
Shingles have been a popular roof covering for private residents and sheds in the US. This type of roof is not only attractive but also durable and cost-effective. Additionally, how to shingle a shed roof is so simple that beginners can complete the task without significant issues.
There are several steps to install roof shingles for your shed starting from installing the drip edge to installing ridge cap. Whether you are a beginner or a seasonal DIY-er who wants to improve your roofing skills, this is just for you.
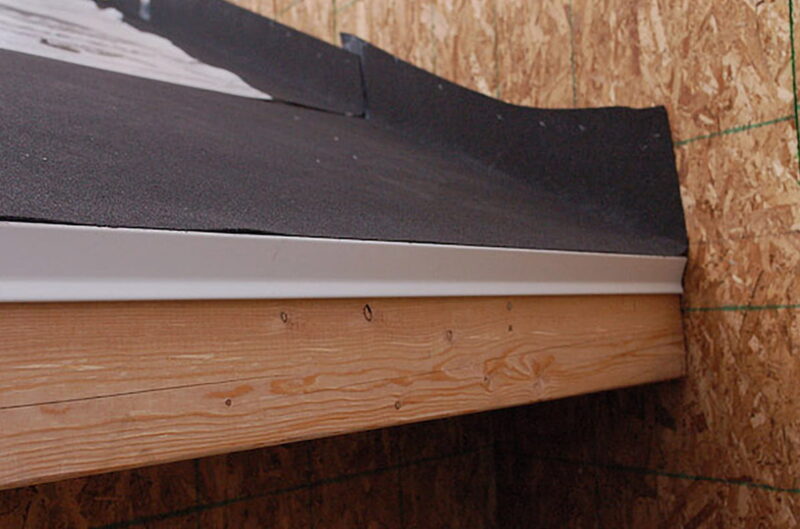
Before you start installing roof shingles, it is crucial to make sure the structure is sound. It helps prevent problems caused by the weight of the shingles. When everything is ready, start working with the eve drip edge.
Extend the eve drip edge up the rake on top of the roof sheeting. Once it is set, install the building paper. Be careful because this material can be slippery when you are standing on it. This is why how to shingle a single slope roof is more challenging.
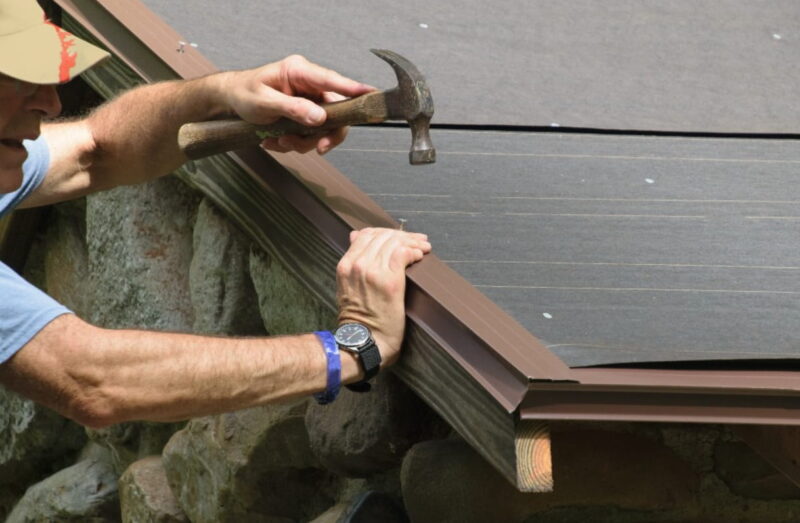
Next, you will need to work with drip edge for the roof rakes. The rake drip edge should be installed atop the building paper to protect it from moisture. Before installing the drip edge, you will need to cut the overhanging building paper.
You can start from the lower end of the rake. Maintain a 2-inch overlap from the eve drip edge that has been installed earlier.
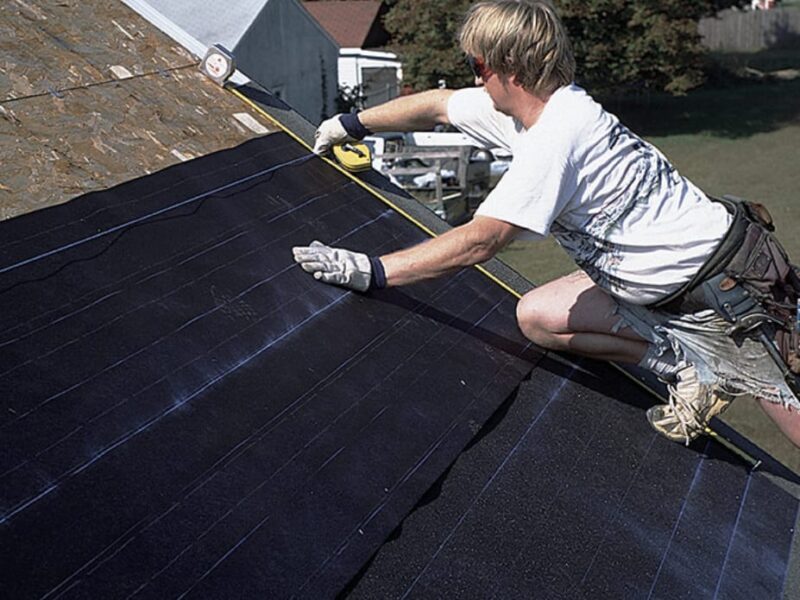
The next step on how to shingle a shed roof is to put alignment marks on the installed building paper. The horizontal alignment helps you keep shingles straight during the installation process. Measure from the drip edge and move along the roof rake.
Put mark every 12 inches using a chalk. You can also draw a horizontal line to make the process much easier.
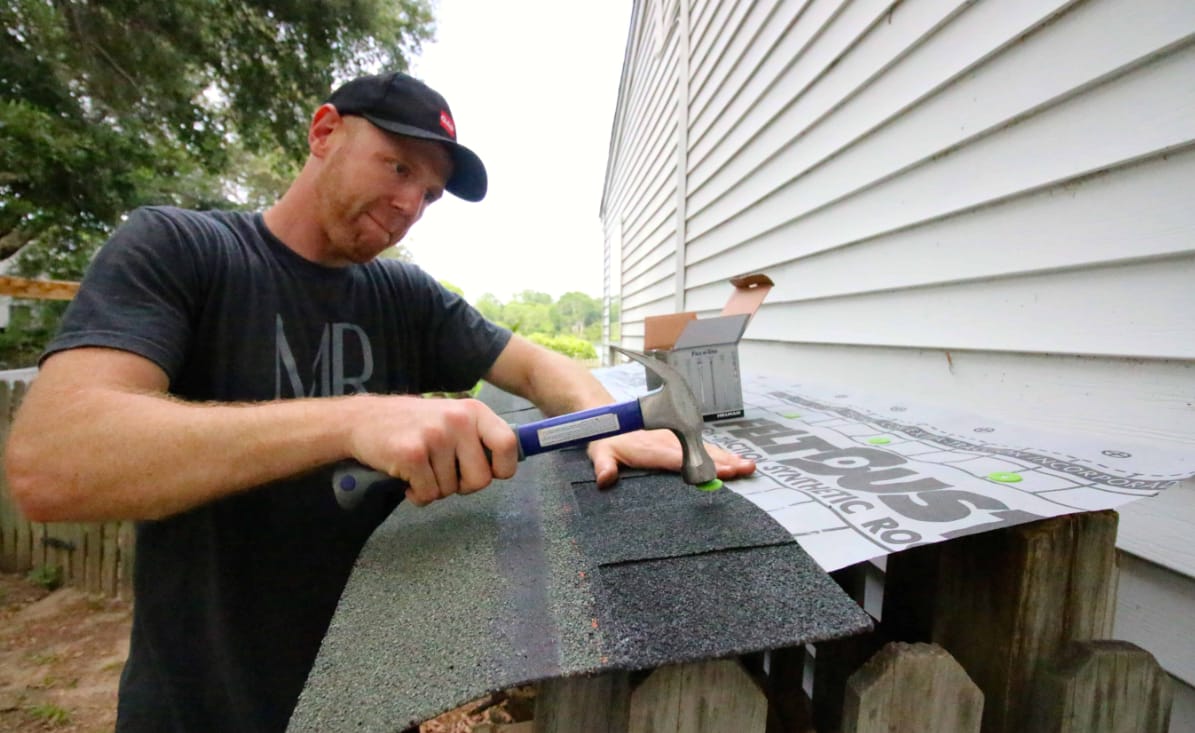
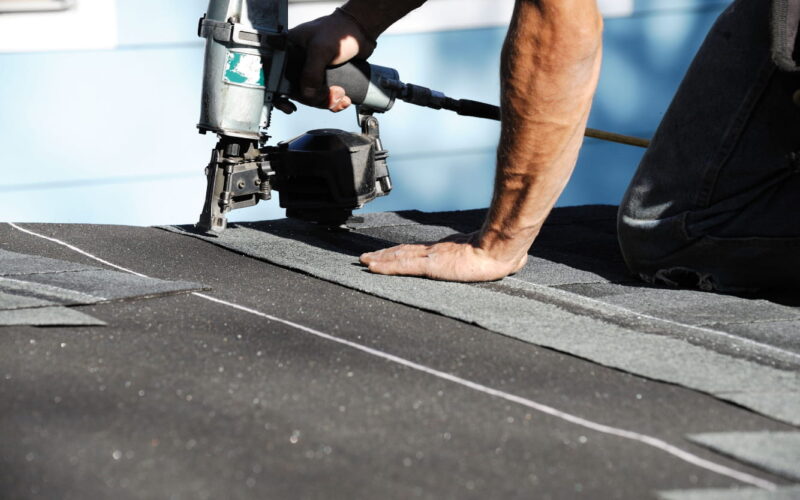
Now it is time to install your first strip shingle. Use starter strip shingles to make sure the nail heads of the first row are not exposed. You can make your own starter strip shingles or purchase store-bought ones.
Continue the process by installing the first rows of the shingles. The rows must be offset from the previous by 6 inches to prevent water from flowing down between the joints. Repeat the process until shed roof is fully covered.
To maintain the aesthetic of your shed, the next step of how to shingle a shed roof is cutting the shingle ends. Use a utility knife to cut along the overhanging ends. Be sure to maintain 3/8 inches overhang.
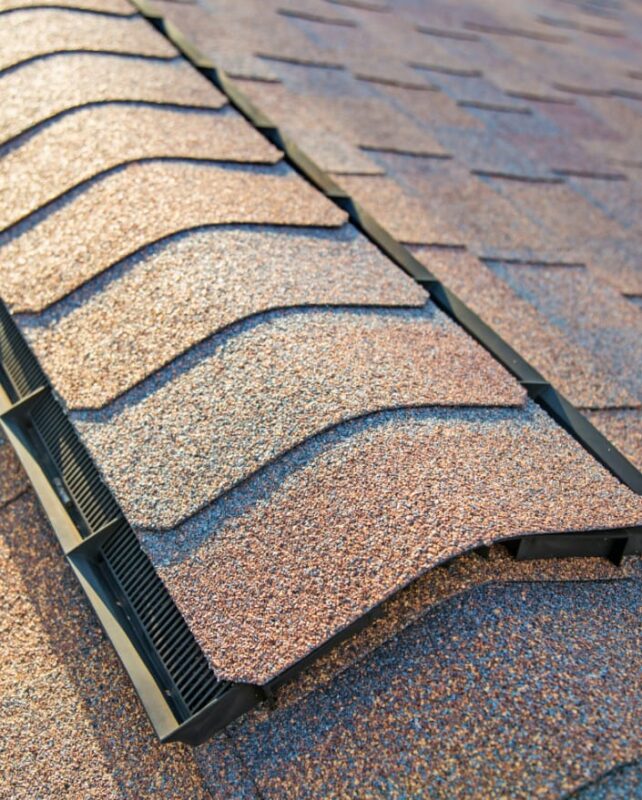
Finish the project by installing ridge cap. The cap pieces are available pre-cut to save time and effort. But if you have some extra shingles, feel free to cut the caps from the left-over. Ridge caps prevent water from running into your shed and cause leaking.
Secure each shingle cap with a single nail on the end. Be sure the ridge cap overlaps the previously installed one. That’s how to shingle a shed roof correctly.