A homeowner replaces a leaky kitchen tap with a boiling water model, sharing the tools, fitting steps and practical benefits of DIY installation.
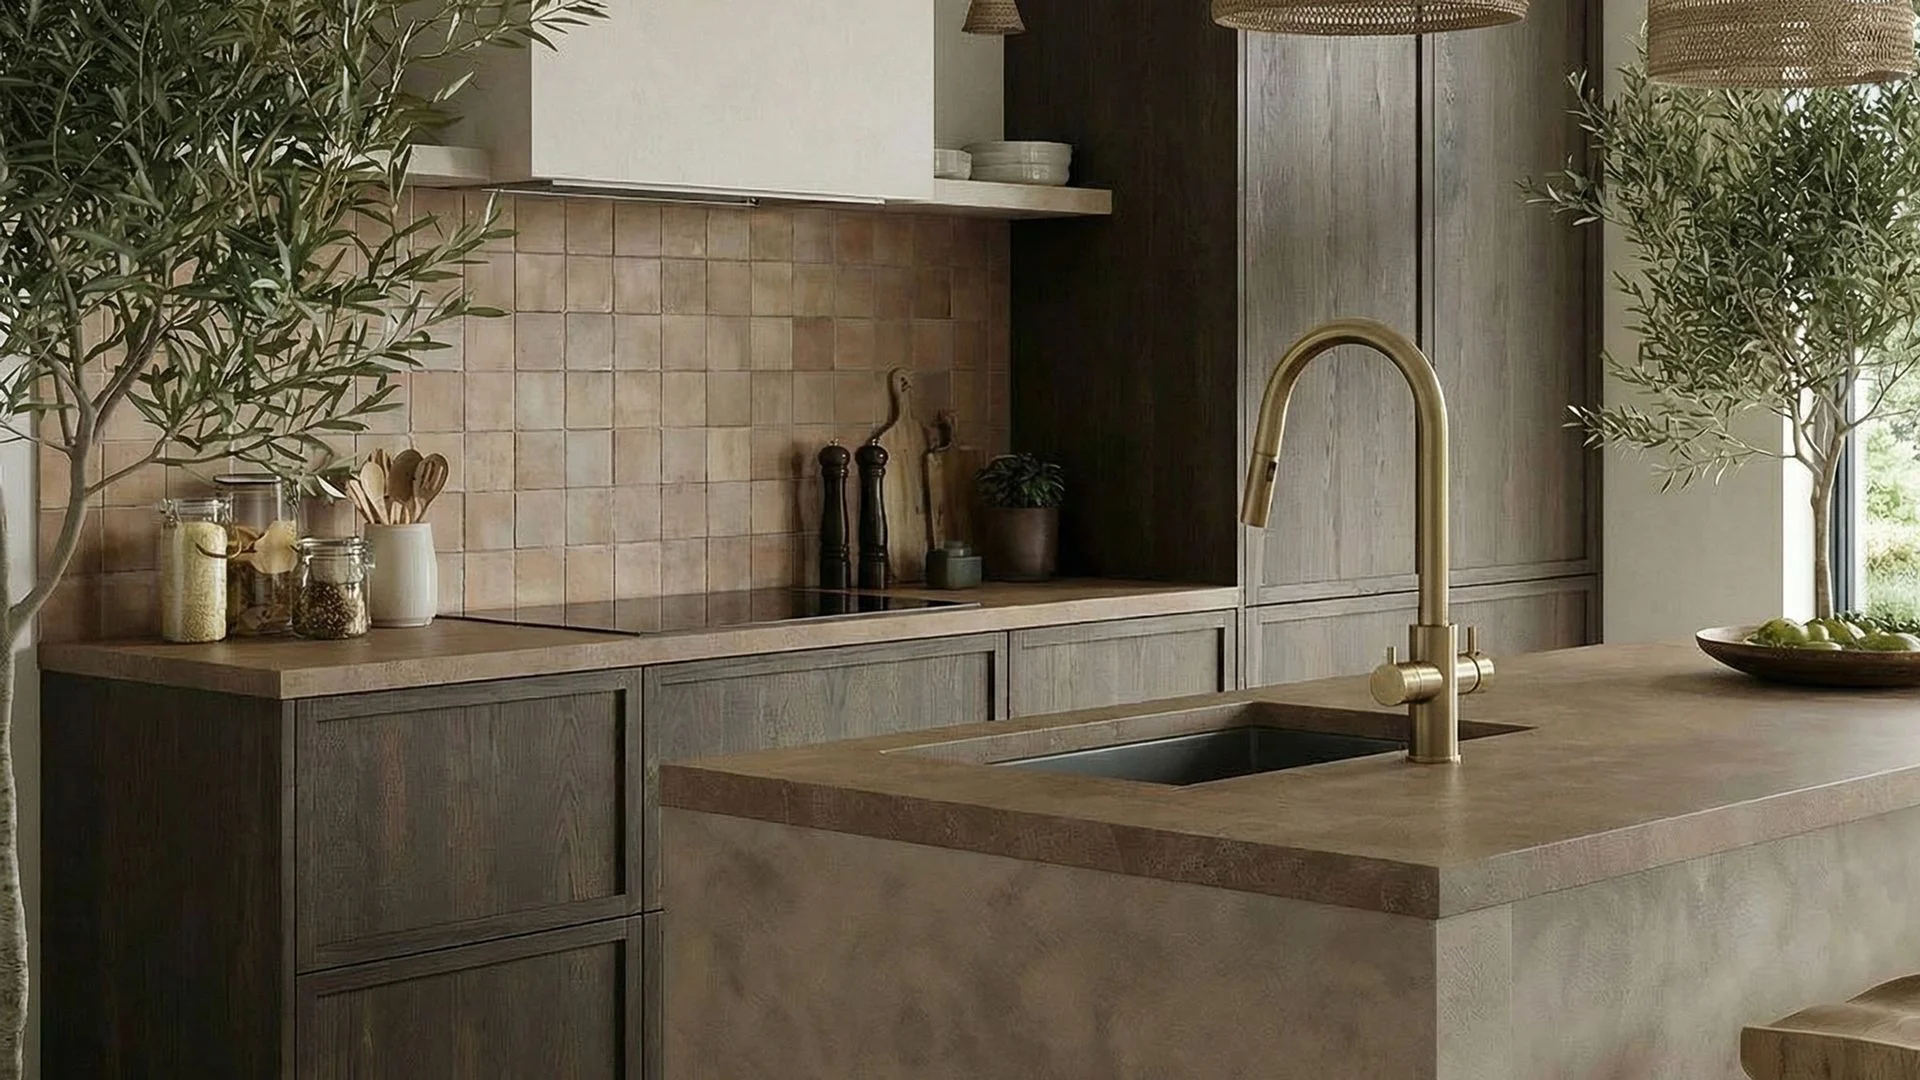
A boiling water tap looks like a small kitchen upgrade. In practice, it can also turn into a surprisingly manageable DIY job—and it fixed several problems at once in my kitchen.
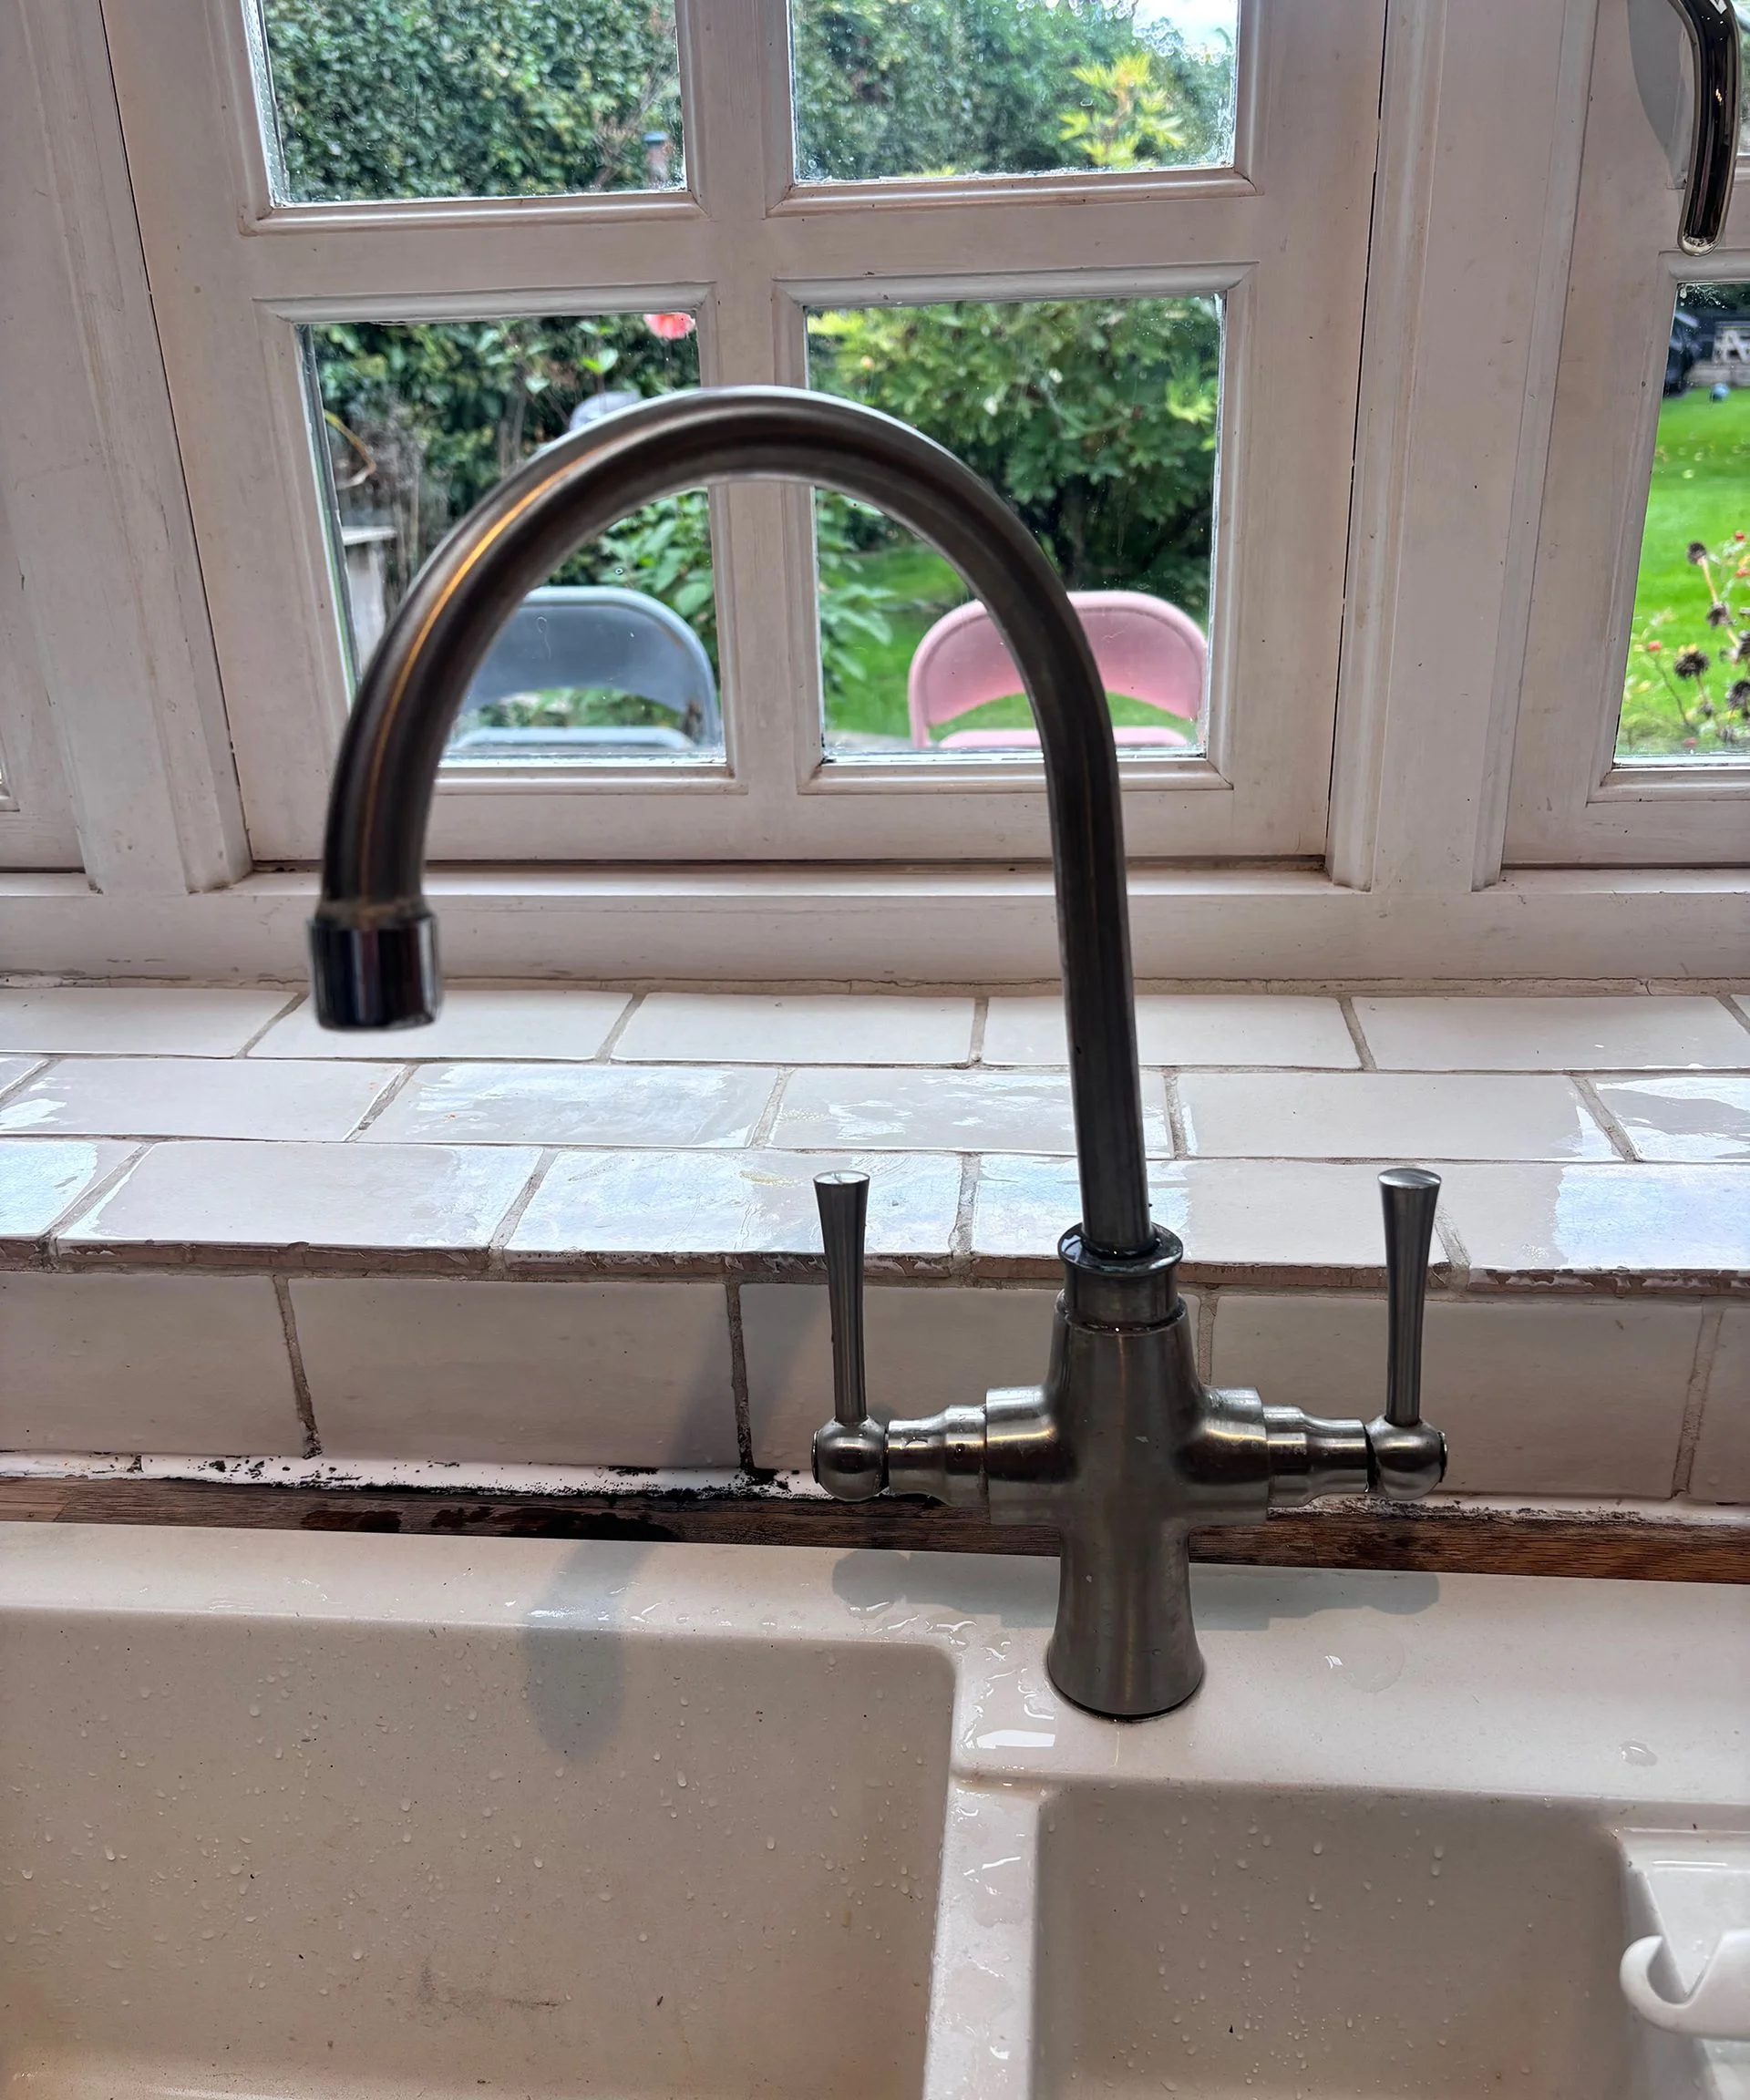
We finished renovating our house almost 10 years ago. The kitchen renovation has held up well, but the tap had become a weak point: it didn’t suit the decor, leaked, and wobbled in the sink. It also lacked the features I’d started to covet in other people’s kitchens. I wanted boiling water without waiting for a kettle, and without keeping one on the worktop.
My husband and I installed a boiling water tap ourselves. There were a few awkward moments under the sink, but the job was easier than I’d expected. Here’s how it went.
1. Choosing the tap
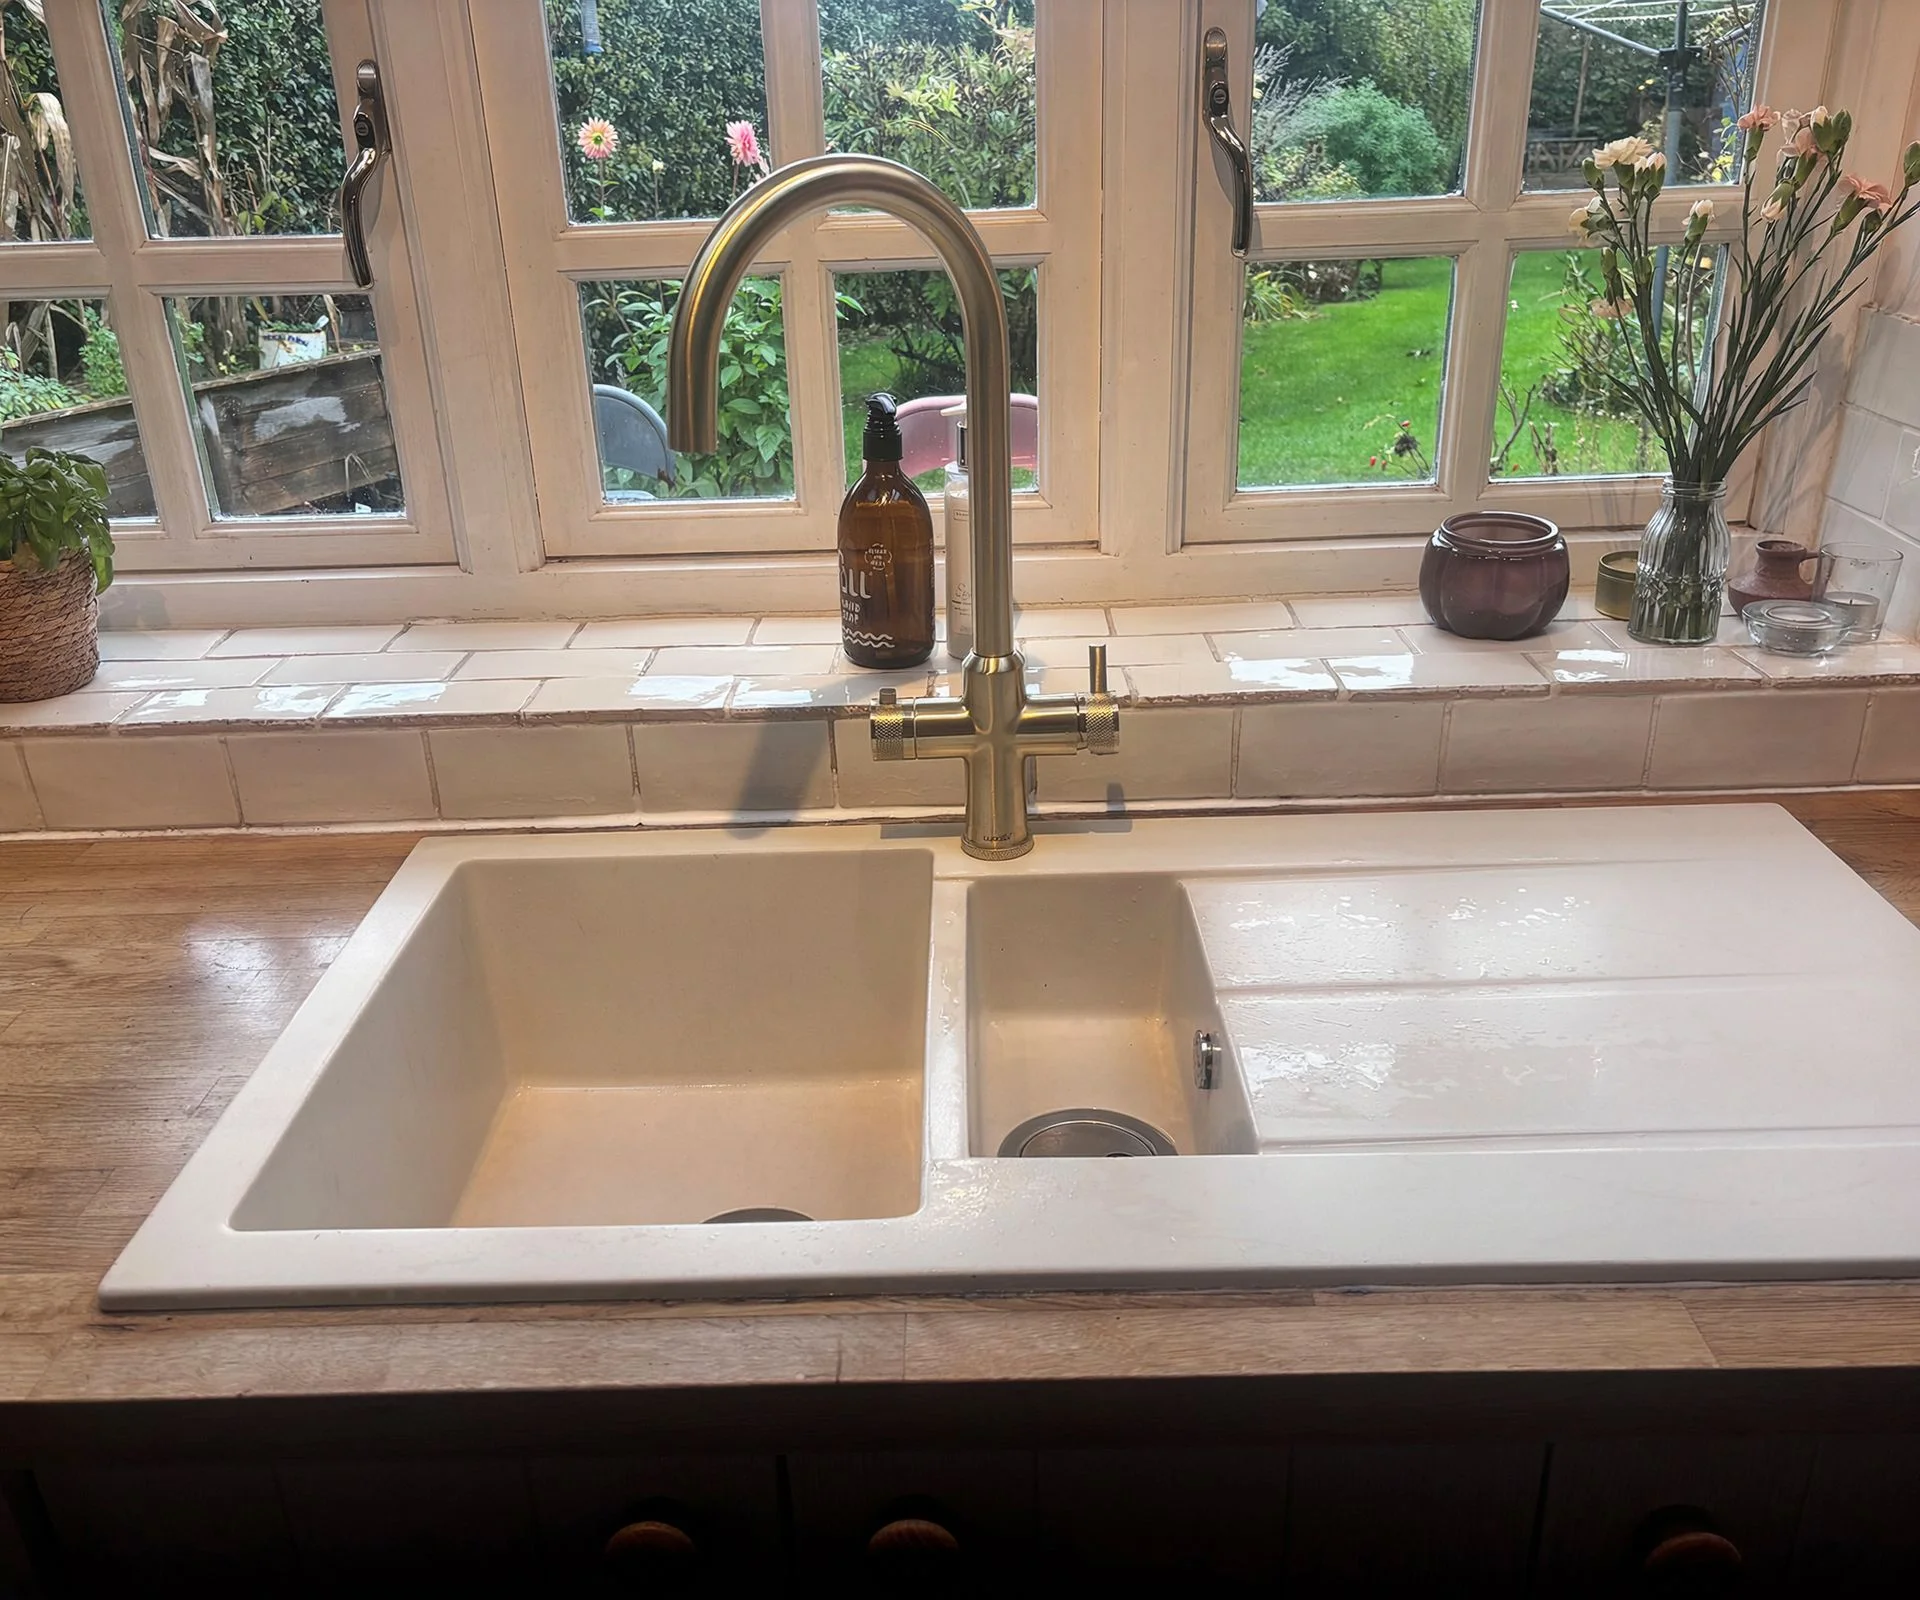
We fitted the Design+ Pro Pull 4 in 1 Brushed Brass Boiling Hot Water Tap from Wodar. Its appearance was the main draw, and it had won several awards. The compact tank mattered too: space under our sink is limited, and I hadn’t fitted a kitchen tap before. This model was billed as suitable for DIY installation.
The pull-out spray was another selling point. Our kitchen sink is hard to clean, and the spray makes that job easier. That practical benefit has proved just as useful as the instant hot water.
2. Getting the tools together
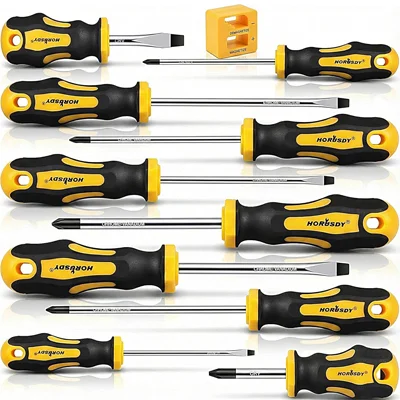
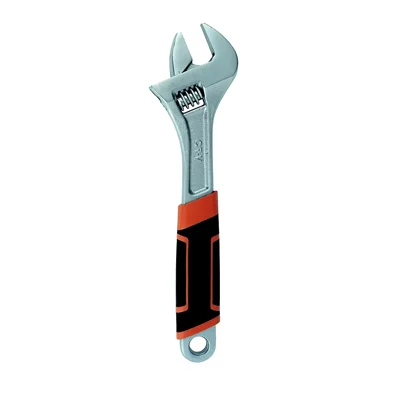
You don’t need a specialist toolkit for the installation. If you’ve tackled a few easy DIY jobs, you may already have most of what’s needed: a Phillips screwdriver, an adjustable wrench and insulated waterproof gloves. Old towels help catch drips, while a torch makes it easier to see inside a dark cabinet.
Shop tap fitting toolkit
 Bargain buy
A full set makes it easier to find the right screwdriver. This one has comfortable handles and magnetic heads, which help with small, fiddly jobs.
 10-year warranty
The soft-grip handle and clear measurement scale make this wrench straightforward to use for a range of DIY tasks. It comes with a 10-year warranty.
 Non-slip
These gloves protect against moisture and heat, and their sandy latex palm coating helps with grip.
3. Taking out the old tap
First we shut off the water supply and drained what remained in the tap. Then we used a wrench to loosen the large nut and disconnected the hot and cold supply pipes from the tap tails.
Under the sink, a long bolt held the base plate in place. Once we loosened it and removed the plate, the old tap lifted out, leaving the sink hole clear. The tap had become loose and leaky, so it was overdue for replacement—and it no longer suited our kitchen design.
4. Sorting through the fittings
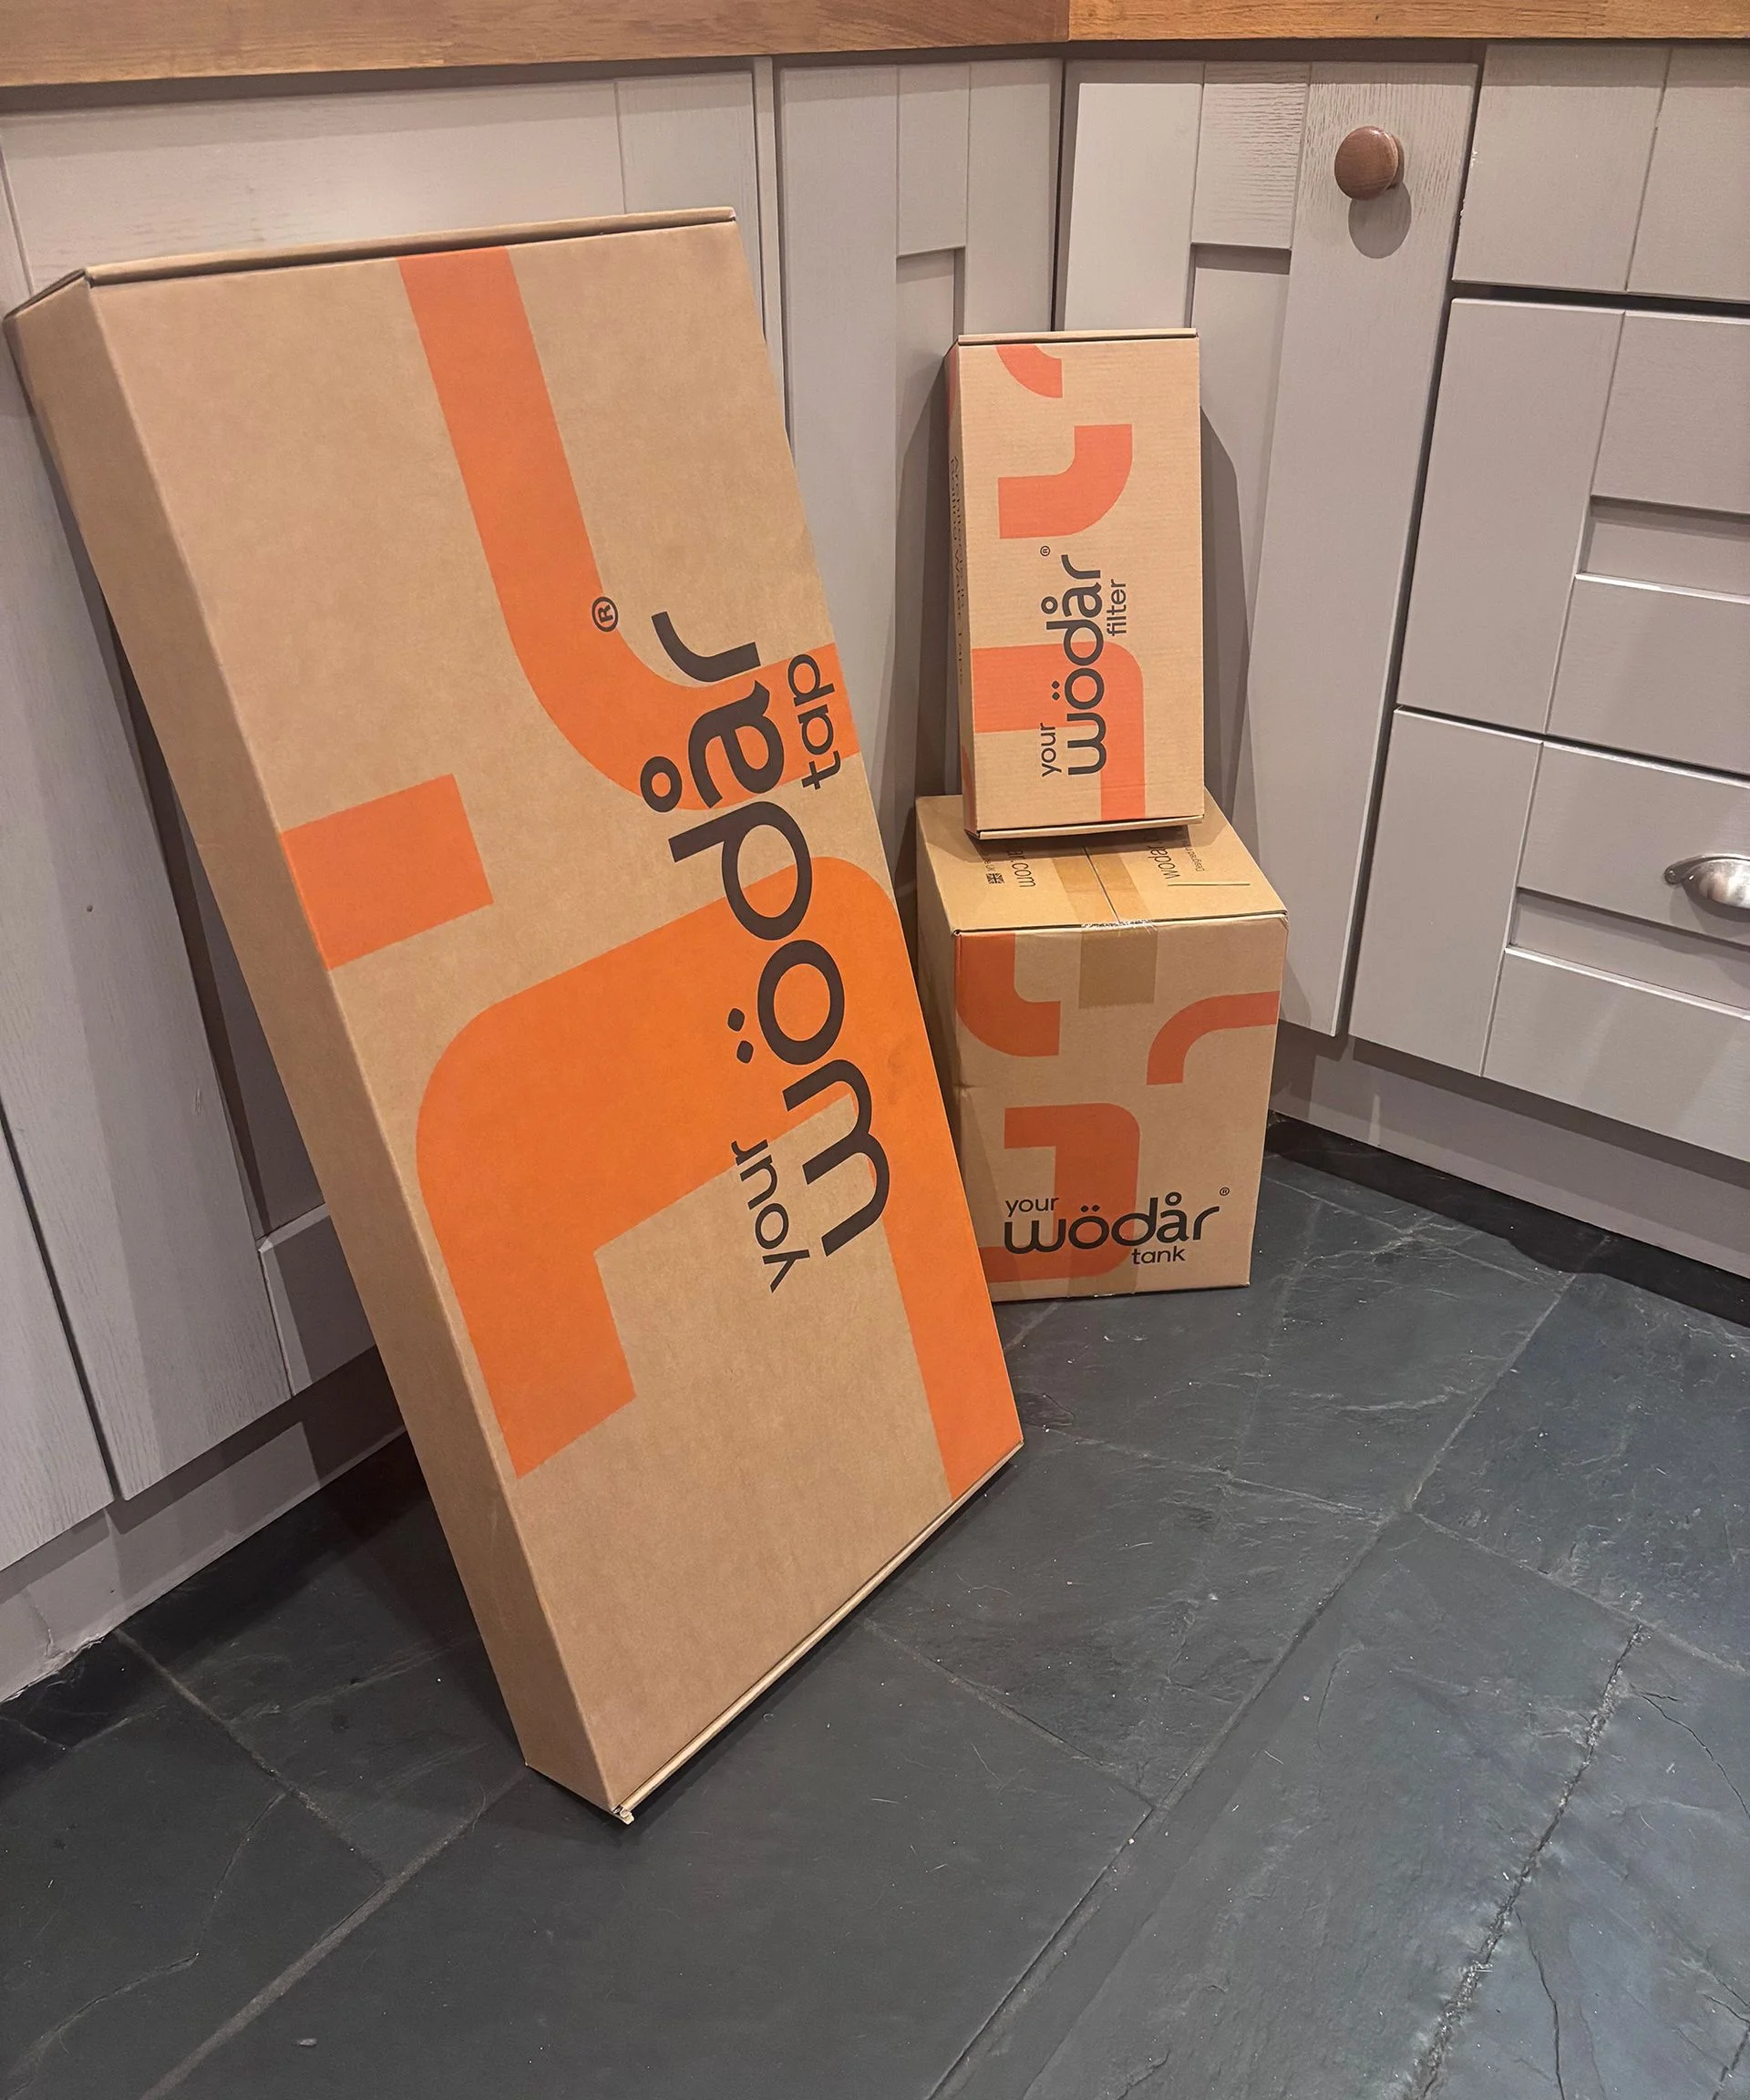
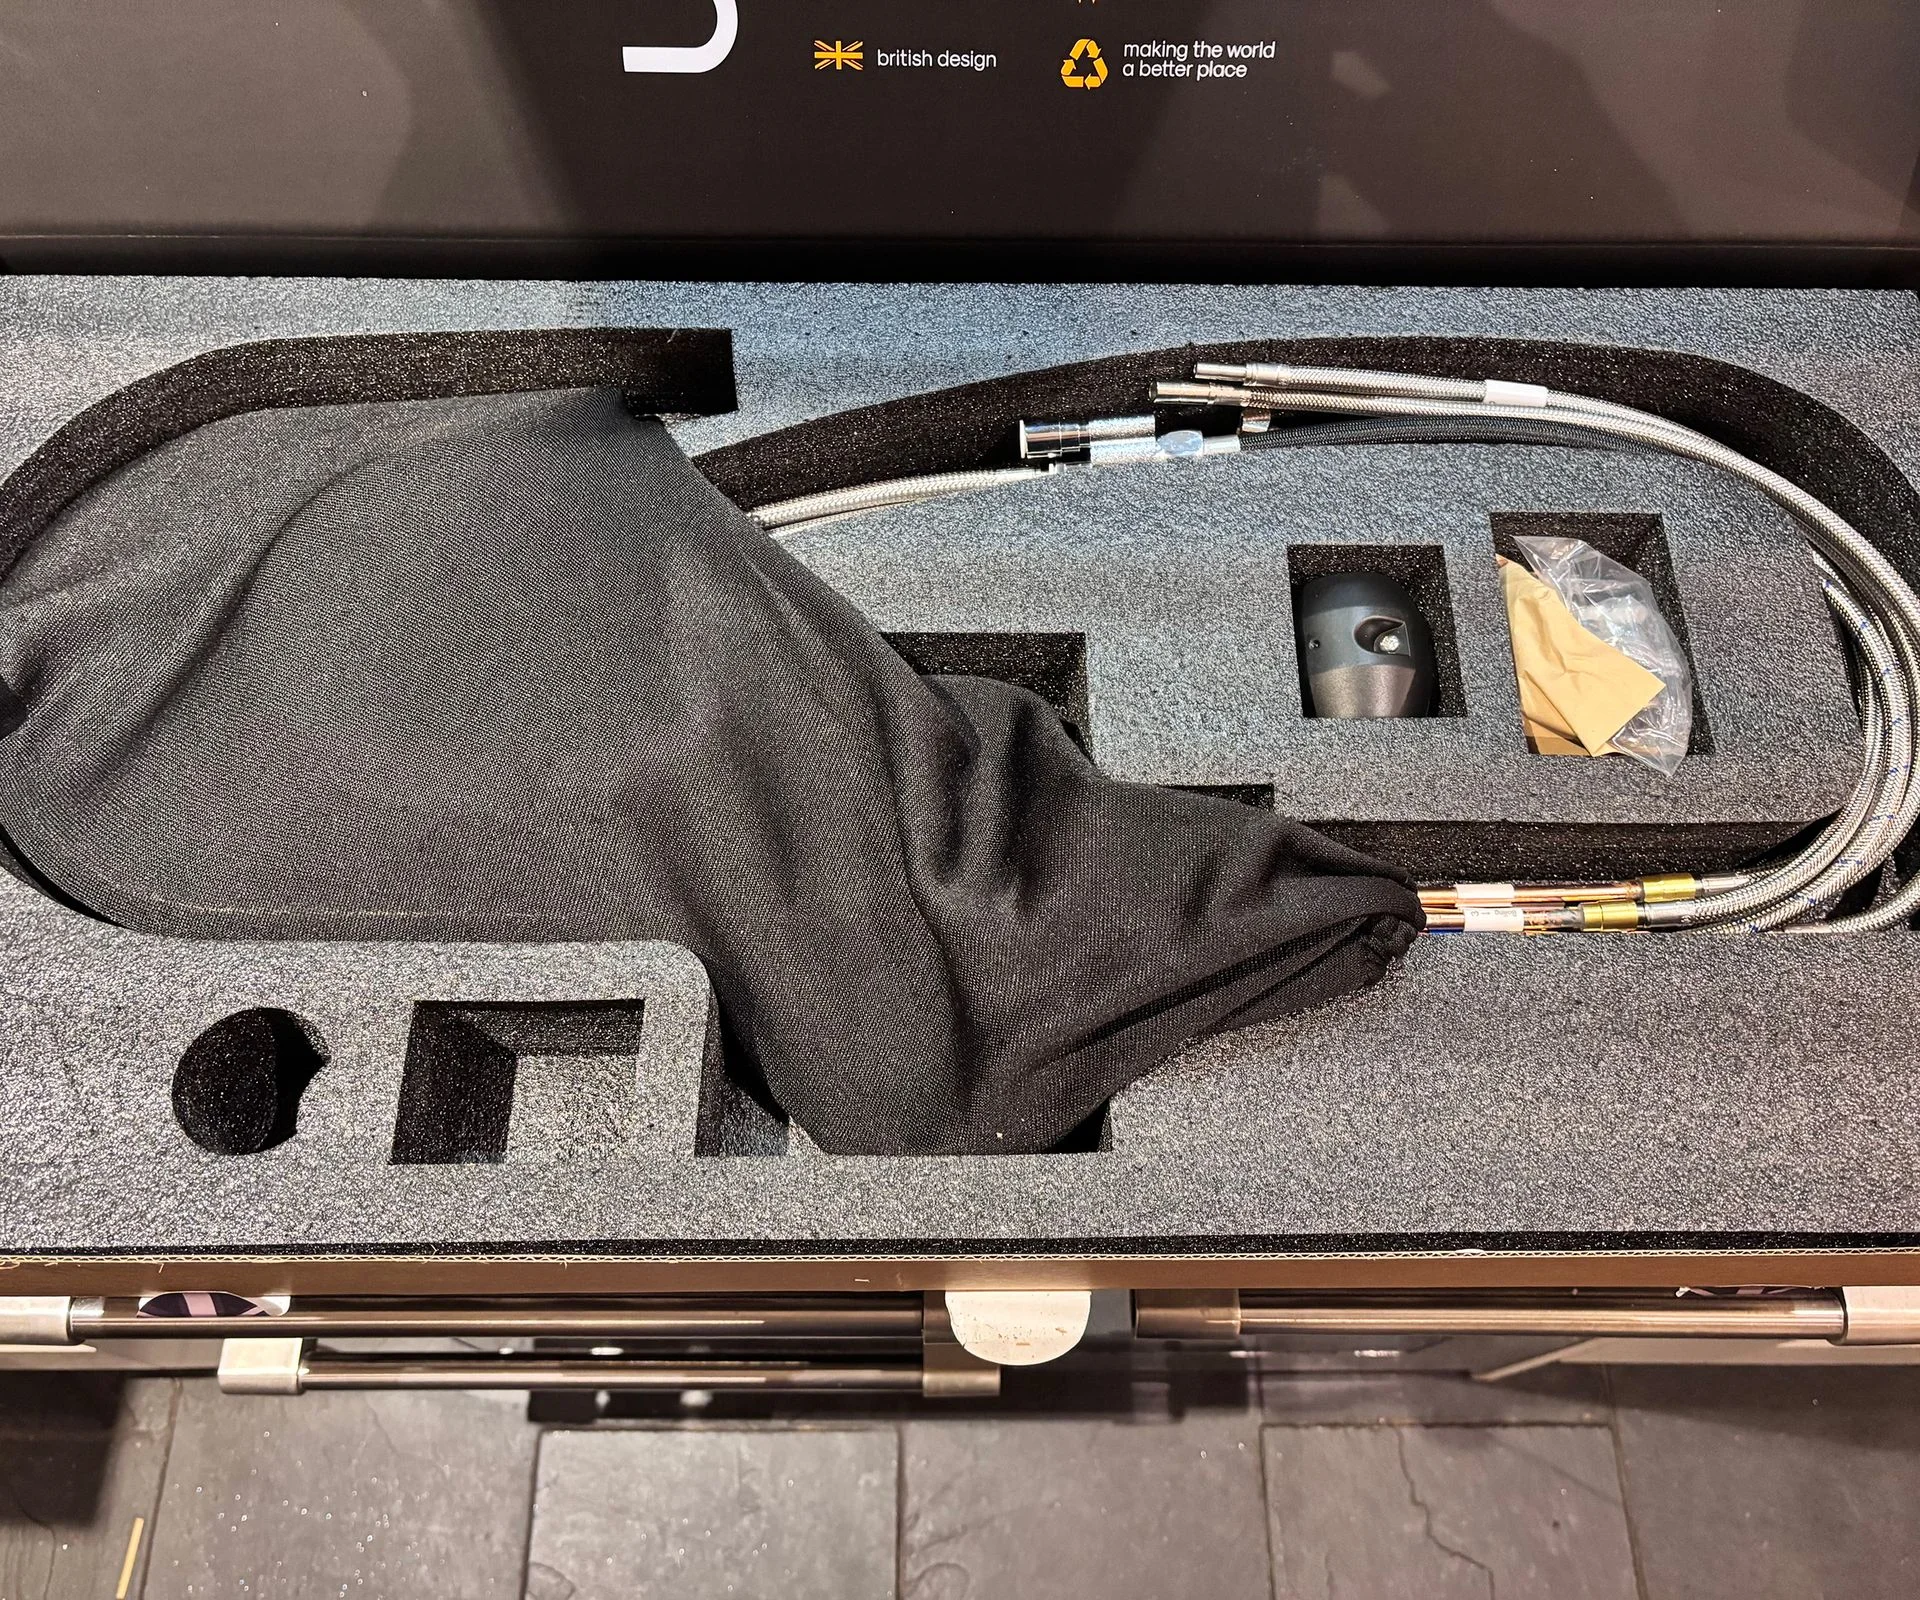
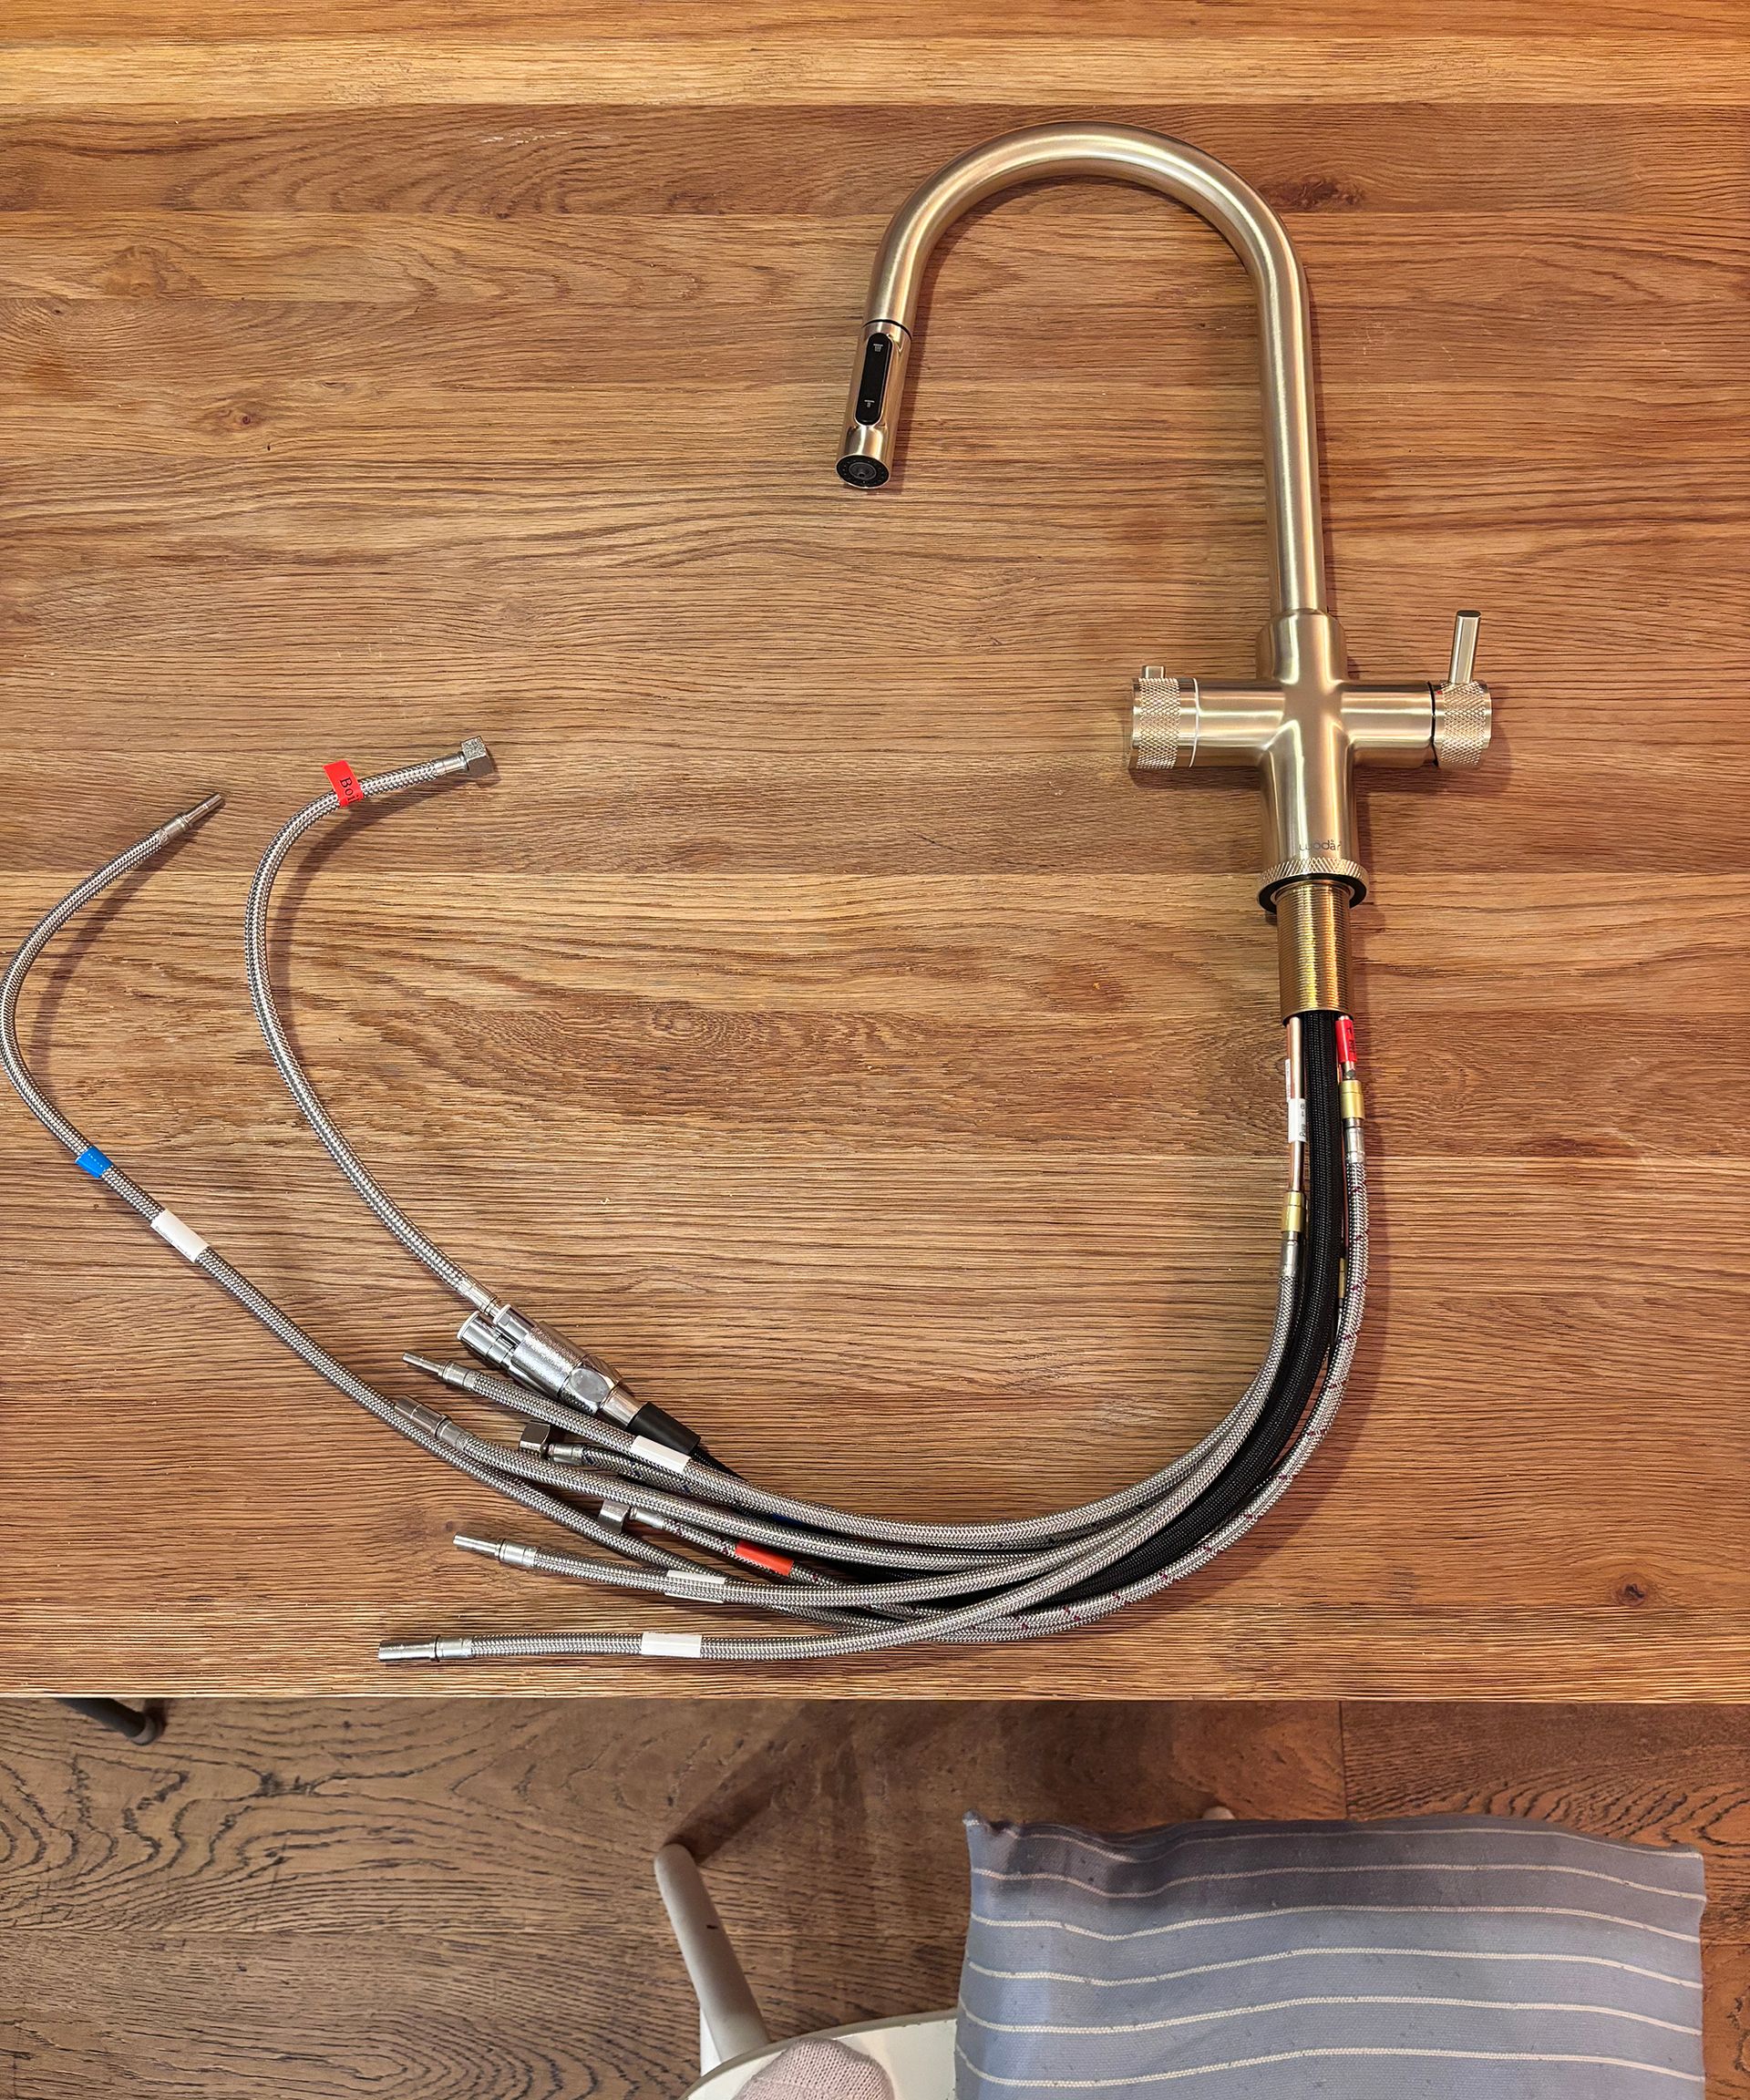
Opening the boxes revealed a lot of hoses and connectors. At first glance, the dangling pipes looked a bit like an alien prop from Doctor Who. The labels quickly made the kit easier to understand.
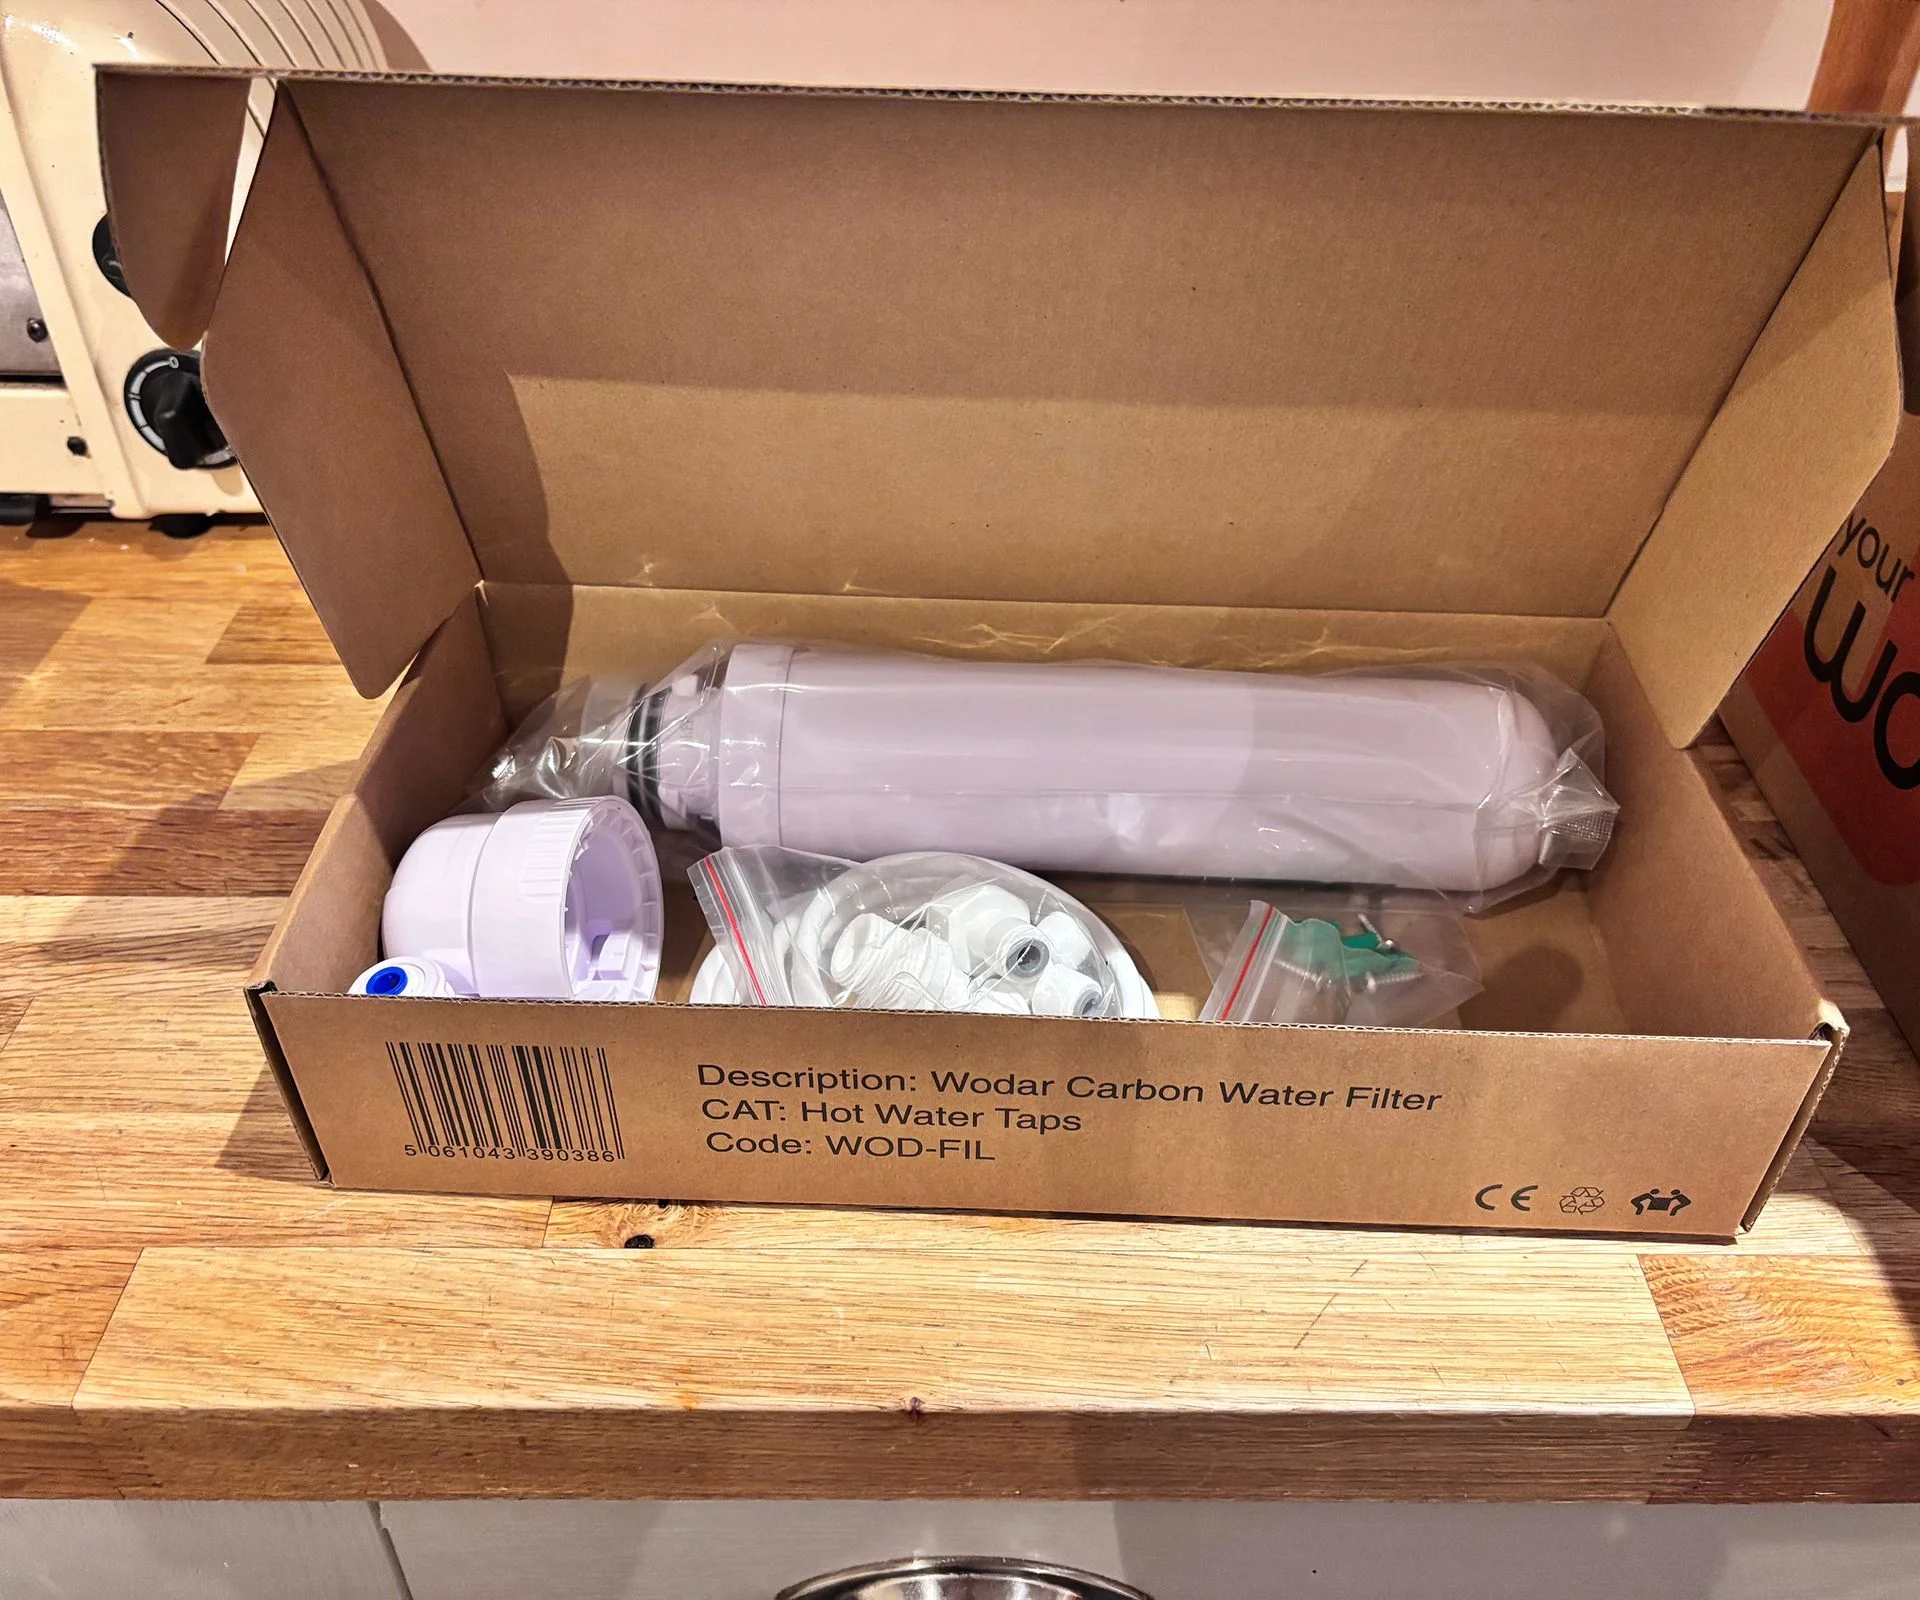
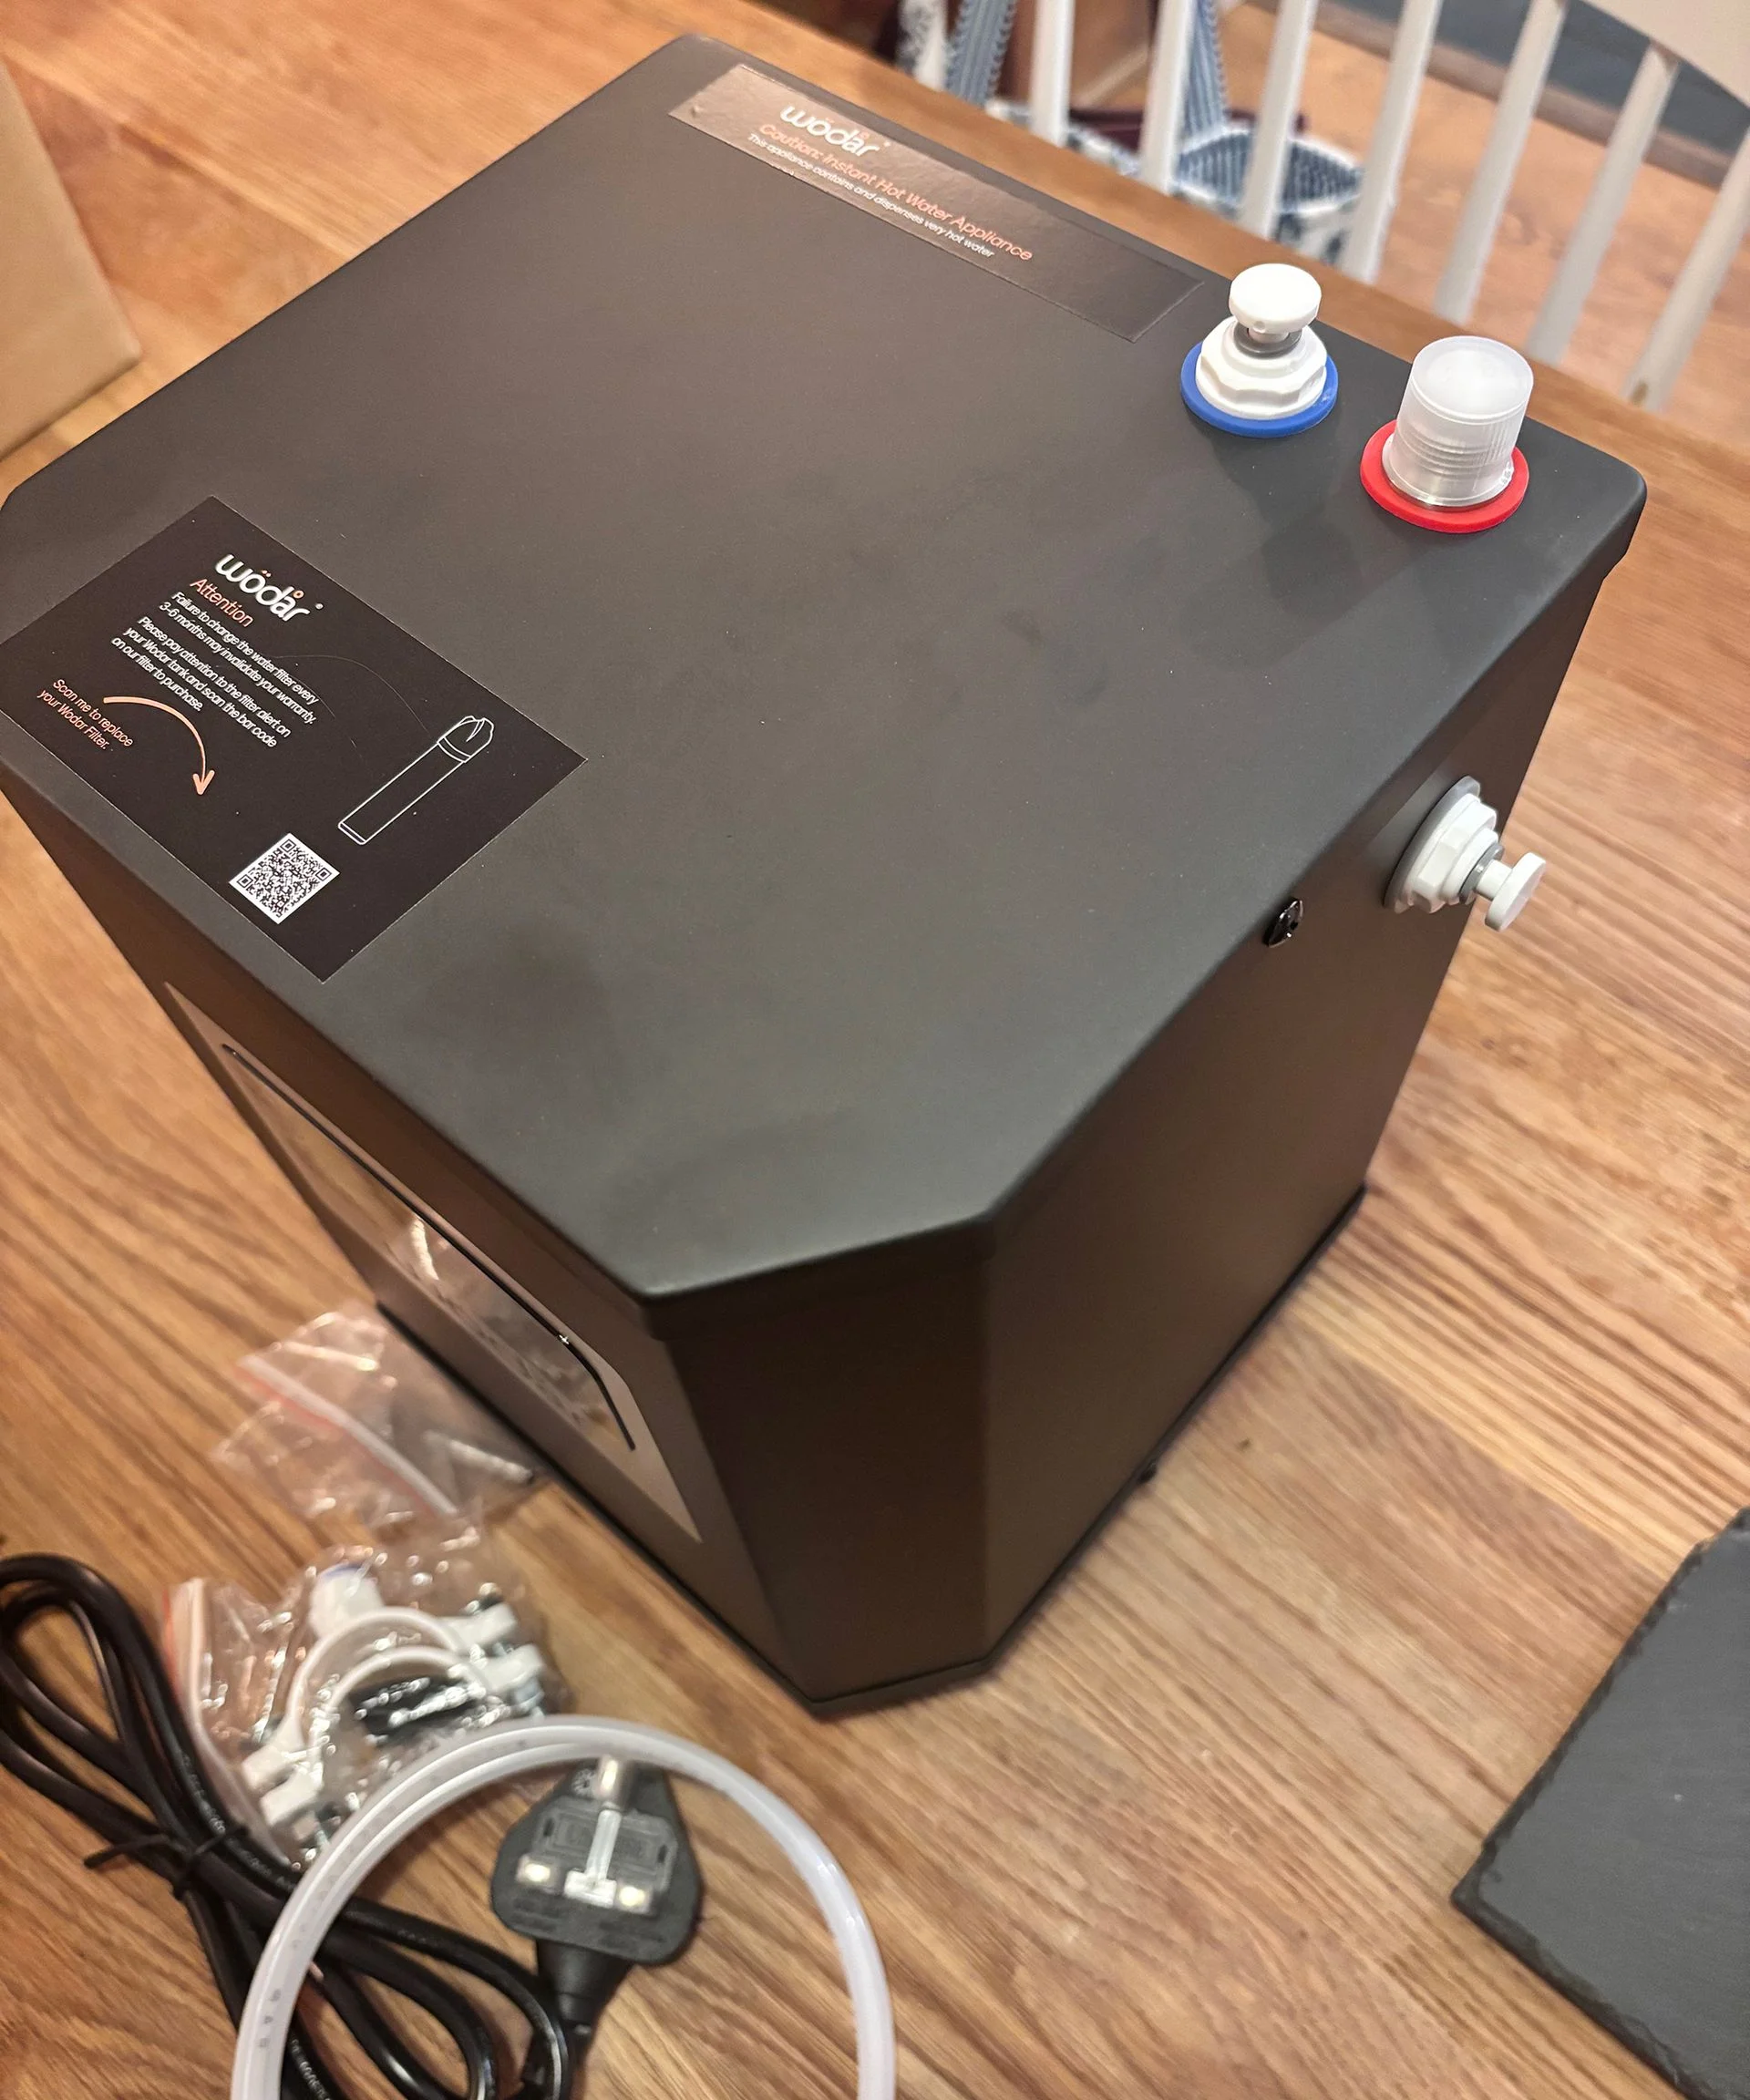
The package included hot and cold water pipes, a tube for the heater, a hose for the plug-in filter, and other connectors. Most fittings push together; the connection to the mains water supply is the exception. There was also a gravity ball for the pull-out nozzle, a microfibre cloth and plenty of spare fittings. I’d missed having spares when installing other kitchen appliances.
The filter bottle and its fittings came in one box, with the heater in another. The heater has simple red and blue outlets and a power plug for the socket under the sink.
5. Fitting the tap and heater
The heater sits beneath the sink, next to the waste pipe. We marked the pipe at the heater’s height, drilled a hole just below the mark, and fitted the drainage kit.
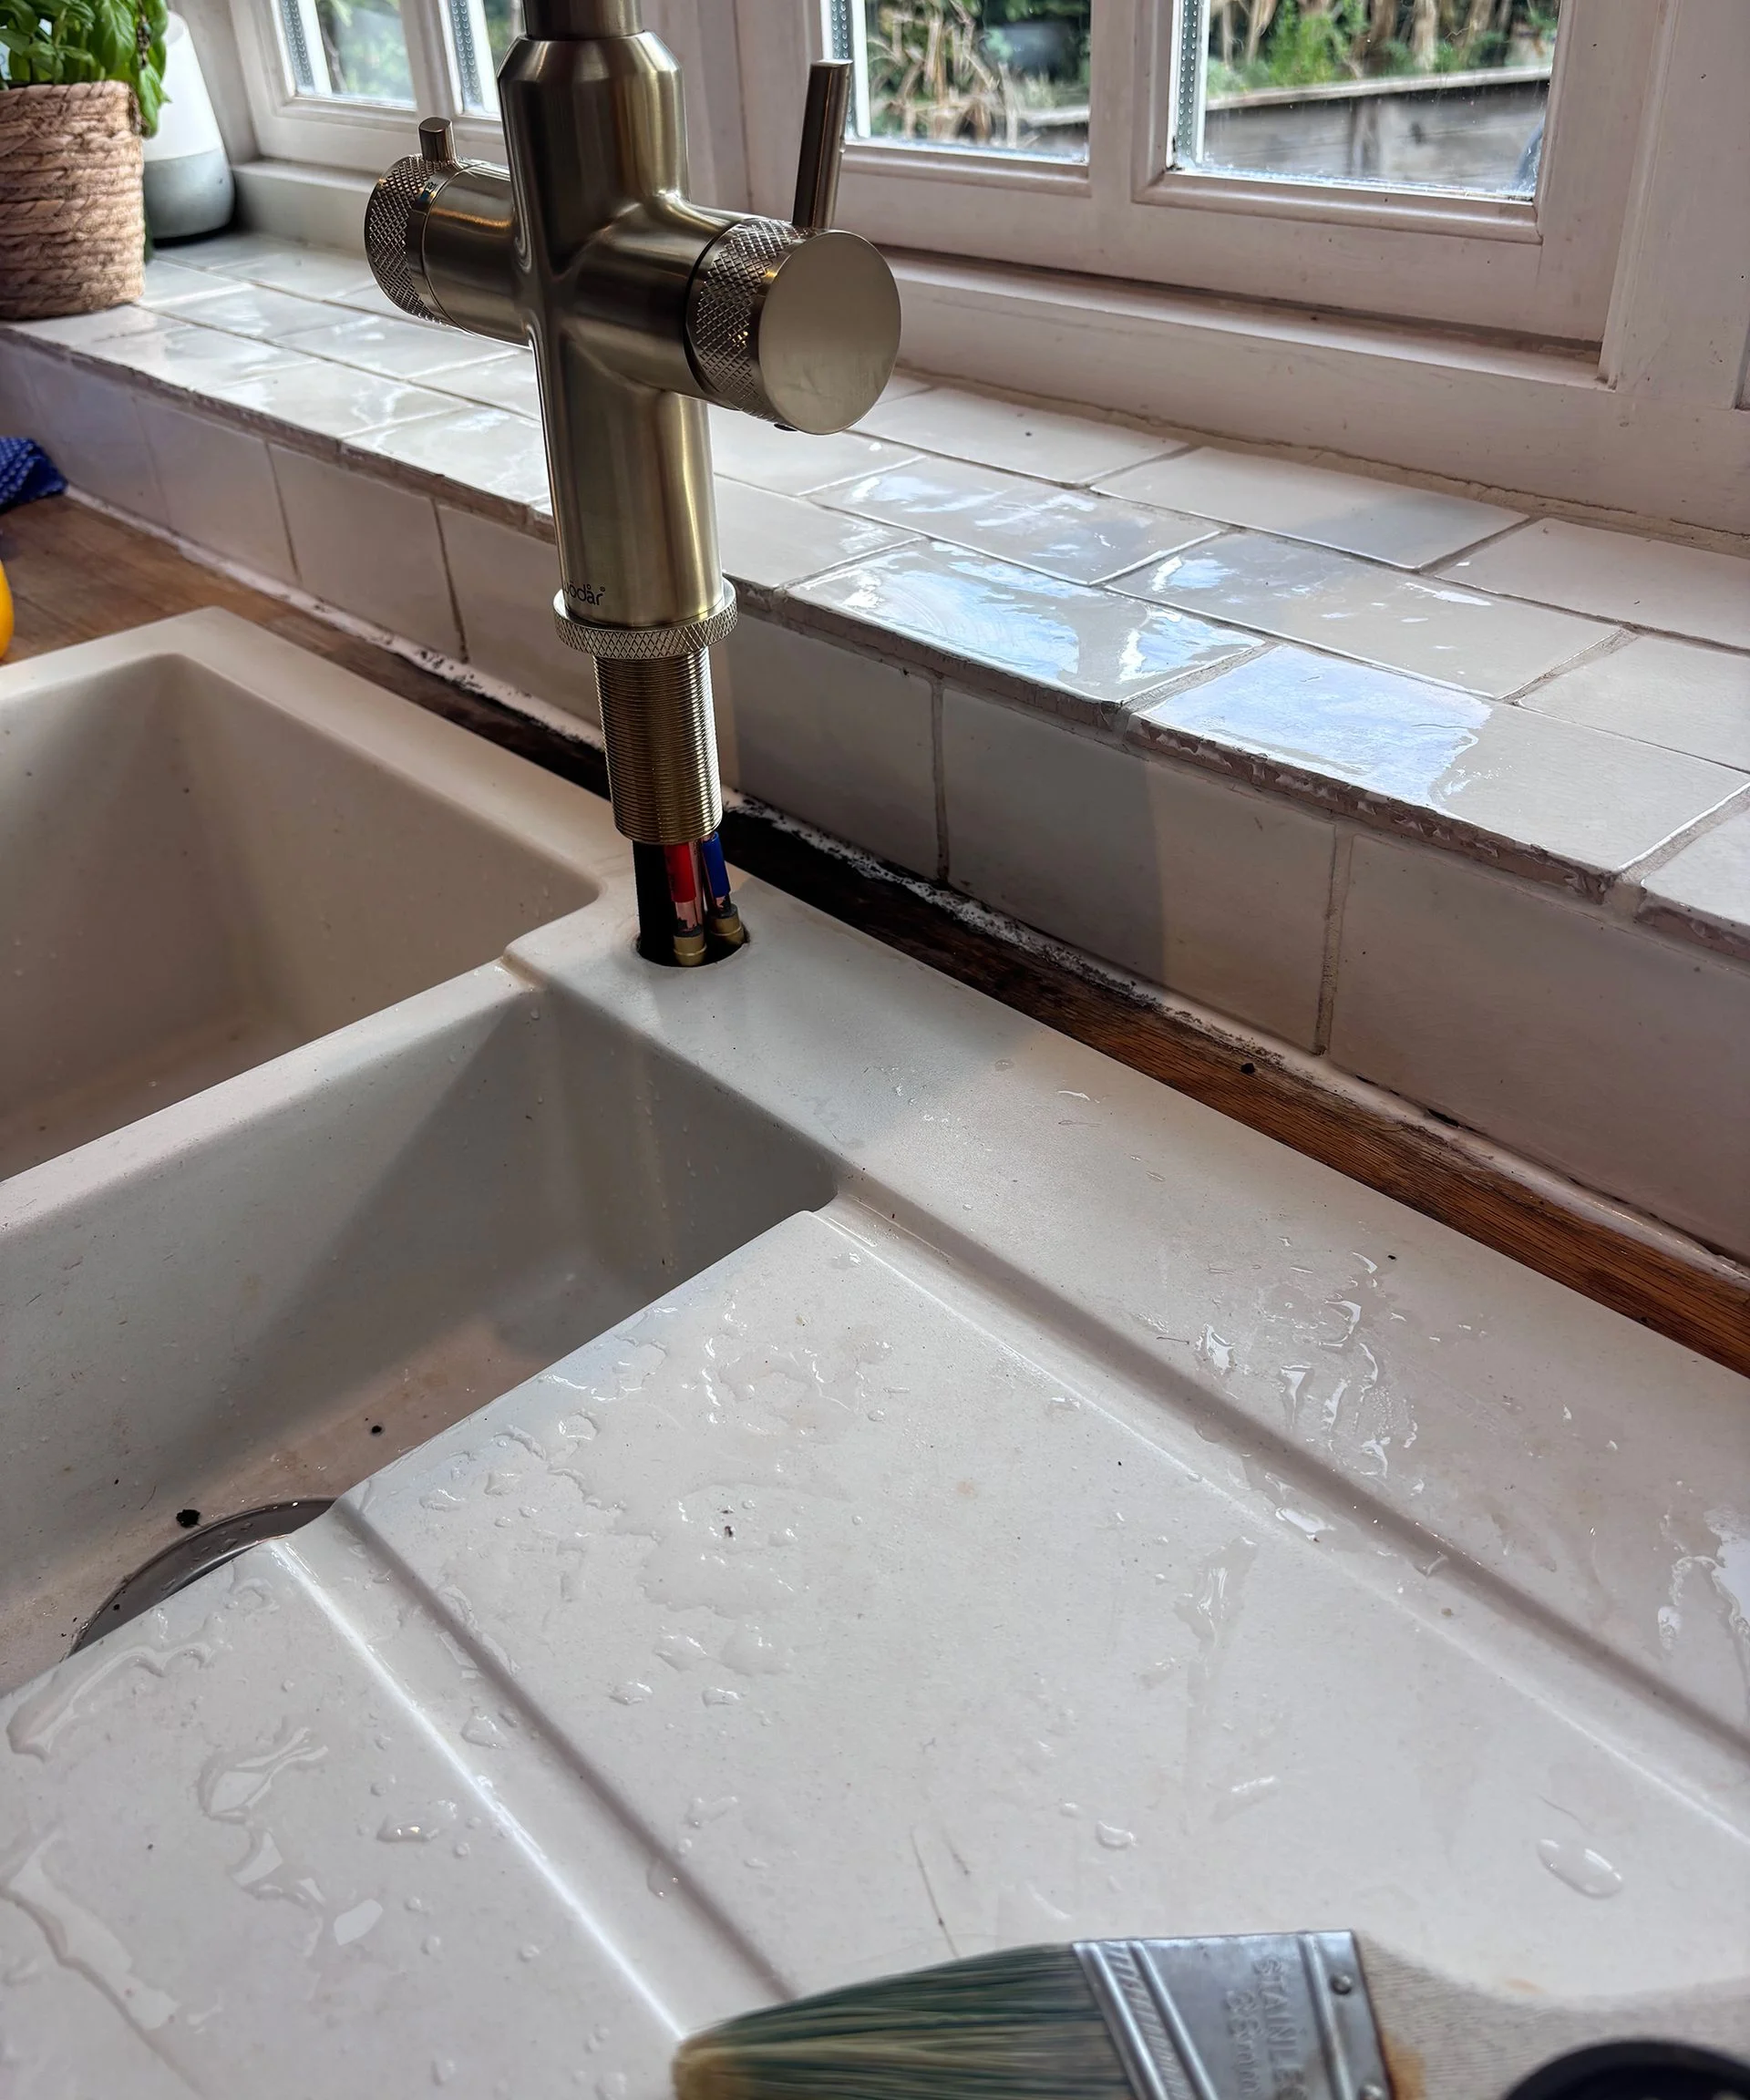
Our existing sink hole was the right size for the new tap. We fed the pipes through one at a time, then lowered the tap into place. It was a tight squeeze, but manageable.
Securing the tap from underneath took more patience. Gaskets hold the pipework together before a copper fastener screws into place. Our cramped cabinet made this fiddly, and there’s a knack to getting the gaskets over the bundle of pipes. A few tries did the job.
6. Connecting the pipes
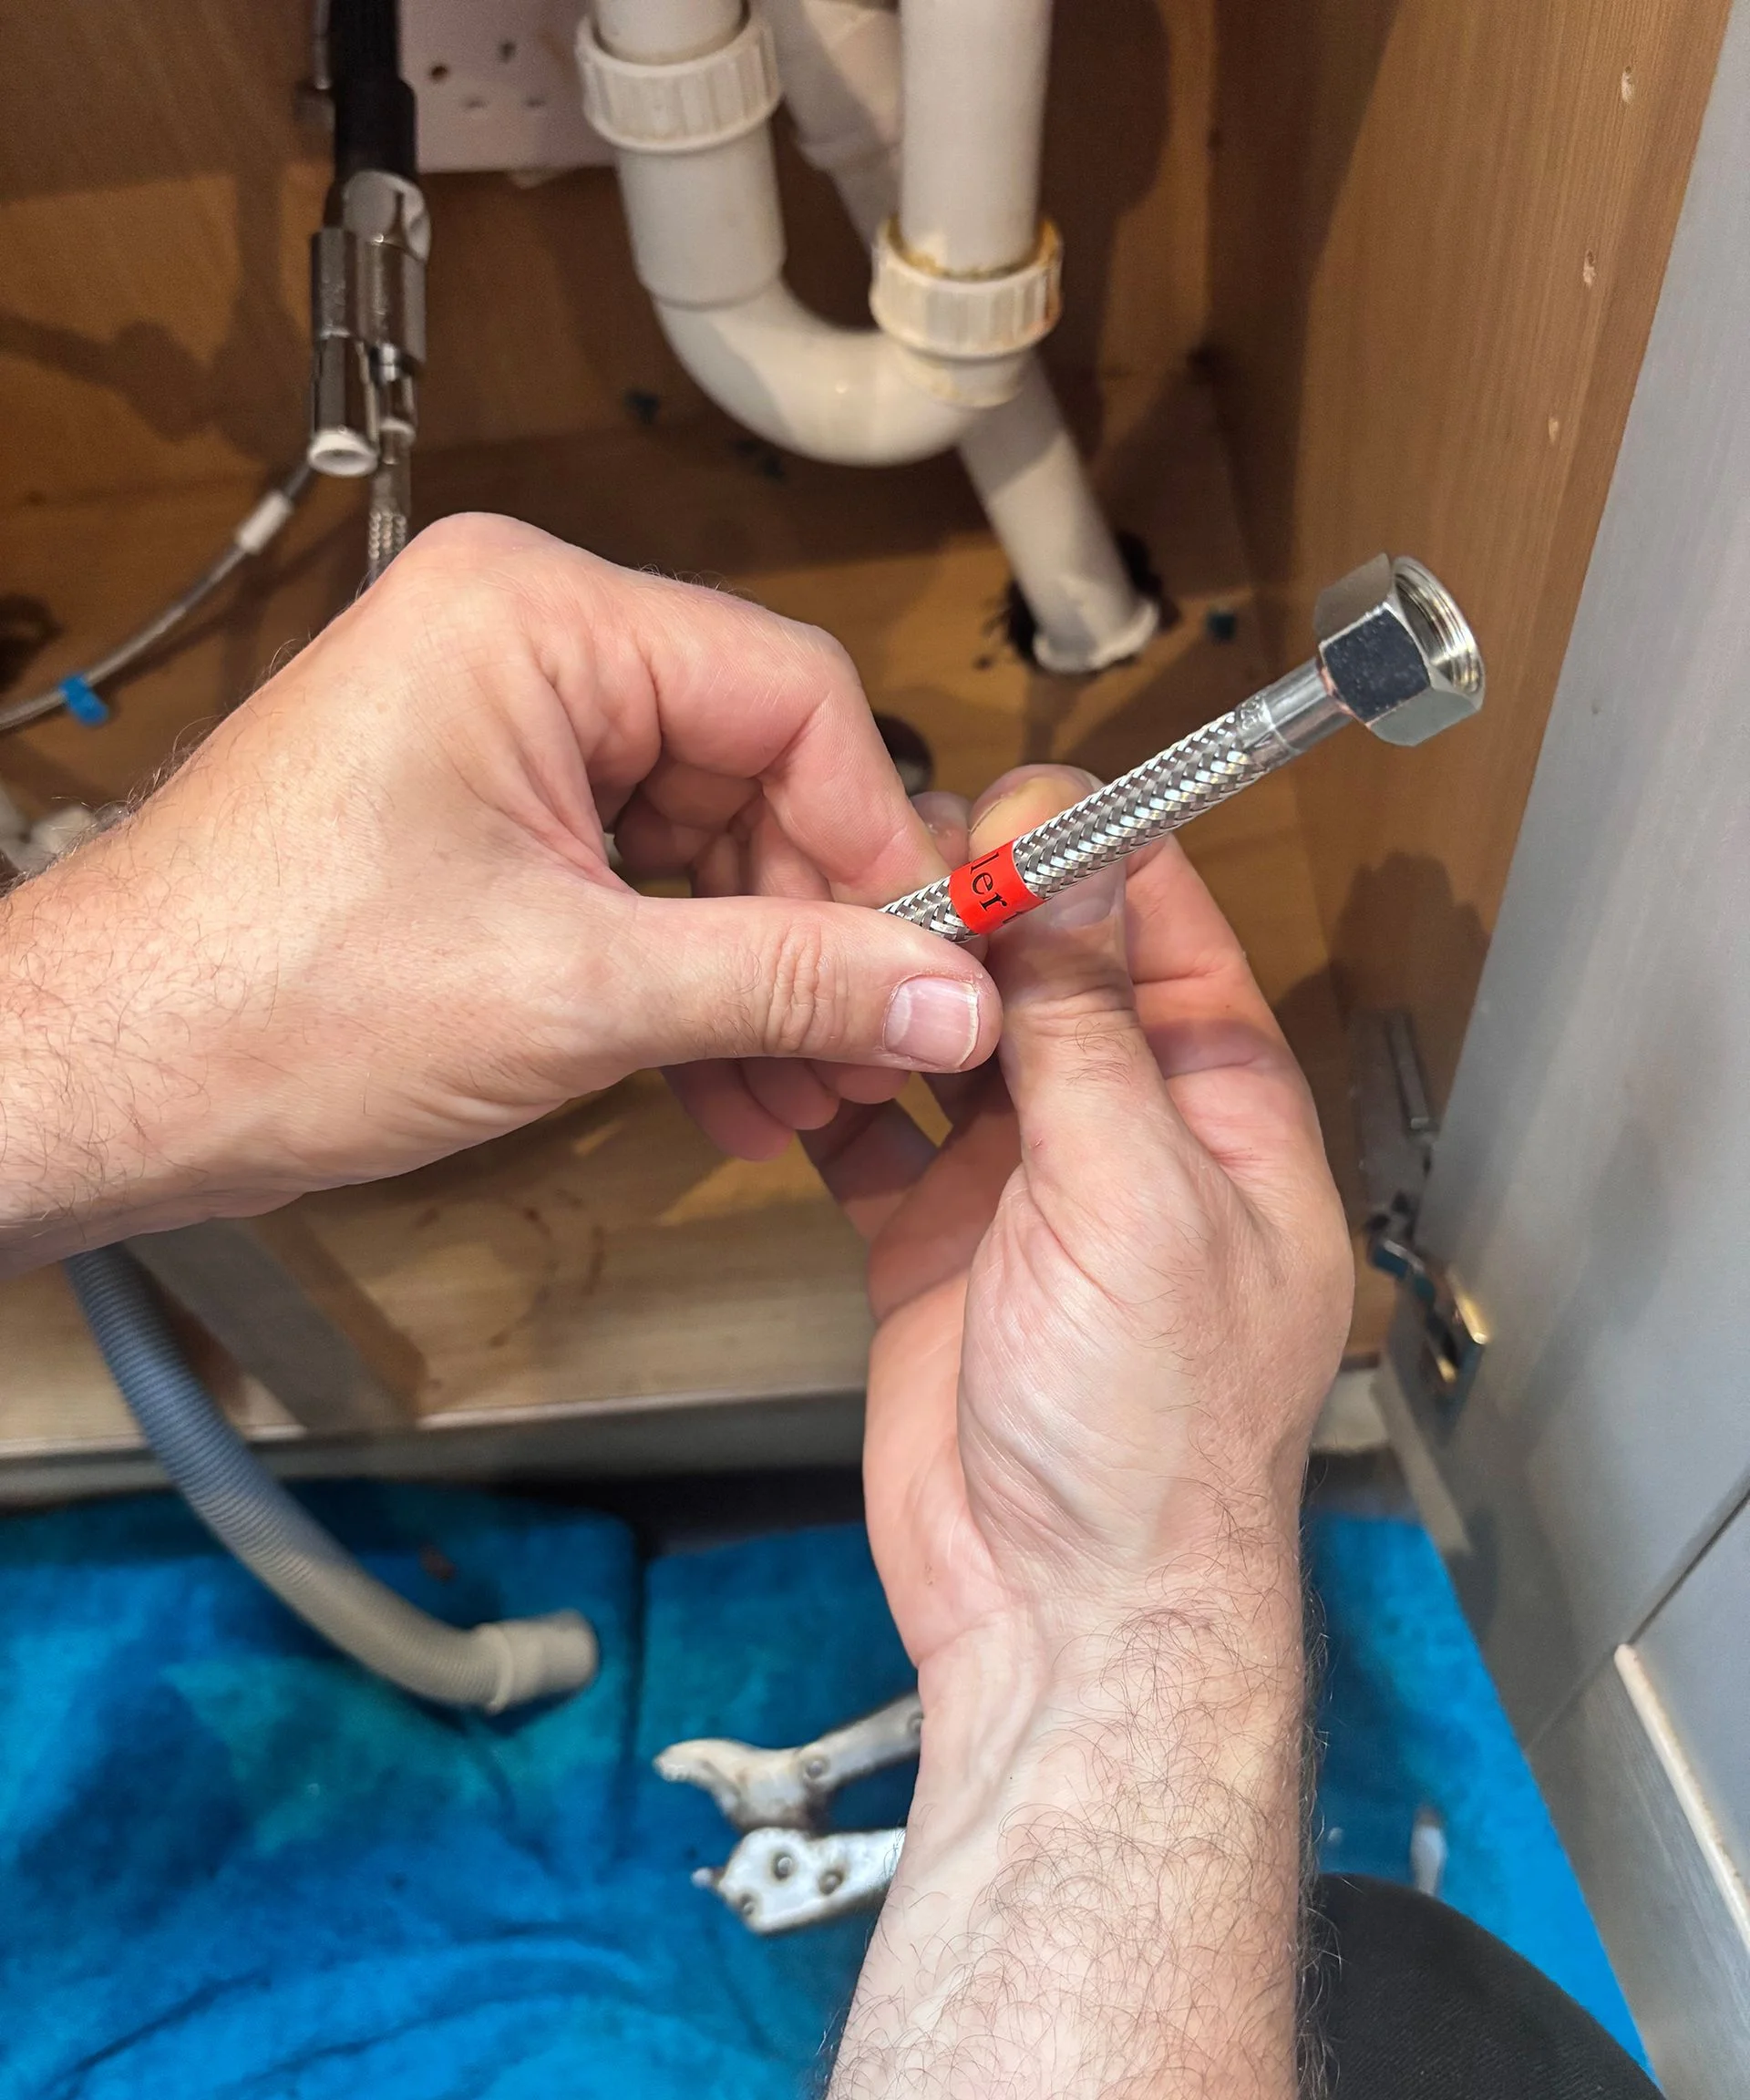
The number of hoses made the system look more complicated than it was. Clear labels helped us match each pipe to its outlet. We connected the cold mains supply first, then pushed the remaining fittings into place. Attaching the gravity ball to the spray nozzle was straightforward too.
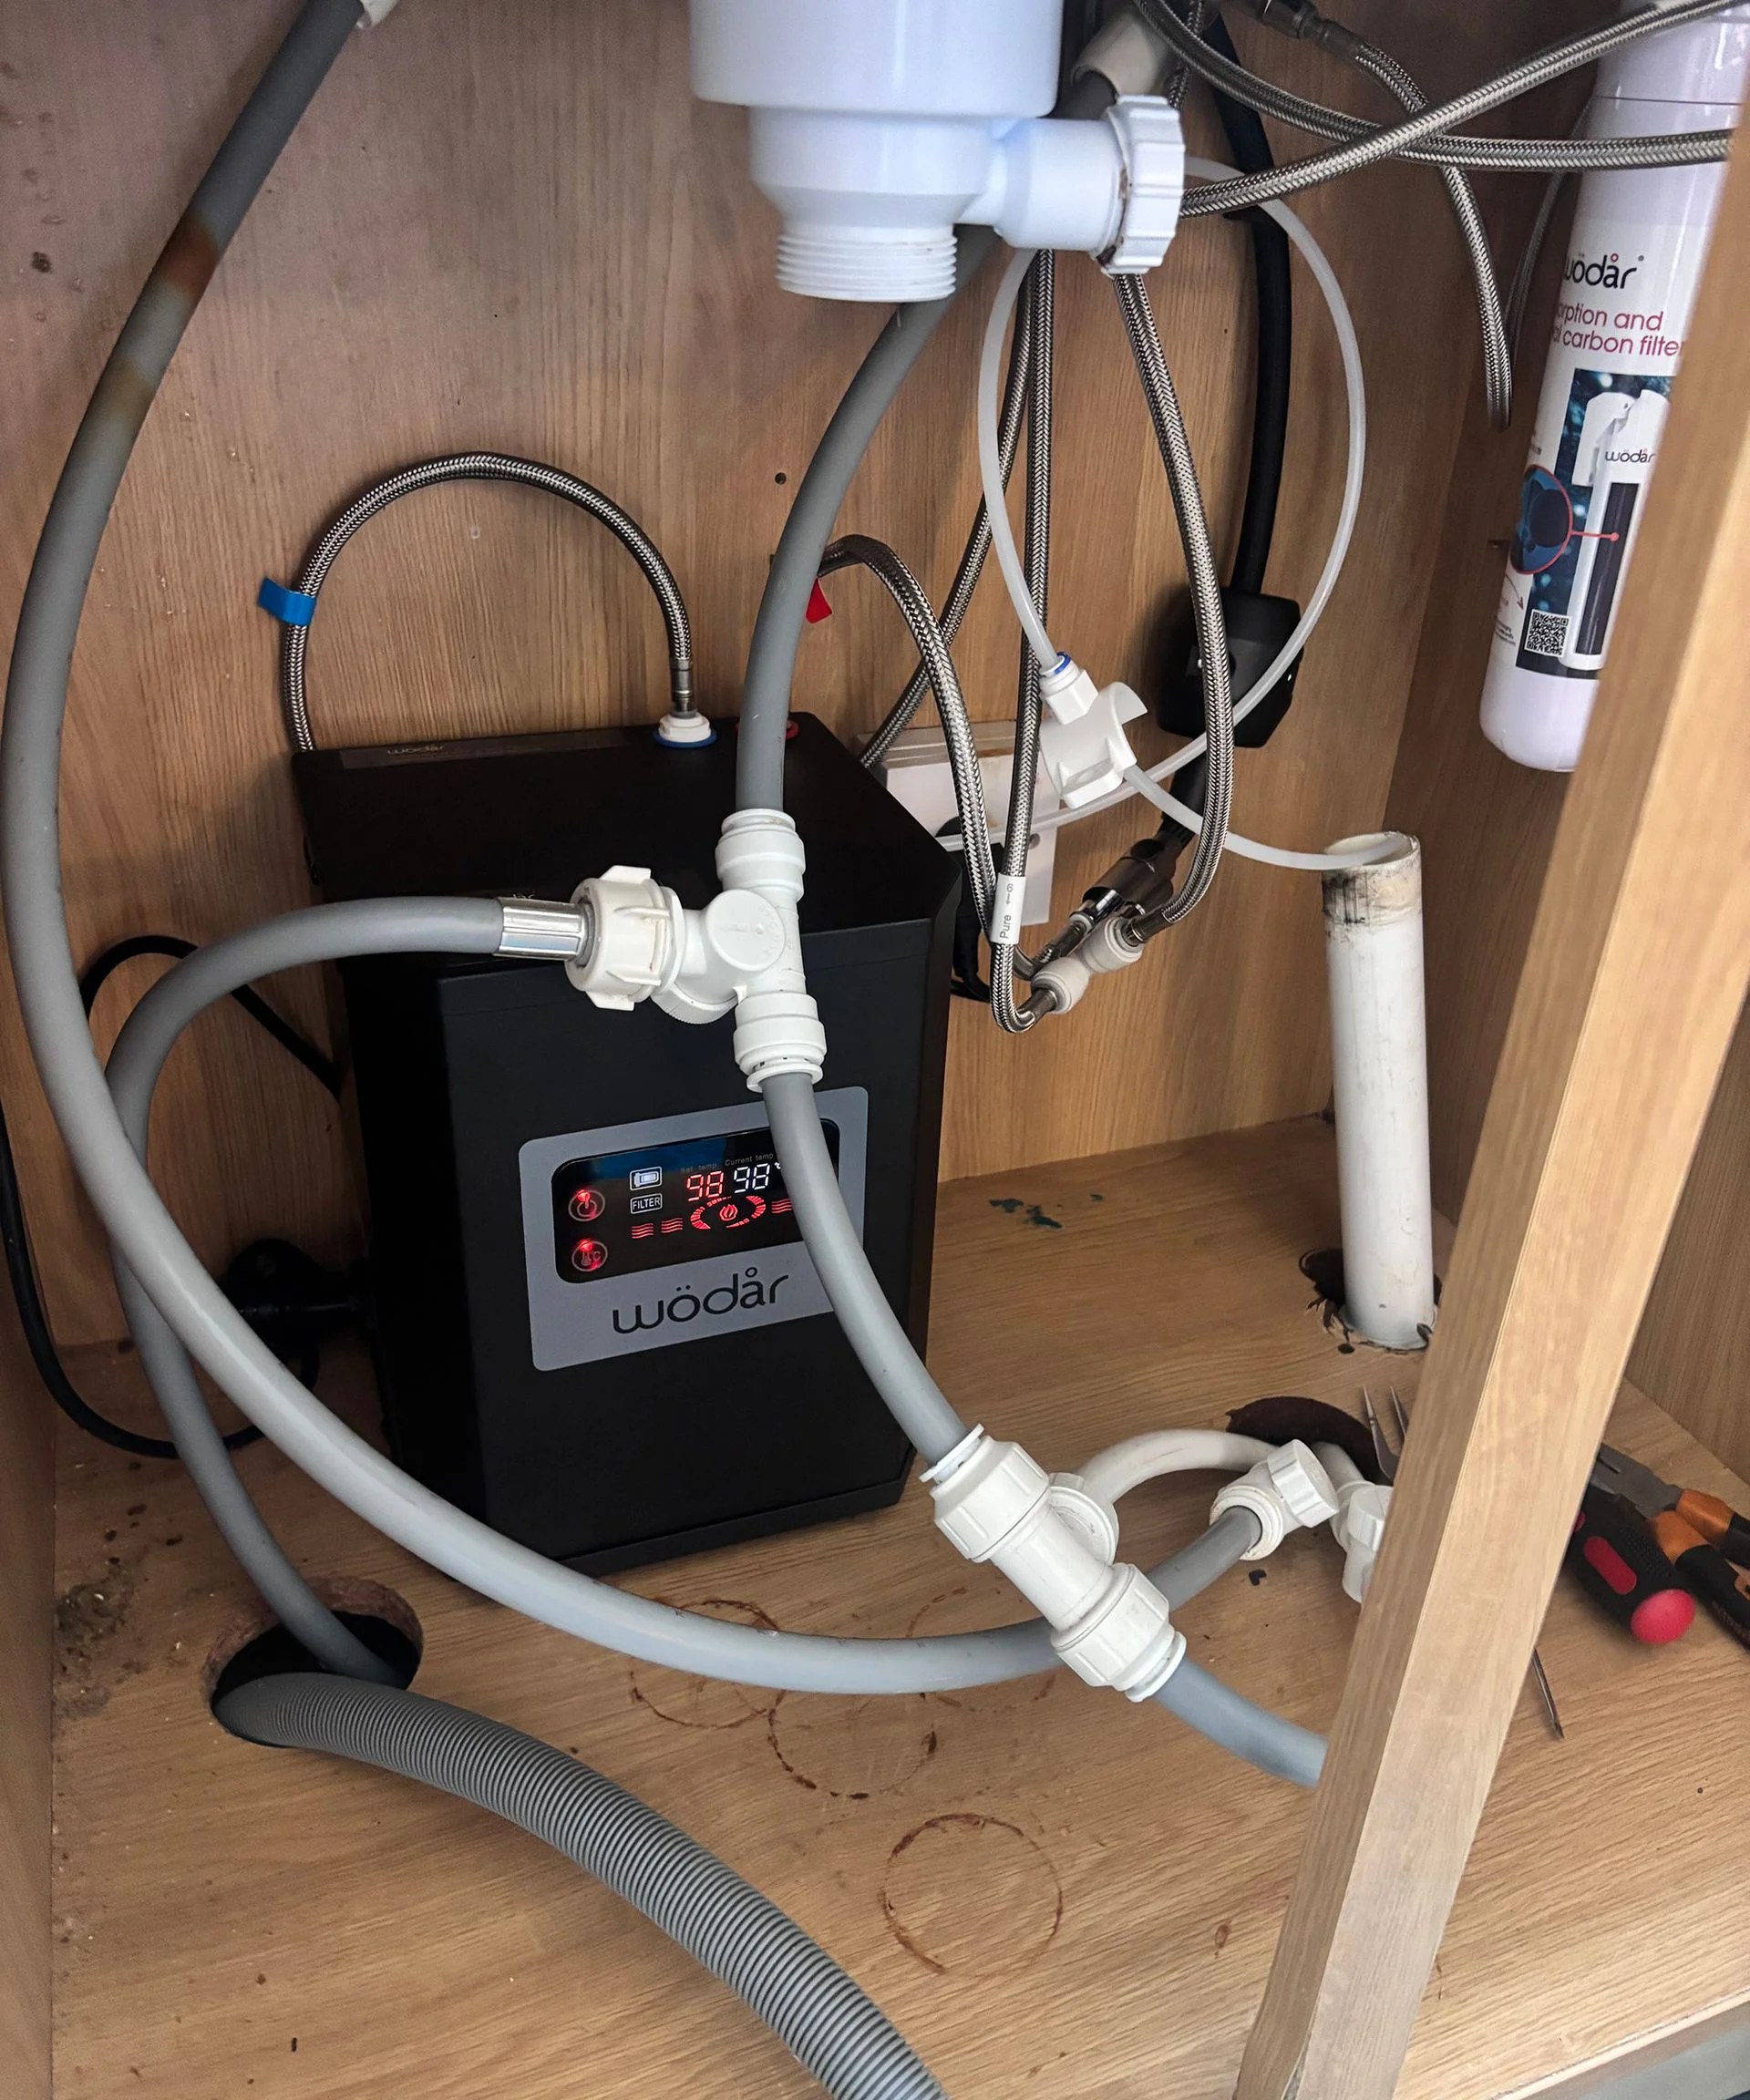
The heater was also simple to connect: its three outlets are colour-coded. Some pipes push into place; others need screwing in and tightening with a wrench.
7. Switching it on
Once the fittings were in place, we plugged in the heater and set the temperature to 98°C. It reached that setting in about five minutes.
Our tank supplies 1.6 litres of continuous hot water, though capacity varies by model. I’ve also found that boiling water taps can use less energy than repeatedly boiling a kettle. The data for a particular household will depend on how it’s used, but the convenience is immediate.
Final verdict
The job wasn’t effortless. Getting the gaskets over the pipes took some trial and error, made harder by our awkward under-sink space. Even so, I hadn’t expected a boiling water tap to be this manageable as a DIY installation.
Every model will differ, but the clear labels on this one made the connections easy to follow. The kettle now lives at the back of a cupboard, and we use the tap for hot drinks and cooking. The pull-out spray has made cleaning the sink easier, too.
There’s one cosmetic loose end: the new brushed brass tap makes the other fixtures look mismatched. We’ll need to update the kitchen cabinet hardware to bring the scheme together.
Shop other boiling water taps
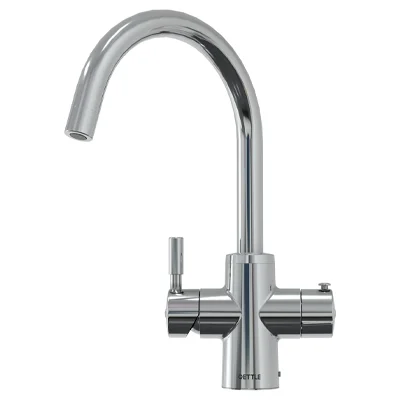 100°C water
This tap dispenses water at 100°C from a 2-litre tank. It includes a water filter and a two-stage safety system designed to prevent scalding.
Two finishes, two different kitchen moods
The Nes Home set makes a strong case for matte black if you want a modern look. Its controls are designed for straightforward use, and the tap includes safety features. Push-fit fittings and pre-wired connections should also make installation simpler. 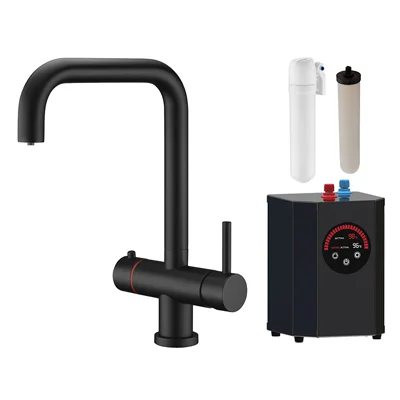
If matte black feels too stark, Carysil’s brushed brass model brings a more traditional note. The Twist provides hot, cold, filtered and boiling water, with safety features and a five-year guarantee. That’s a useful spread of functions, though the fragment gives no detail on running costs or filter replacement. 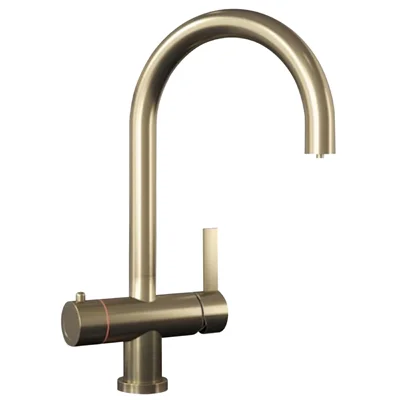
FAQs
Do boiling water taps need much maintenance?
These taps cost more than standard models, especially when they include extras such as filtered water, so regular care is a sensible part of owning one. Follow the manufacturer’s cleaning guidance, check periodically for leaks and limescale, and replace the filter on schedule. Those checks can help keep the tap in good condition, but they don’t remove the need to follow the maker’s instructions. For more detail, see this guide to boiling water tap maintenance.
Replacing my kitchen tap has also pushed me to rethink the rest of the kitchen. Our range-style cooker still has an old electric hob that responds painfully slowly, so I’m now comparing the types of cooker available, including induction and gas. The tap was only the first upgrade; I’ll report back once I’ve looked more closely at the cooker options.


Discussion
Sign in to join the discussion.