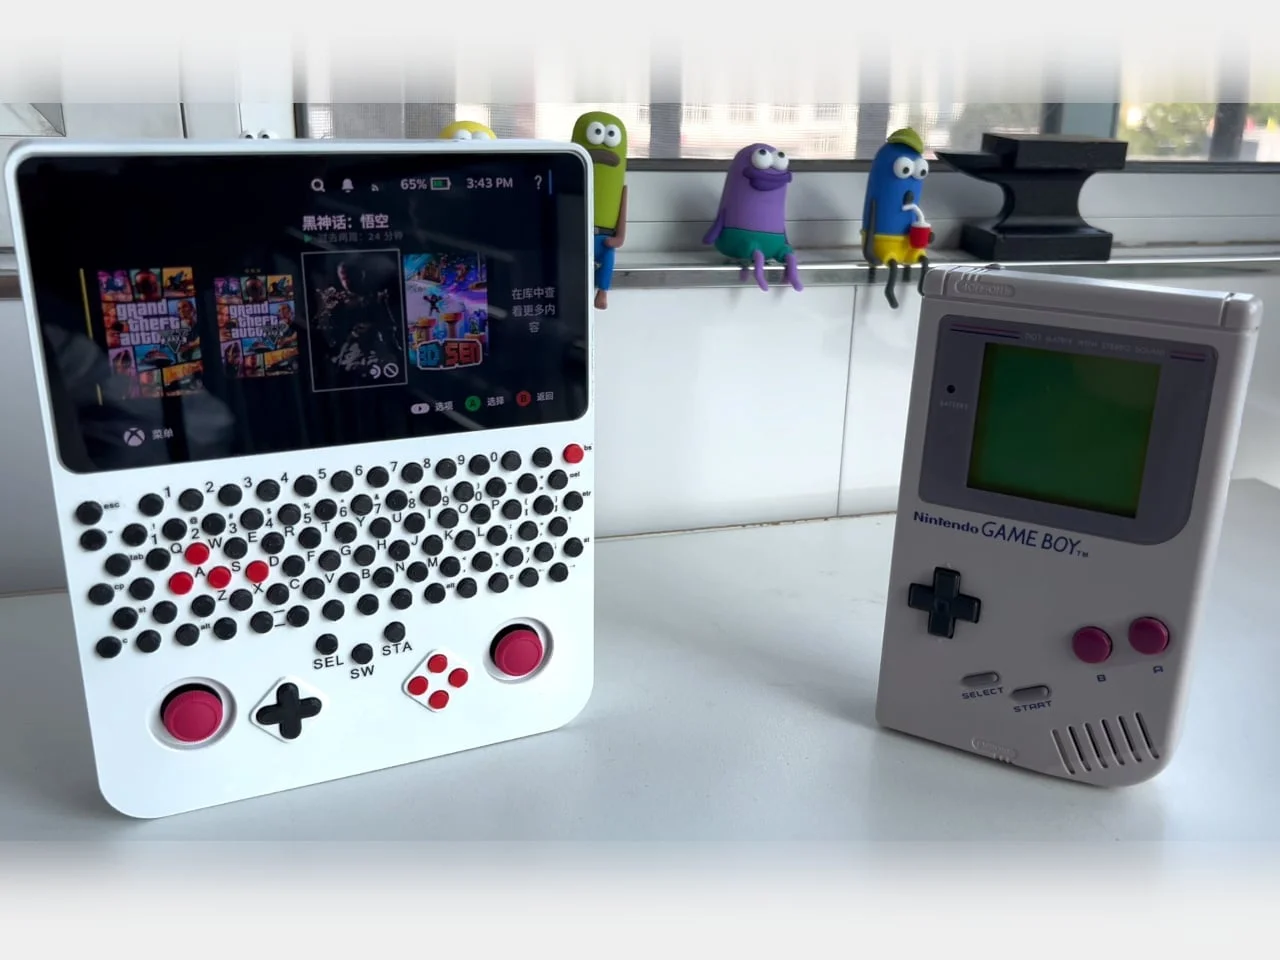
A DIY Steam Deck rebuild uses an upright, Game Boy-style body with a 5.5-inch screen, thumbsticks, and a physical keyboard in the middle.
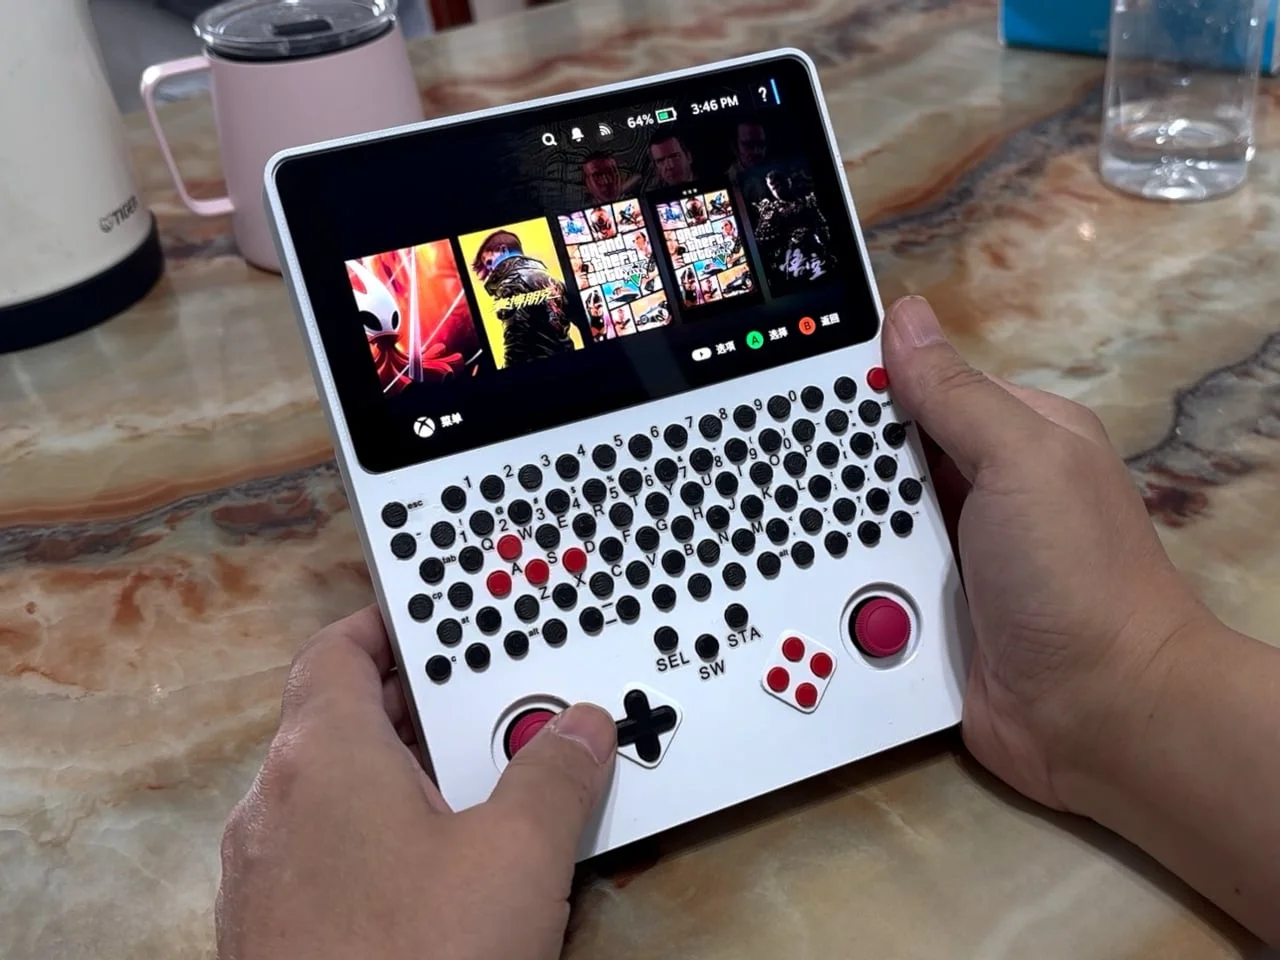
Most handheld gaming PCs push their controls to opposite sides of a wide screen. This DIY rebuild goes the other way, stacking a 5.5-inch display, two thumbsticks, and a physical keyboard into a tall, upright shell that borrows its silhouette from the Game Boy. The keyboard is the part that matters most. It turns a nostalgic design into something that can take real typed input. That's what separates this from the many retro-styled mods that look good in photos and stop there. Plenty of handheld builds chase the look of a classic console, but very few stop to ask what the device would need to do beyond playing games.
Stacking the parts
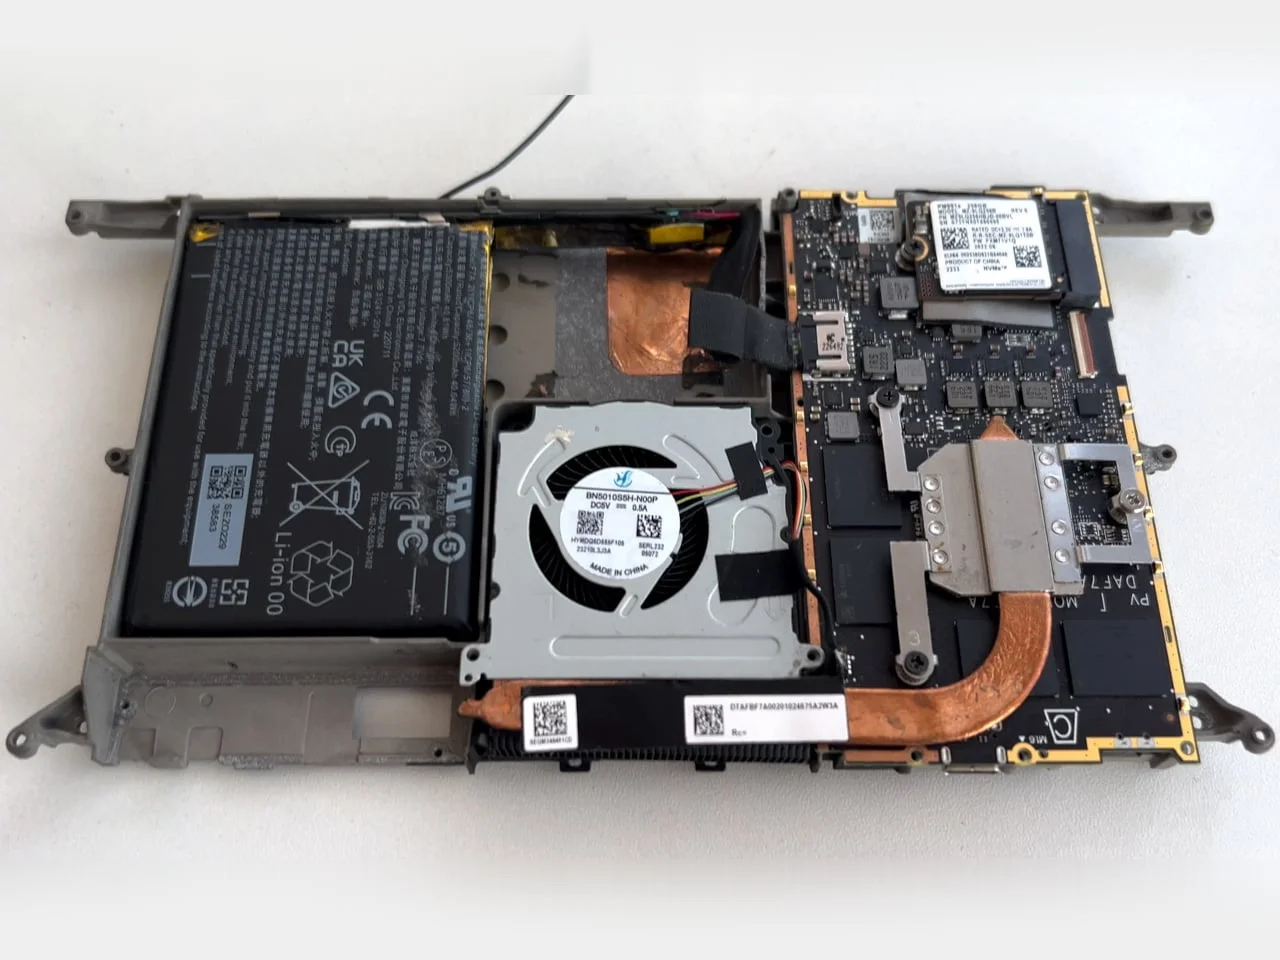
The build starts with a Steam Deck motherboard, paired with a smaller LCD and other components salvaged from a broken Deck. Instead of copying Valve's enclosure, the designer built a new shell that arranges the screen, keyboard, and controls vertically. The display is still horizontal. What changes is its position, which now sits above the hands rather than between them. That's a small geometric shift with real ergonomic consequences. On a conventional handheld, your thumbs reach across the face of the screen, so your eyes and hands share the same central zone. Moving the display up and the controls below it separates those tasks, at least on paper, and that separation is the whole point of the design.
Designer: LCLDIY. The linked project page on Hackaday.io is the place to look for the details a video tends to skip. Starting from a salvaged motherboard is a sensible shortcut, since the board already runs SteamOS and its power and display hardware are known quantities. This category of project often lives or dies on that choice. Building a handheld from scratch means solving power delivery, thermals, and driver support before you ever get to the case, and reusing a working core sidesteps most of that work. (And this is the part most people overlook: the donor board sets the limits of the whole project, so the case design is really built around someone else's engineering.)
Keys in the middle
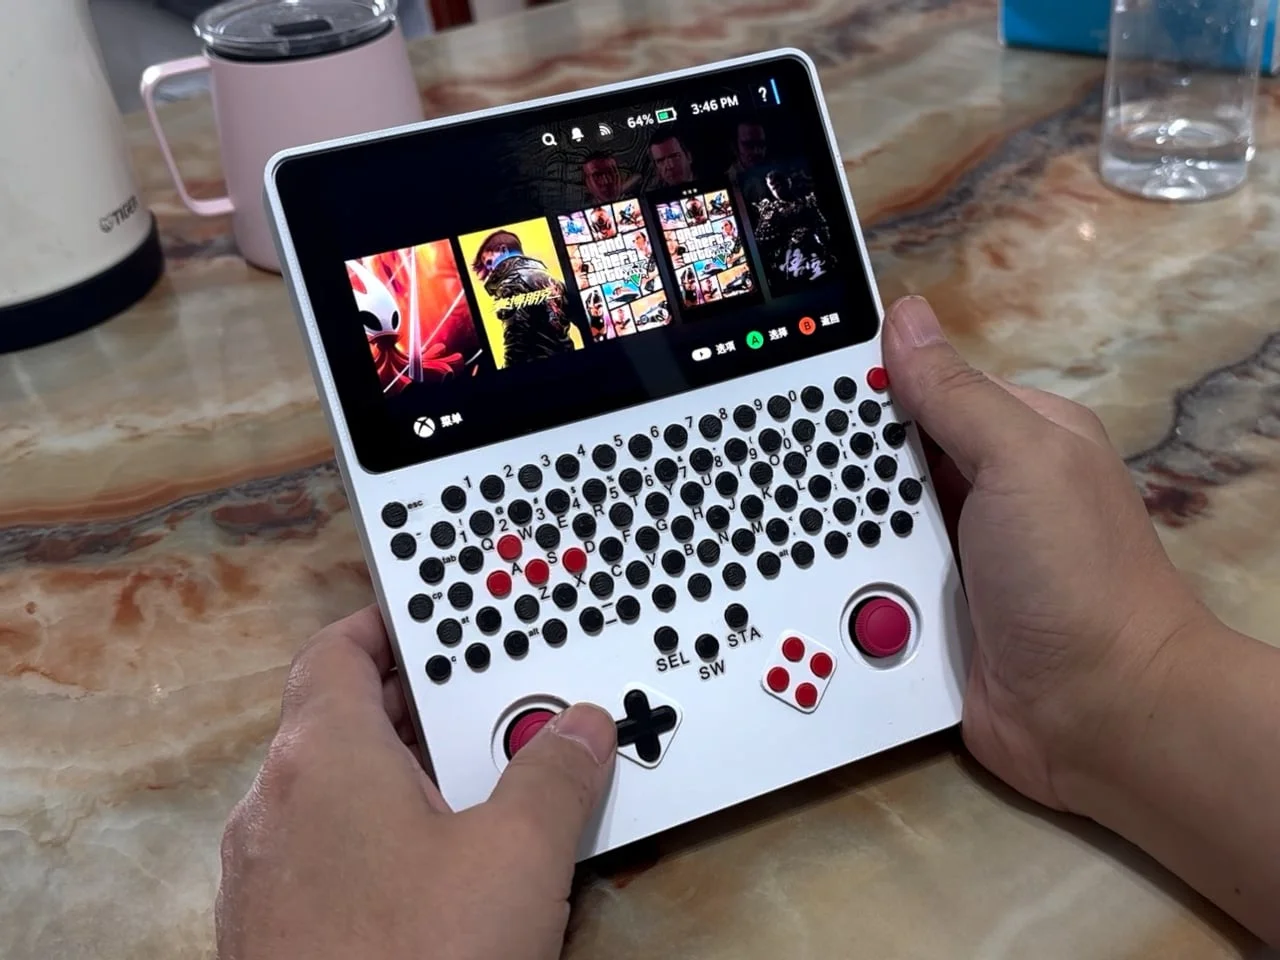
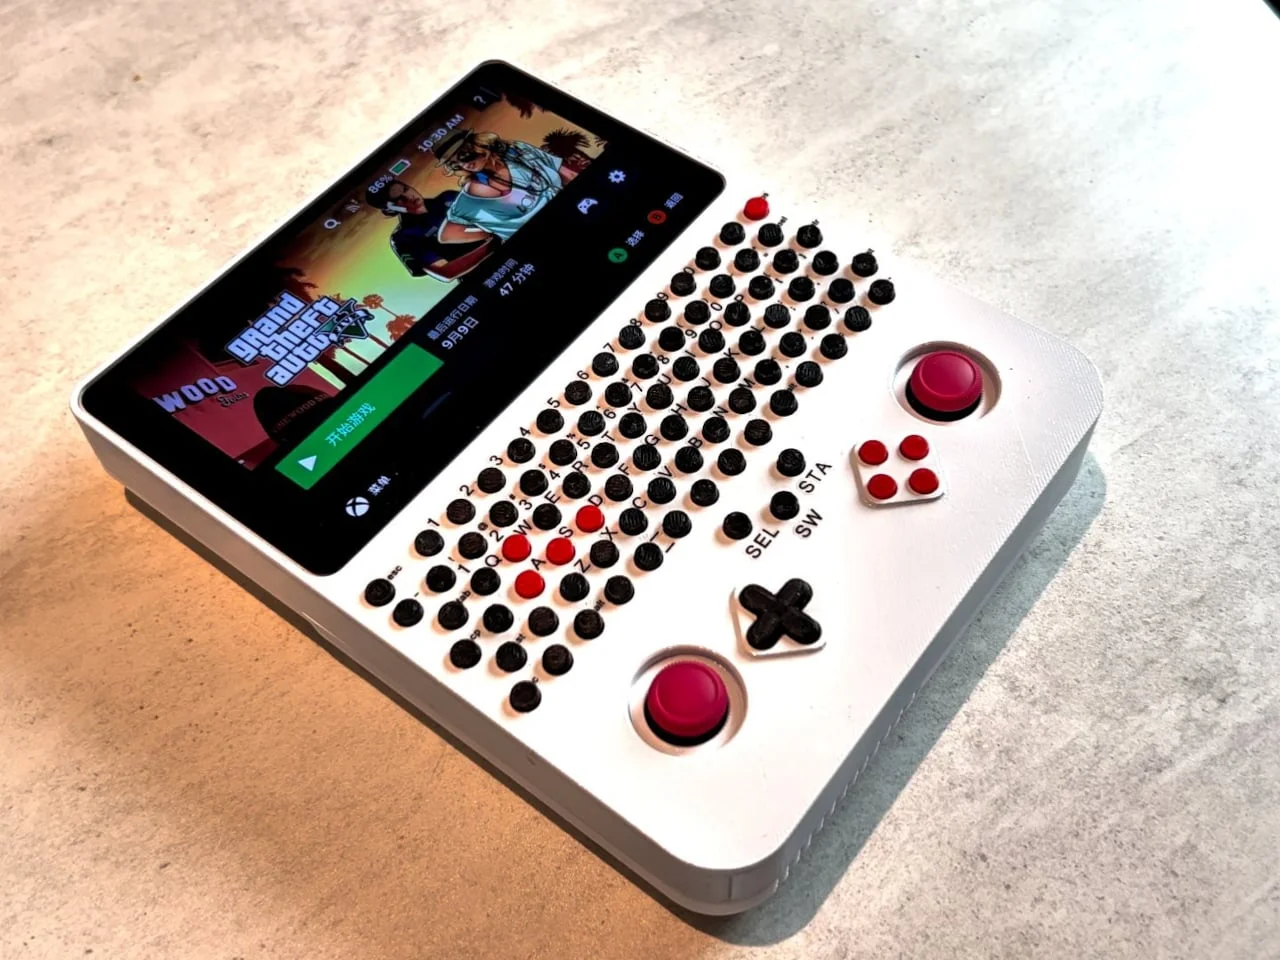
Tiny circular keys fill the band between the screen and the face buttons, with a number row and letters. The red WASD keys stand out against the black ones and make the PC angle obvious at a glance. That's a deliberate choice. Red movement keys borrow the visual language of gaming peripherals, so the device announces its purpose before you press anything. And yet the styling is the less interesting part. The keyboard is a practical bet, and it's one that doesn't get enough attention in handheld design.
Physical keys could save you from giving up screen space to an on-screen keyboard when you need to search, name a save, or send a message. Still, the keys are small and tightly packed. Think of them as a compact text input, not a replacement for a laptop keyboard. If you've ever tried entering a Wi-Fi password through a pop-up overlay with a controller, you already know the pain. Typing on a tiny virtual grid is slow and error-prone, and it eats the top half of the display while you do it. Cramped, yes. Useless, no.
Where the thumbs go
Below the keyboard, two red thumbsticks flank a black directional pad and four red face buttons. The white enclosure keeps these clusters visually separate, even with a crowded front panel. The layout puts gameplay controls under the screen and text entry higher up the body, so the two tasks stay spatially apart on the same device. Layout matters more than it looks on a spec sheet. Handheld designers usually fight for thumb room, because the sticks and face buttons need space that doesn't collide with the hands holding the device. Here the vertical stacking gives the designer more room in principle, but the keyboard takes up part of that same front surface. Every millimeter in the thumb zone is a negotiated trade, and I'd want to hold this in person before deciding who won that negotiation.
Custom hardware, real work
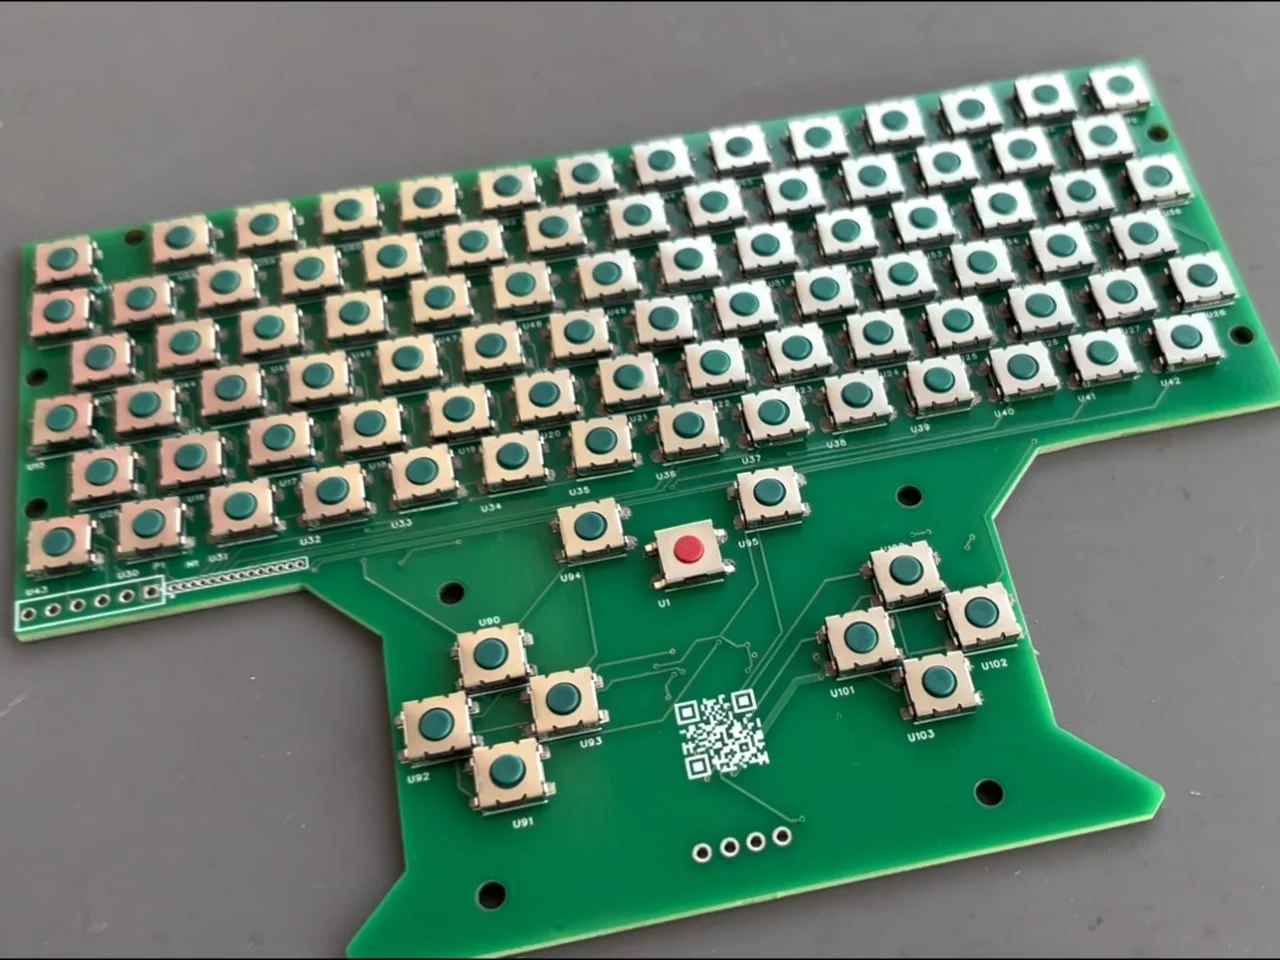
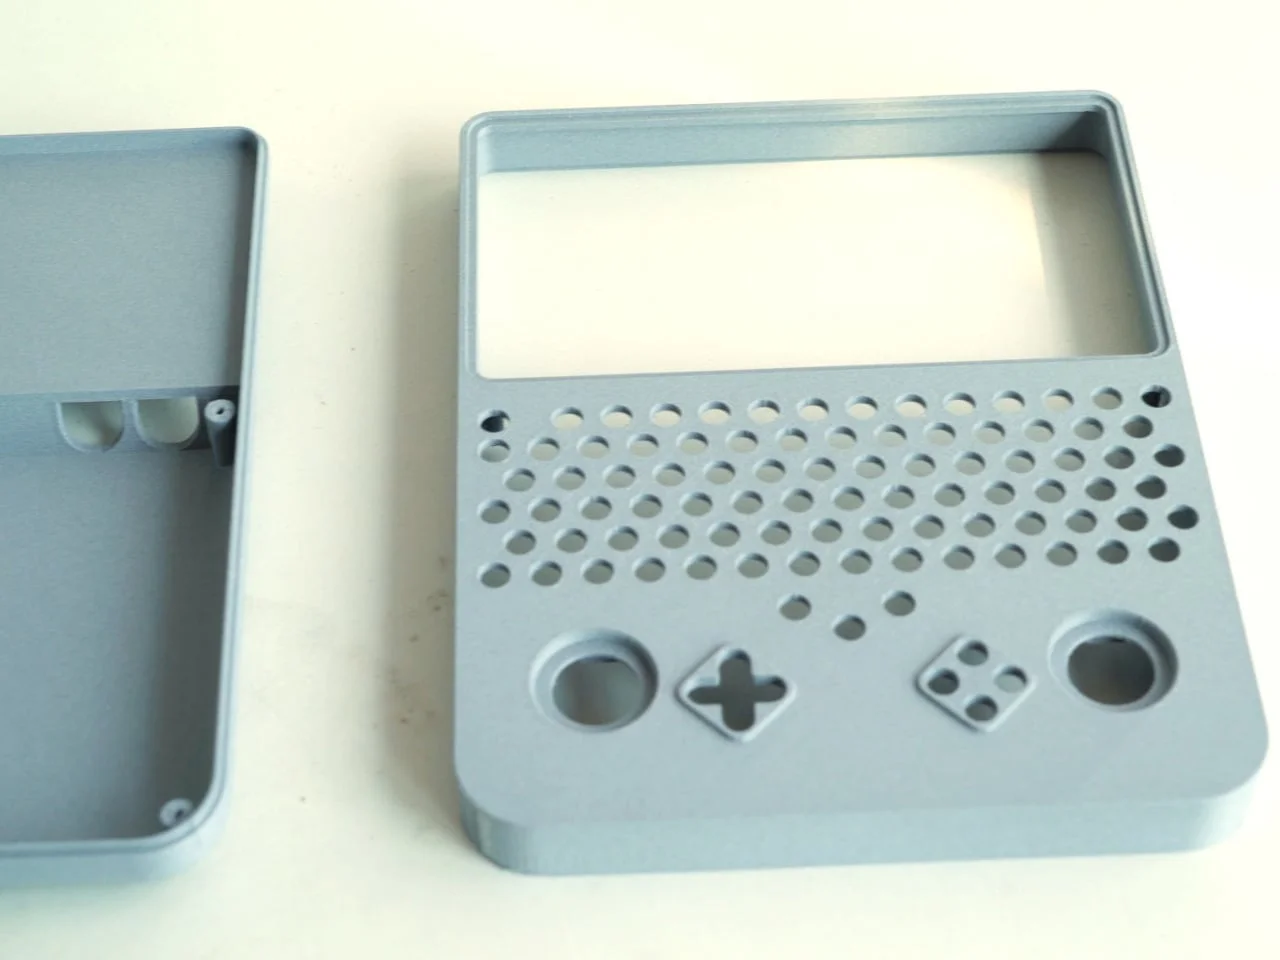
This isn't a case you snap over an untouched handheld. The project includes a custom circuit board with small switches, firmware, and a housing modeled around the replacement display. The printed parts use water-soluble support material to capture finer detail. Expect soldering and programming along the way. A custom board means the keyboard has to be wired into a matrix, debounced so each press registers once, and mapped to the right keycodes in firmware. None of that is exotic for experienced makers, but it's a lot of small problems to solve before the first key works. Water-soluble support is a practical choice, too. It lets the printer produce cleaner overhangs and internal channels without the hand-cutting that conventional supports demand, which matters when the housing has to fit around a display and a board with very little slack. If you're planning something similar, budget extra time for the electronics. The enclosure is usually the easy part.
Windows name, SteamOS core
The project carries a Windows-oriented title, but the device runs SteamOS. That matters. Valve's Proton compatibility layer lets supported Windows games run on Linux without a Windows install, so this shouldn't be read as a confirmed Windows conversion. The Steam interface tells you little about frame rates or how individual games handle the custom hardware. My read is that the Windows in the name is shorthand for "a PC you can play games on" rather than a claim about the operating system underneath. That's a fair thing to call marketing-adjacent. It also means the real question is compatibility, not branding. Proton has been good enough to run a wide range of PC titles, but that's a per-game story, and a custom keyboard and display add variables that no stock Deck has to handle. Whether a given game behaves well on this hardware is something you'll have to test title by title.
What's still unknown
Weight, battery life, and thermal performance aren't documented. The upright shape looks more reachable than a wide handheld, and the keyboard adds real utility, but neither is proven in use. Those are the numbers that will decide whether this stays a clever shell or becomes a device people actually carry. A tall, narrow body can feel good in one hand and awkward in the other, and a keyboard adds mass and height in places where a handheld usually wants to be thin. Battery capacity matters for the same reason. A keyboard and a rebuilt board draw power differently than a stock Deck, and nobody has published runtime figures here. I'd be cautious about assuming the layout is a win until someone has played for a few hours with it.
What this means if you're building or buying
If you're working in this space, the most useful takeaway is that a physical keyboard solves a real problem that most handhelds ignore. Typing on a controller-first device has always been a workaround, and this design treats text input as a first-class feature rather than an afterthought. That's the part I'd copy. The Game Boy outline is the hook, but the keyboard is the argument. For anyone considering a commercial version, the hard parts are the ones the video can't show: consistent key feel, durability of a small switch array, and a thermal and power budget that holds up under sustained load. Those problems are harder to demo than a retro silhouette, which is probably why most projects don't attempt them. Tall. Narrow. Deliberate. That combination is rare, and it's why this build deserves attention even if the final product never ships.

Discussion
Sign in to join the discussion.