A DIY Mega Tamagotchi wraps a 4.3-inch color touchscreen, an SD-card manga library, and PDF conversion in an oversized, hand-painted shell.
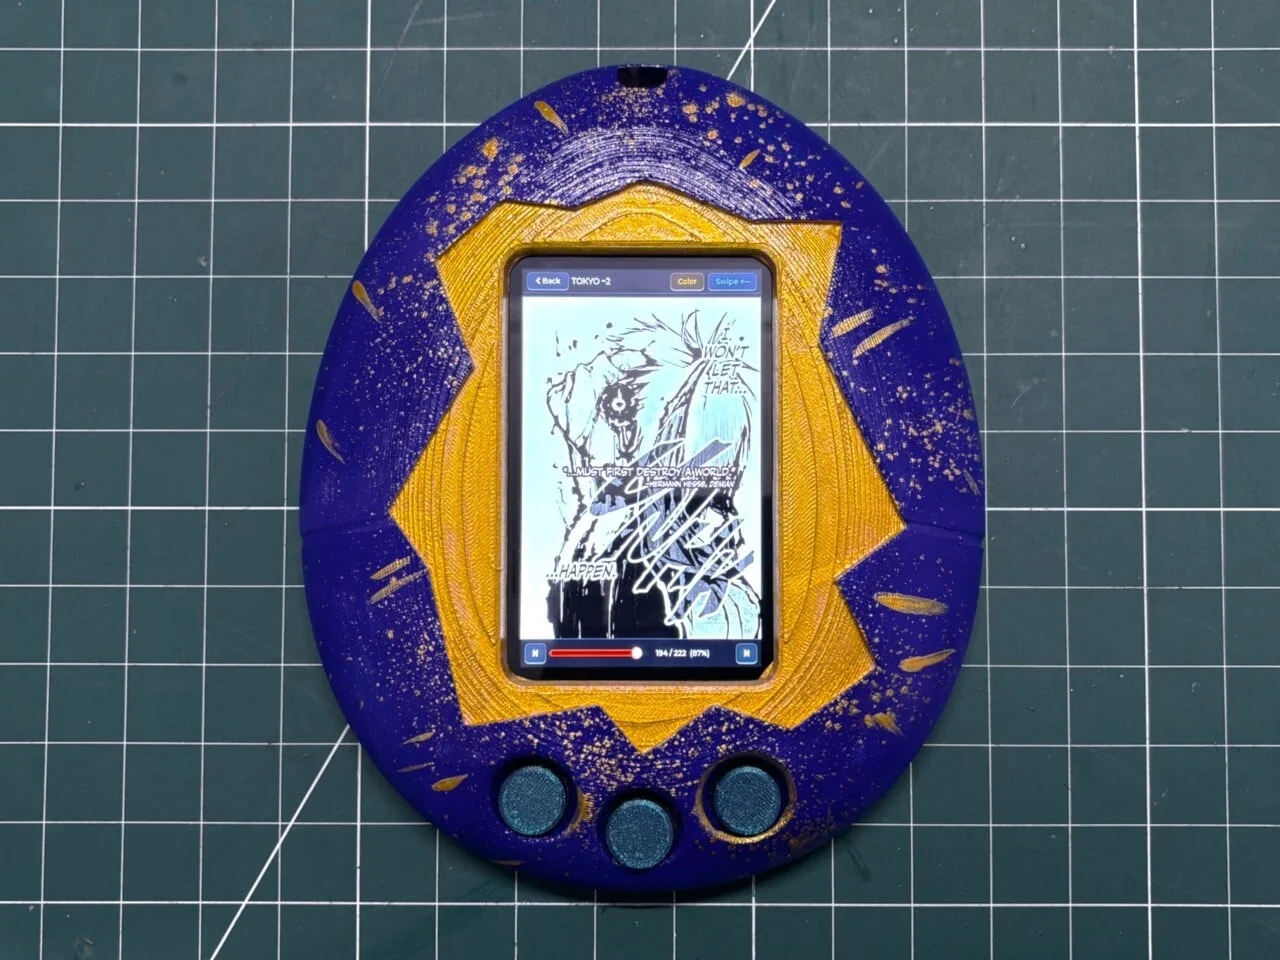
Most people wouldn't expect a Tamagotchi to hold a comic collection, but this Mega Tamagotchi does. It's a homemade reader, not an official Bandai product, and it trades the pocket-sized egg for a shell big enough to house a 4.3-inch touchscreen. Designer Arnov Sharma built it, and the result is charming, bulky, and very much a one-off. The original toy's appeal rests on its smallness, so inverting that is the whole joke. Here's the thing, though: a joke like this has to hold up after the novelty wears off, and that's the test I kept applying as I went through the build.
Shell and finish
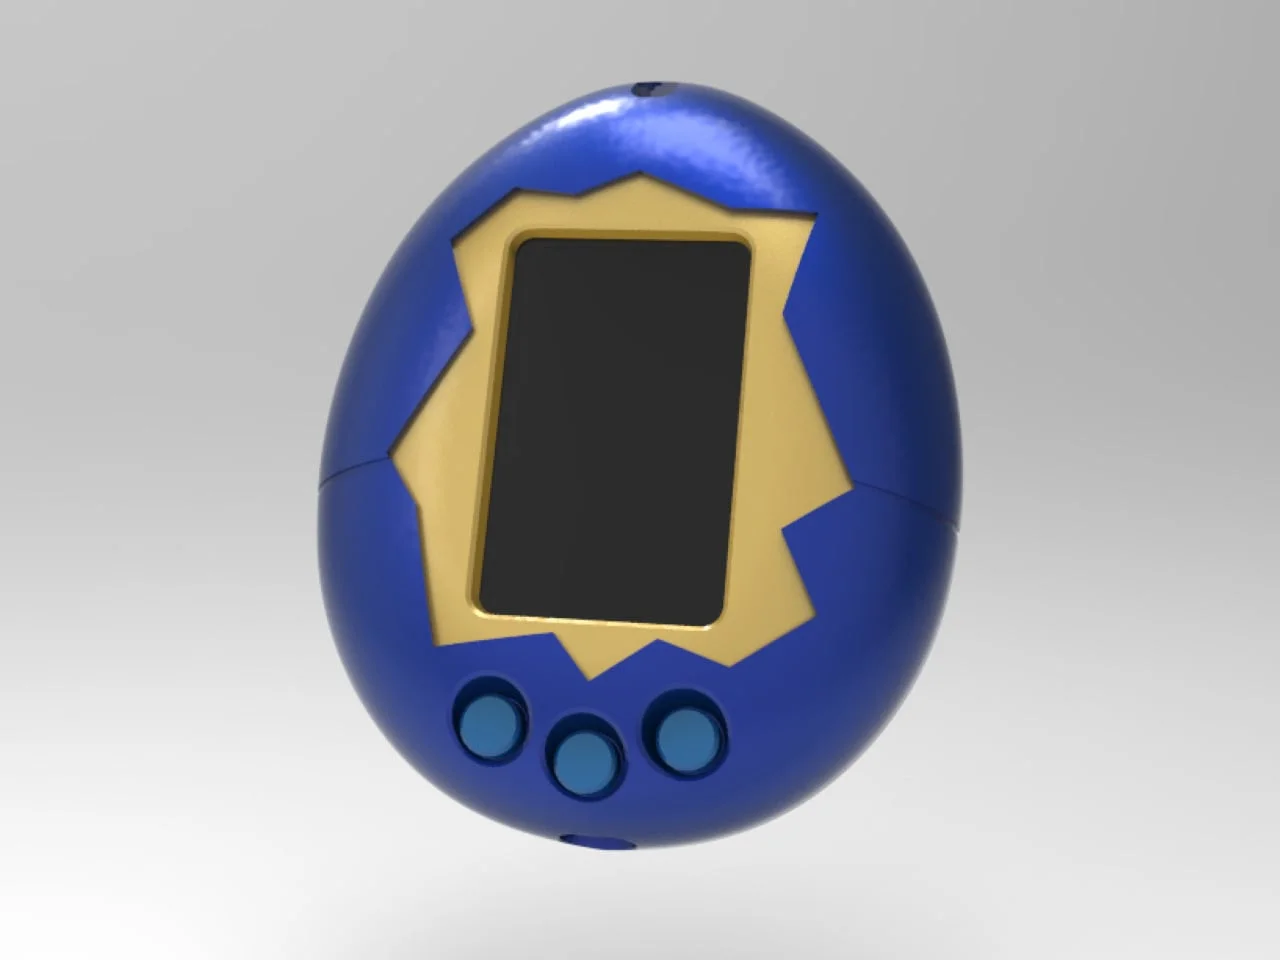
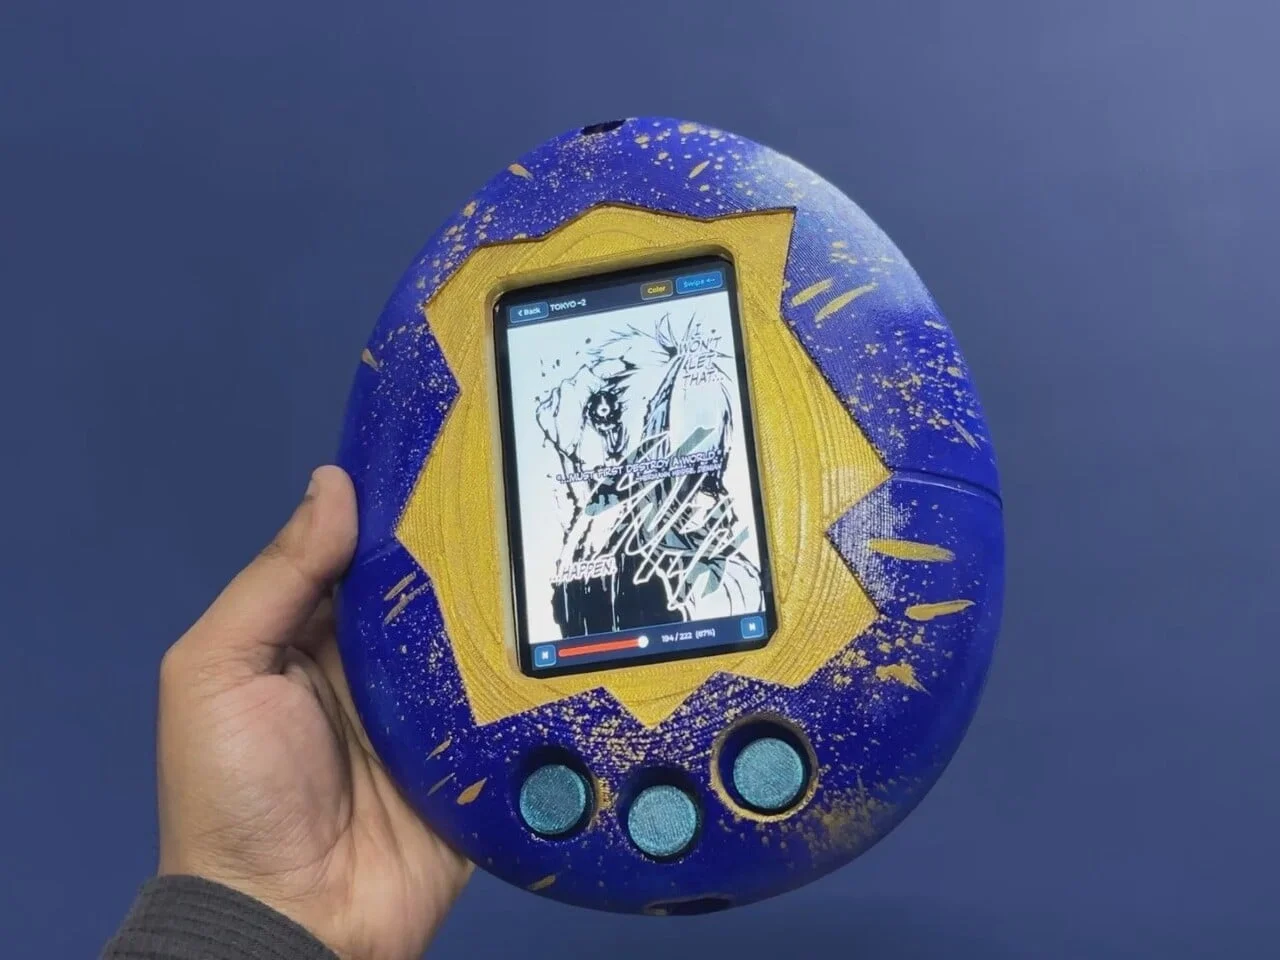
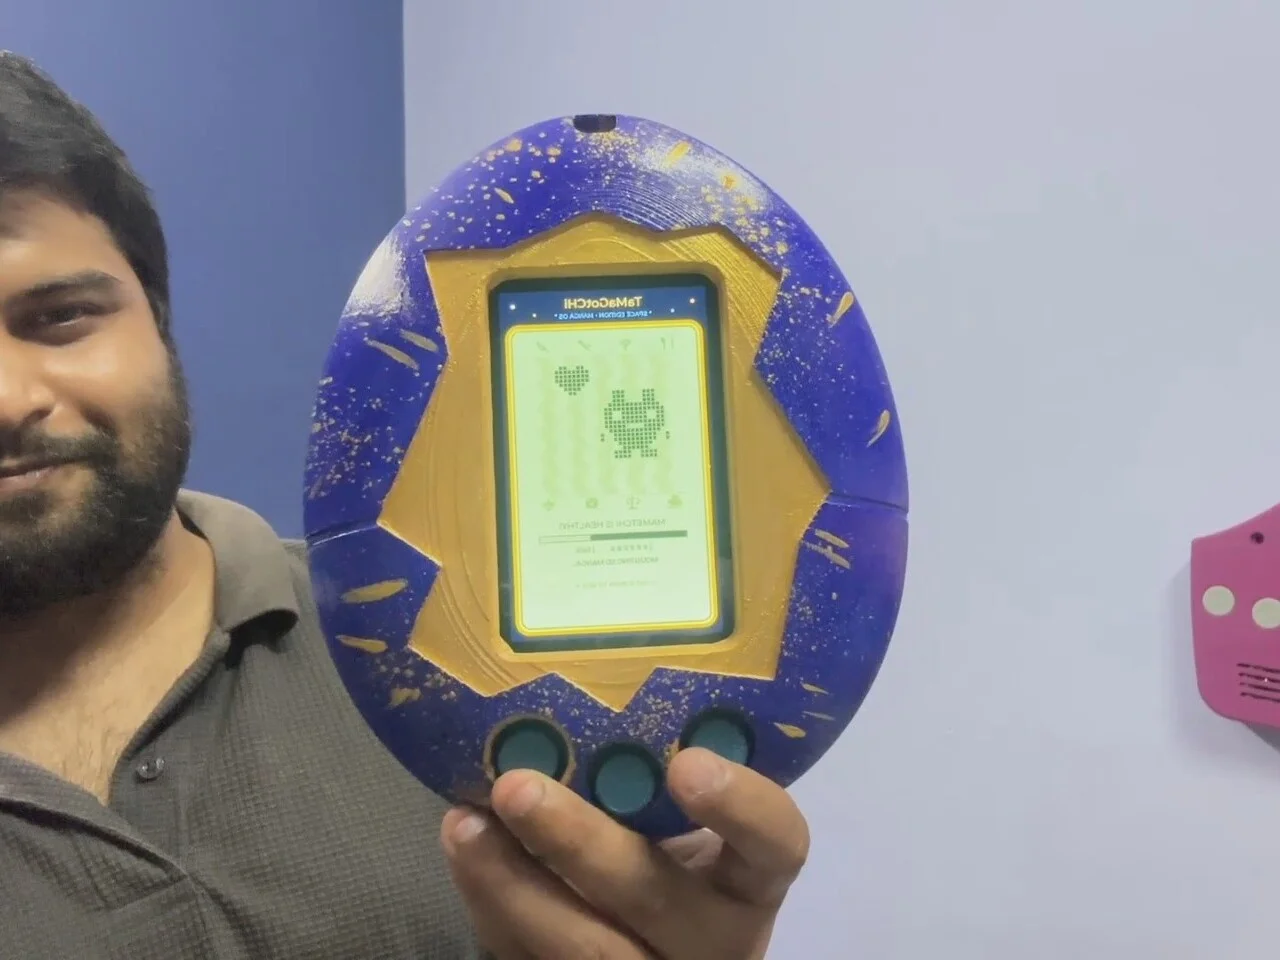
The enclosure started as a trace of a Tamagotchi's outline in Fusion 360, then got scaled up around the screen and electronics. That's a sensible approach, since the display and battery dictate the body far more than the original silhouette does. A jagged gold border frames the display, and blue paint with scattered gold flecks gives the body a night-sky look. Visible print lines and brushstrokes make it obviously handmade, which suits a project this personal. Don't expect factory polish, and don't read the roughness as a flaw either. With one-off hardware, the hand finish is what makes the object feel like someone's own.
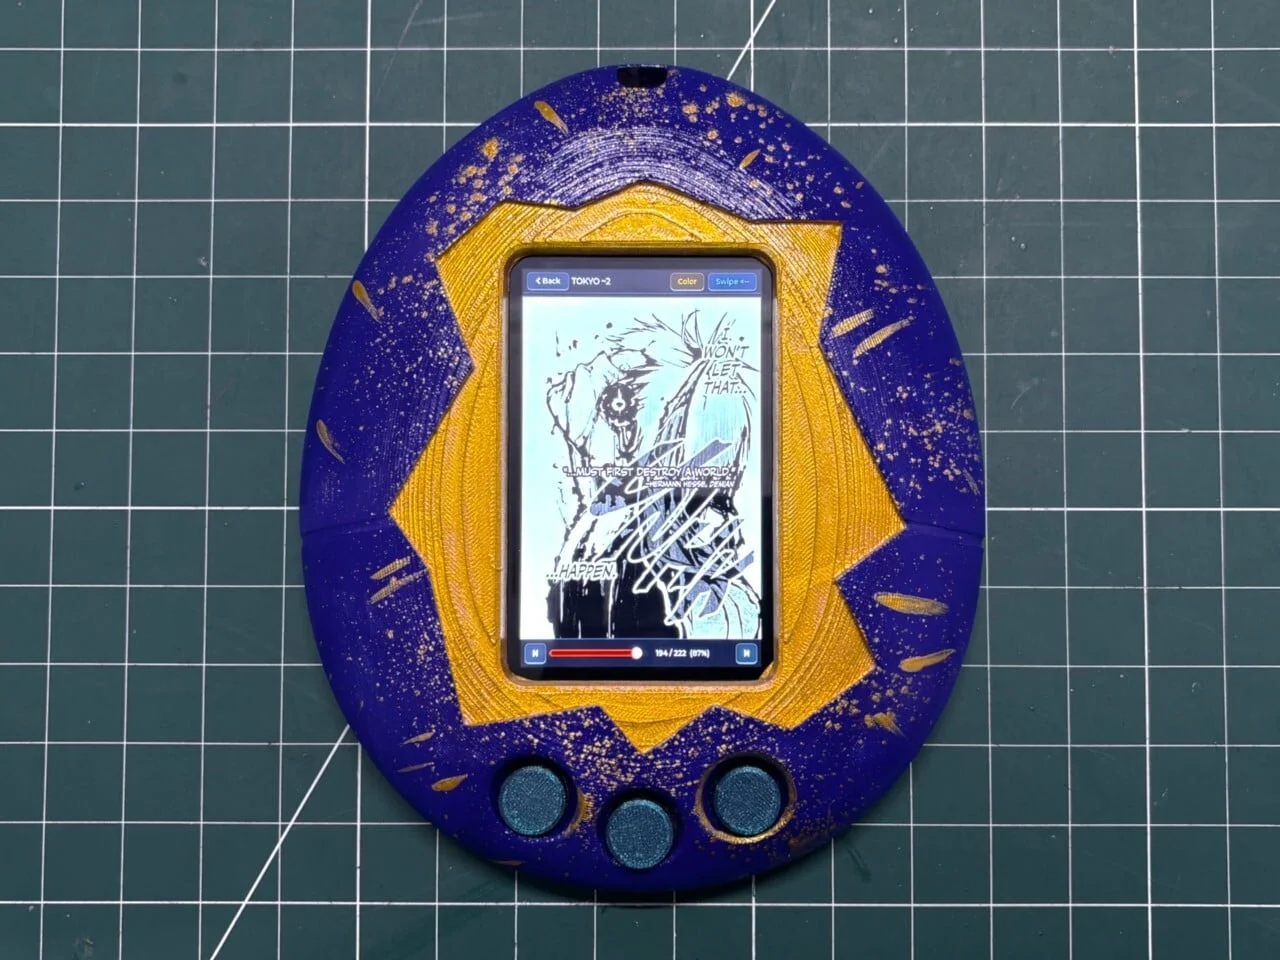
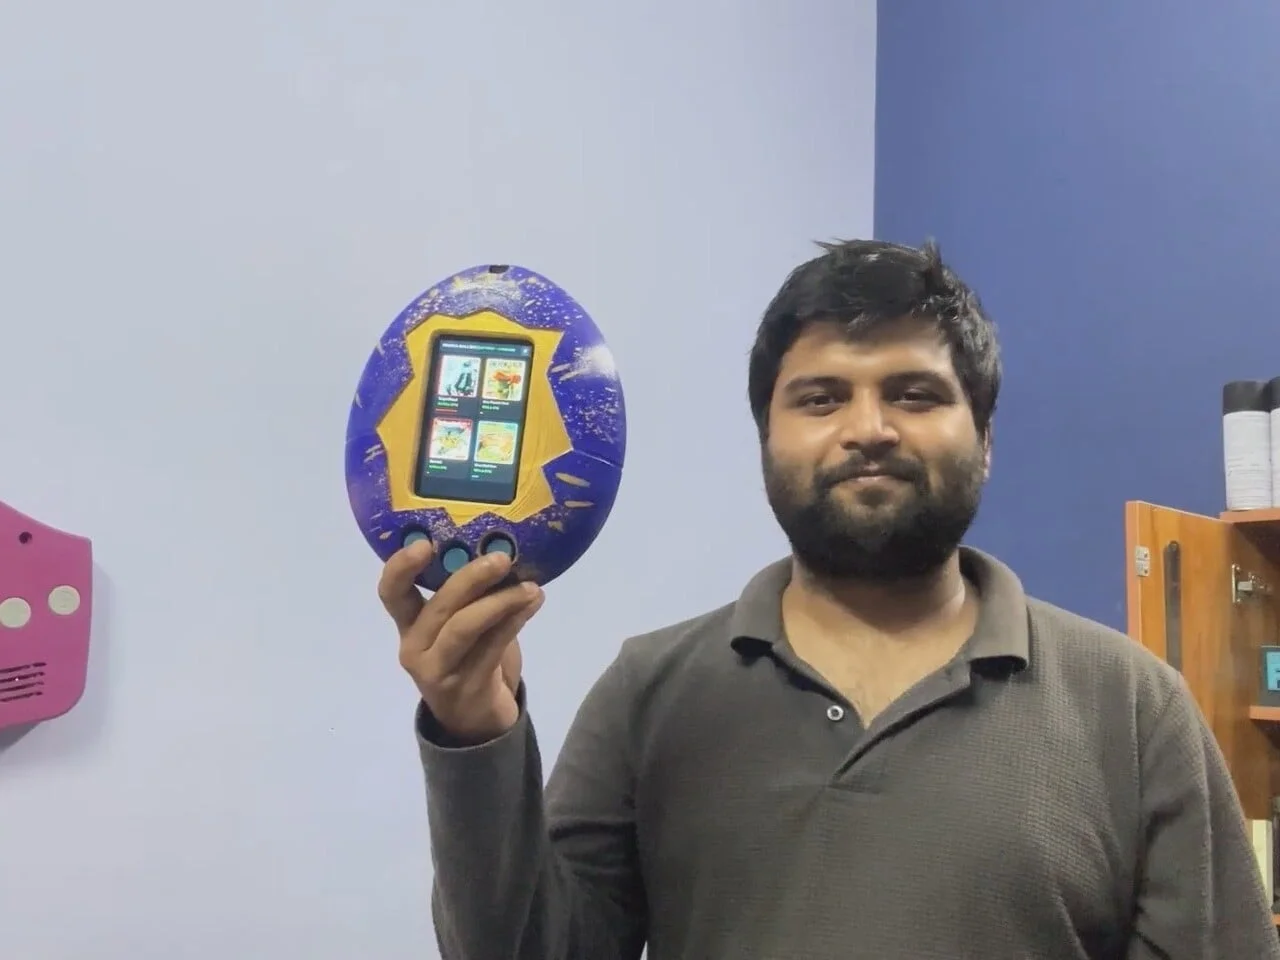
Three turquoise buttons sit under the screen to complete the look. Don't bother pressing them. They're glued into the housing as decoration, and every page turn happens on the capacitive touchscreen with taps and swipes, the same way you'd read on a phone. This is the detail I'd flag for anyone considering a similar build. A decorative element that looks like an input invites a reflexive press, and each unresponsive press reminds you the toy has been translated into a touch device. (And this is the part most people overlook: the buttons are a kind of memory, a visual cue to the original toy that does nothing except keep the connection alive.) The shape stays faithful to the Tamagotchi, but its most recognizable interaction doesn't make the trip. Tap, swipe, repeat. That's a missed opportunity in my book.
Software and the hatching intro
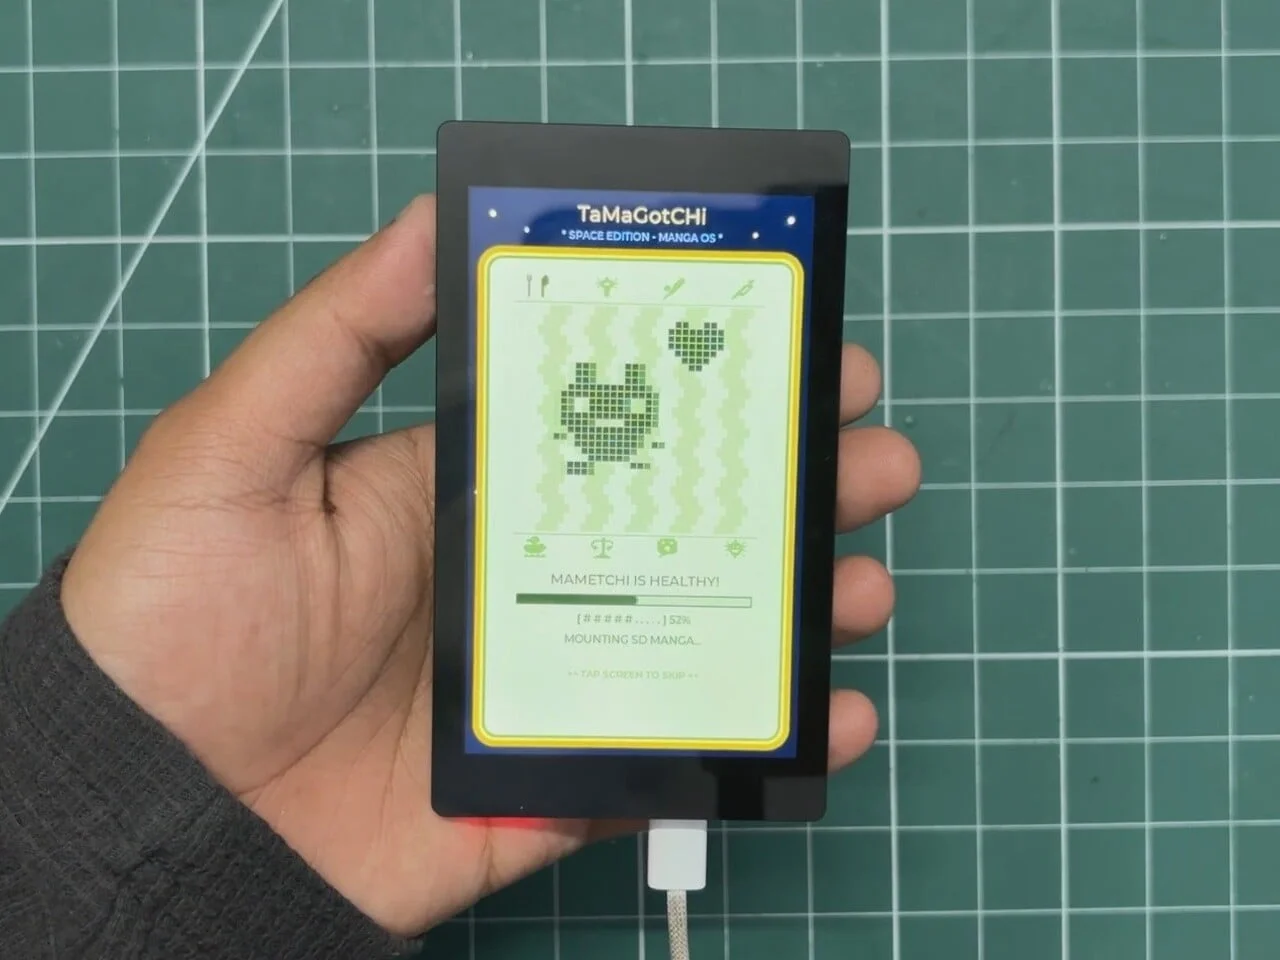
The software keeps more of the personality. At startup, a pixel-art egg hatches to chiptune audio, then gives way to a gallery of manga covers. Pick a title, swipe through the pages, and automatic bookmarks remember where you stopped. Nothing demands feeding afterward. The hatching sequence introduces the reader rather than kicking off a pet-care game.
Hatching sequences are a common move in software derived from toys, and they usually serve as a bridge between the nostalgic hook and the actual function. Here, the bridge works because the egg is brief and the library arrives quickly. Many projects in this category let the theme swallow the utility, so a reader that gets you to your chapter in a few taps is a better outcome than it might sound. I'd still like a little more control over the transition, though. Watching the same animation every time you power on gets old faster than you'd think.
Hardware under the paint
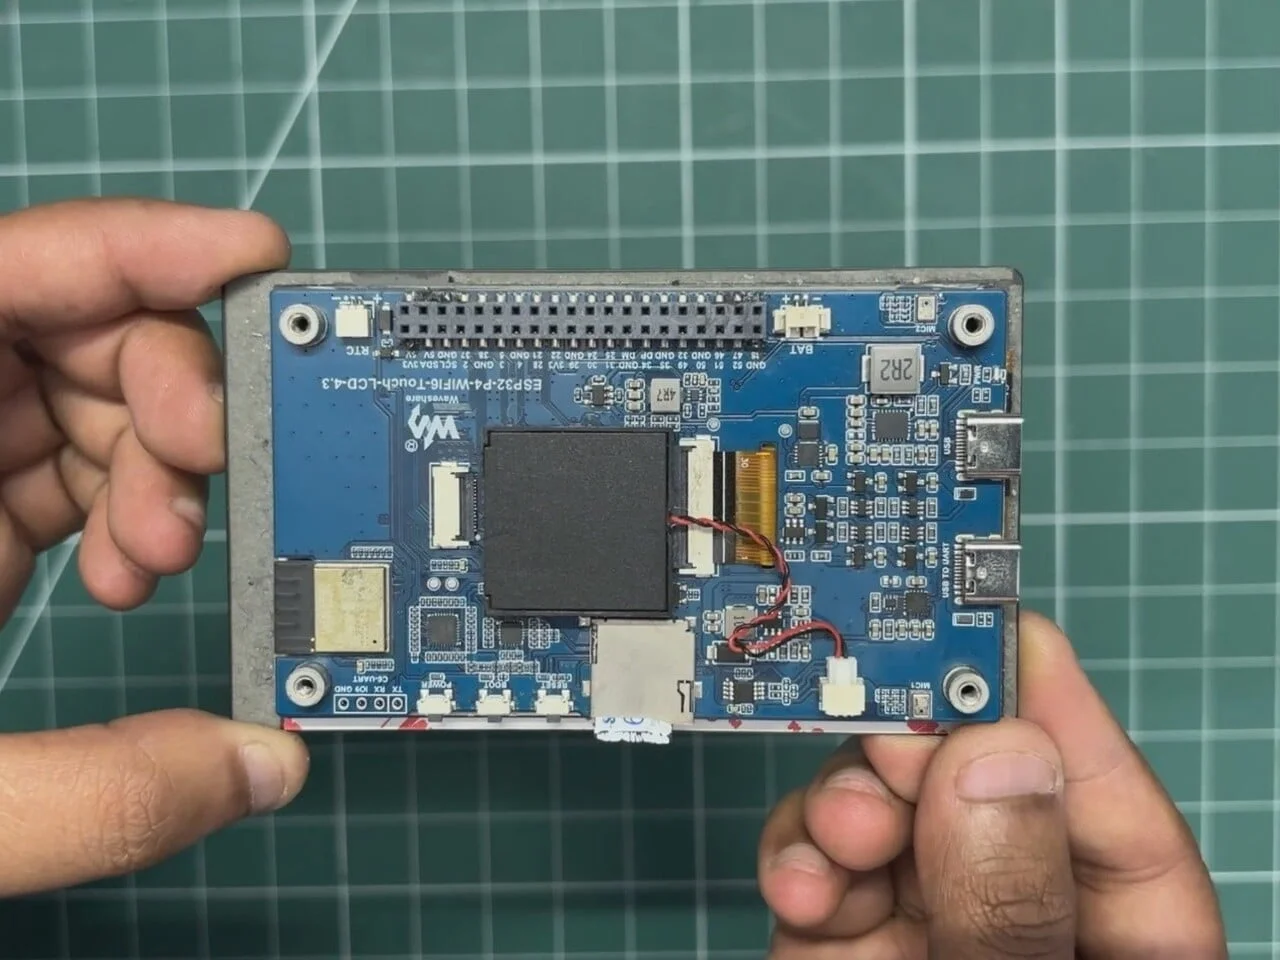
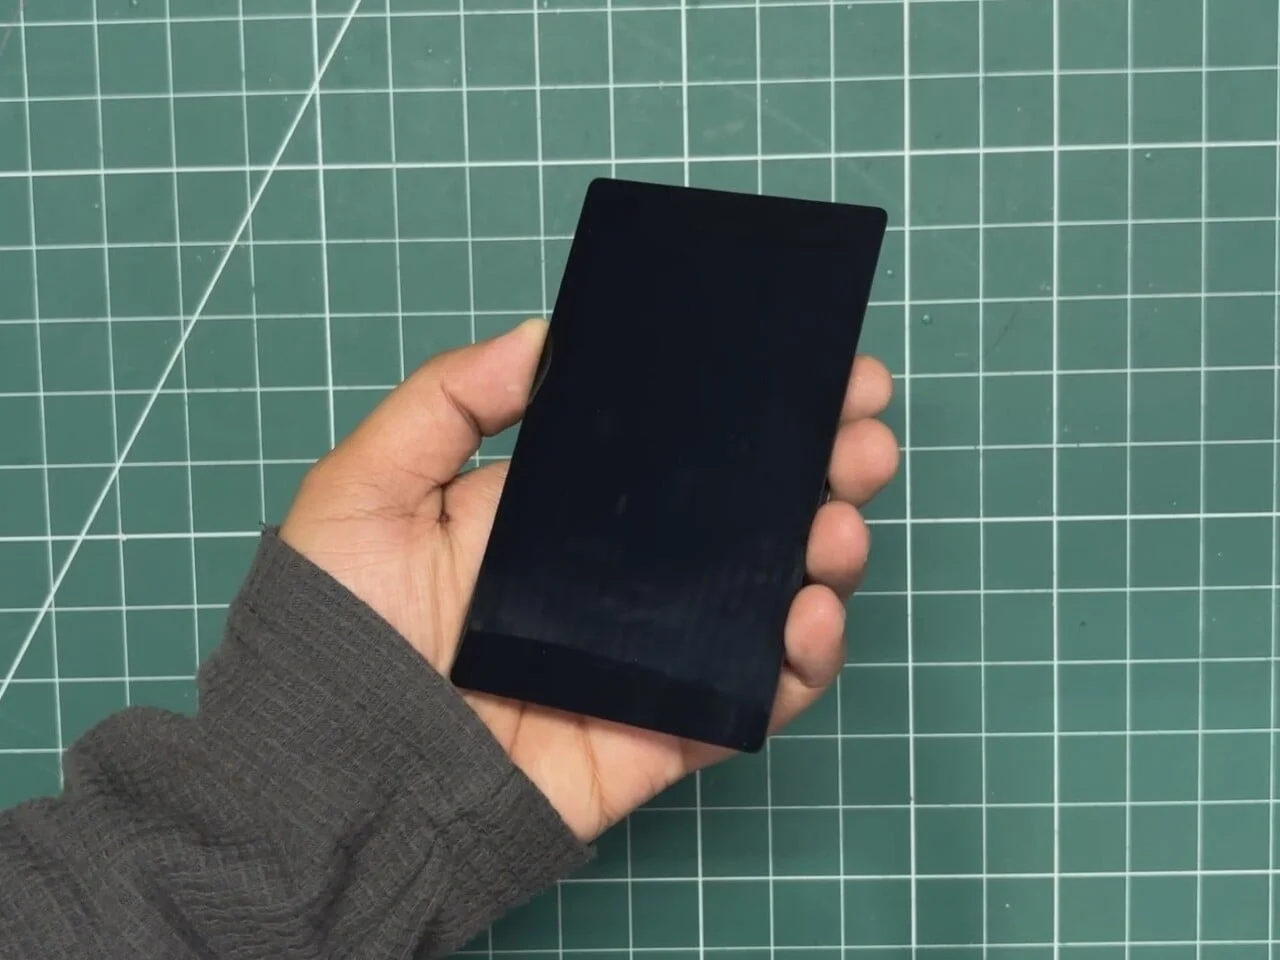
The build runs on a manufacturer-supplied Waveshare ESP32-P4 board, paired with an ESP32-C6 coprocessor and a speaker for the startup sound. The 480×800 IPS LCD is a conventional color panel, not E Ink, which matters for a device built around reading. An SD card stores the library locally, so you aren't downloading each chapter over Wi-Fi. That's a practical choice, and it's the right one for a device meant to sit in a bag.
Chips in the ESP32 family show up constantly in hobby and embedded projects, which is part of why a build like this is achievable for an individual. The trade-off is that a microcontroller-class platform isn't a tablet, and you feel that in the software's responsiveness and the limited polish of the interface. Color IPS was the sensible pick for a display this size, though. An E Ink panel would have been easier on the eyes for long reading sessions, but it would have cost refresh speed for the page turns and color manga covers that make the thing fun to show off.
Getting manga onto the card
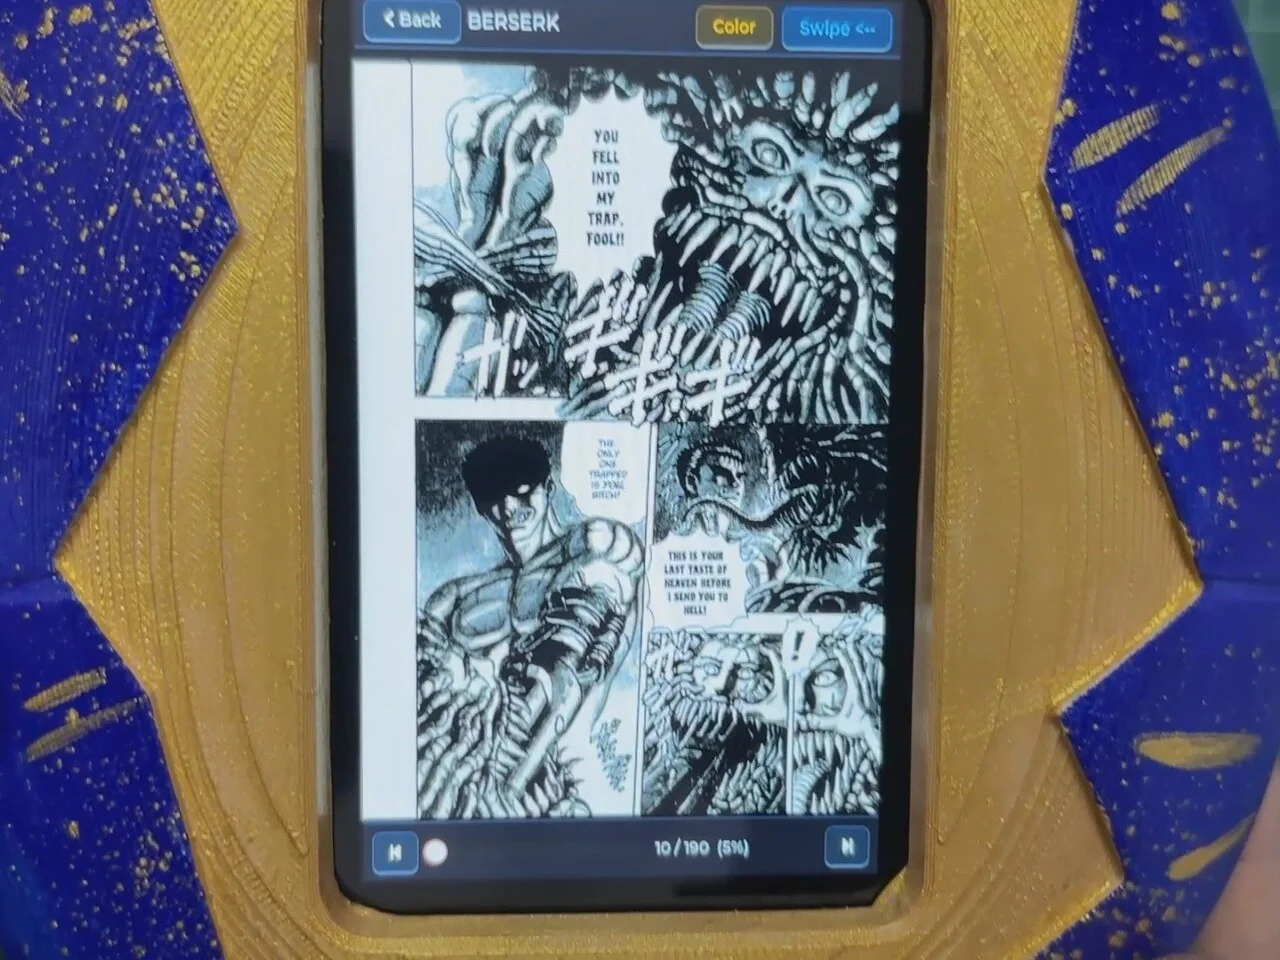
Loading content takes some prep. A companion Python tool converts PDFs into JPEG pages sized for the display, and you copy those files to the SD card. The reader won't open PDFs directly. On the device, an on-screen toggle switches between black-and-white contrast processing and color mode, so you can pick whichever suits the page.
If you're working in this space, you'll recognize the pattern. Preprocessing is the hidden tax on any offline reader, and it's where most casual users give up. The conversion step means you're managing a second toolchain just to read a comic, and that's a real barrier for anyone who isn't comfortable with Python. The black-and-white and color toggle is a smart addition, because scanned manga often reads better with aggressive contrast than with the raw colors. Still, the workflow reads like a developer's tool wearing a reader's clothes.
Build and battery
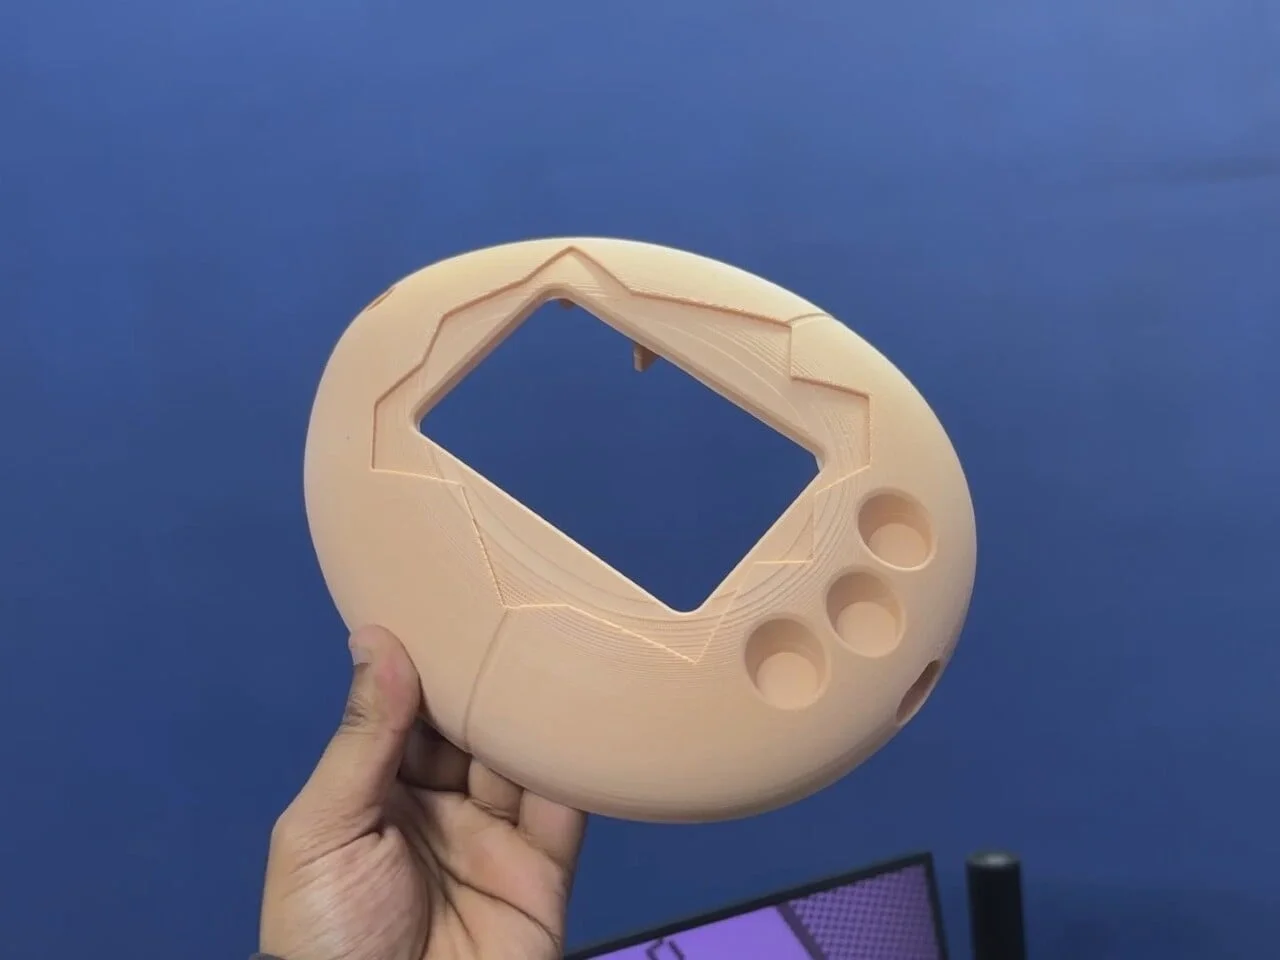
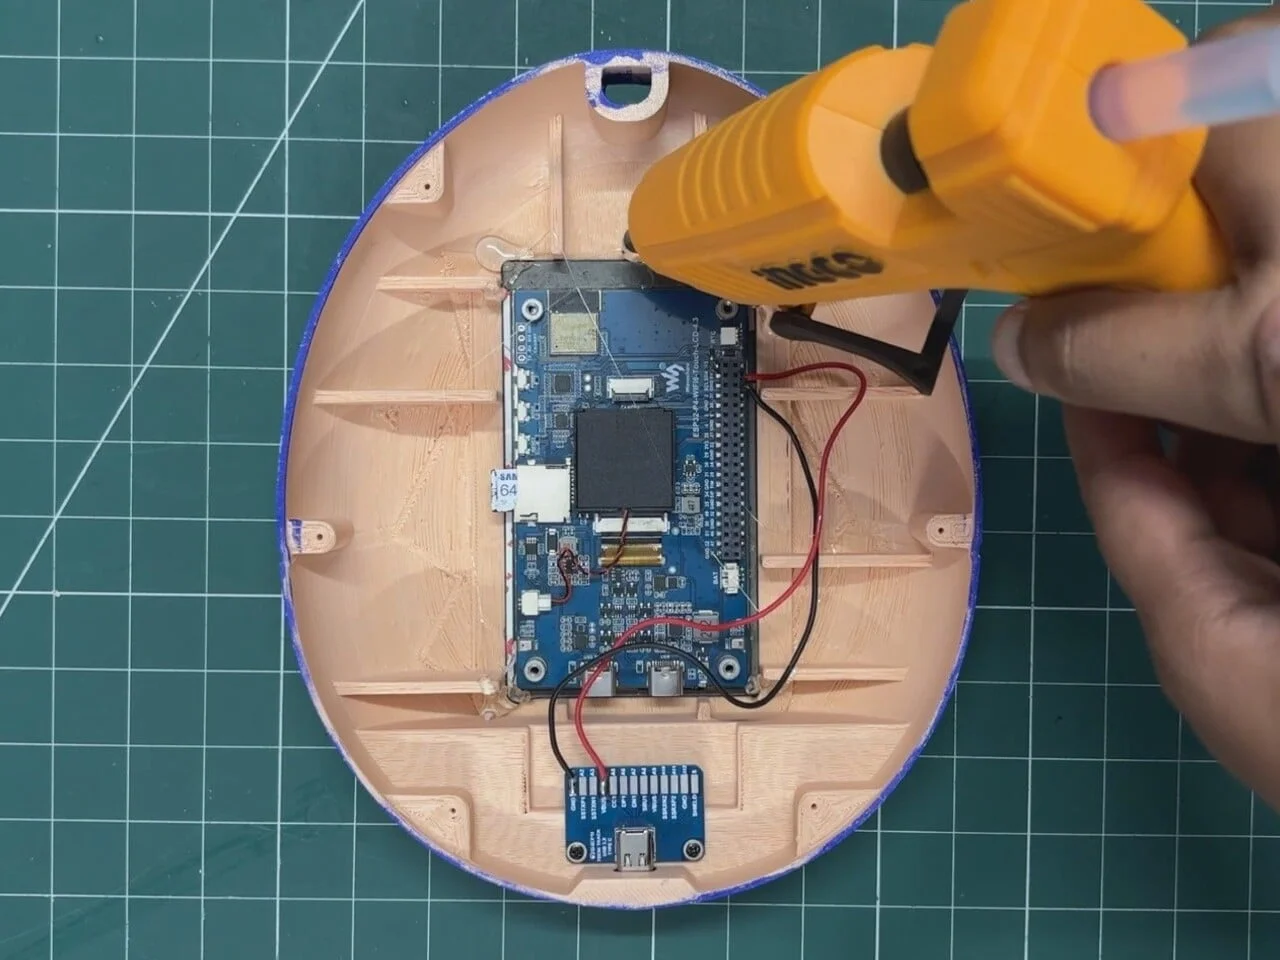
The PLA enclosure splits into a main body and rear lid, held by six screws. A rechargeable lithium-ion battery sits beside the display assembly, charging over USB-C, with a rocker power switch on the back. Lifting the lid exposes the wiring, but hot glue holding the screen makes swapping components harder than those six screws suggest.
That hot glue is the weak point, and I'd say so plainly. Screws imply serviceability, and for a hobby device that's a promise worth keeping. When the display is bonded in place, a failed panel or a worn battery means prying and reworking rather than a quick swap. Enclosures like this are usually designed for a single build pass, not repair, so the glue is a reasonable shortcut. It just makes the toy feel less like hardware you can maintain and more like a sealed object you hope keeps working.
Where it lands
Scaling up the shell doesn't turn a 4.3-inch screen into a paperback-sized page. Small dialogue will test your patience, and the rounded body takes more room than the display needs. The math is simple: a larger case adds bulk without adding reading area, so the form factor costs you usability in exchange for the visual gag. This one rides in a bag, not on a keyring, ideally away from keys that would scrape that gold-speckled paint.
Still, it's a clear case of a toy form carrying a practical reading device, and a version with working buttons would be worth watching. Here's what I'd want to see next: a physical input that actually does something, a bigger screen or a better ratio for comics, and a reader that doesn't ask you to convert files on a laptop first. None of those are small asks. They're also the difference between a clever weekend project and something people would carry every day.
What this project signals
The more interesting question is what projects like this say about the state of hobby hardware. Makers now have cheap, capable microcontrollers, affordable displays, and open tooling, which makes it possible for one person to build a dedicated device around a nostalgic object. That's a real shift from a decade ago, when a build like this would have required far more specialized knowledge. The Mega Tamagotchi shows what that shift makes possible, and it also shows where the friction still sits, in conversion steps, sealed assemblies, and inputs that look better than they work.
If you're thinking about building something similar, the lesson is to decide early whether the object is a joke or a tool. This one tries to be both, and that tension explains most of its strengths and weaknesses. A toy that doubles as a reader can win people over with the gag, but it has to earn its keep through usability. And yet the project is more honest than most commercial gadgets about its trade-offs. You can see the wiring, the glue, and the preprocessing step, which is more than many products offer. Whether that transparency is enough to make it a keeper depends on what you want from a Tamagotchi, and on how much patience you bring to the chapter you're trying to read.


Discussion
Sign in to join the discussion.