Don't wait for winter; tackle small kitchen repairs this autumn to avoid significant damage and save on future expenses.

Autumn Kitchen Maintenance: Why It Matters
As summer fades into fall, many of us tend to put away the outdoor grill and shut the windows, signaling the return of kitchen-centric activity. However, this seasonal shift also ushers in a crucial maintenance window. According to industry experts, neglecting small repairs during the sunny months can lead to far more significant issues once colder weather sets in. Will Frankling, co-founder of Kitchen Makeovers, shares an alarming observation: “We’ve seen cases where a small drip under the sink has gone unnoticed for months. By the time it’s discovered, the base unit is completely rotted out, which can lead to a costly refit that far exceeds the minor expense of a simple washer replacement.” This shift from minor upkeep to expensive repairs is a common theme, and it's something homeowners should prioritize ahead of winter. Taking action now can save you both time and money in the long run. While minor imperfections like a tiny leak or slow-draining sink might not appear urgent during late summer, the impending chill can make these issues escalate quickly. With that in mind, I reached out to a few professionals to curate an essential checklist of kitchen maintenance tasks that are best handled before temperatures drop significantly.1. Inspect Your Sealant
Don’t be fooled by the outward appearance of the sealant around your kitchen sink and countertops. It might look perfectly fine until you actually get down to check it. Mark Irving, a building expert from Build & Plumb, emphasizes that sealant’s lifespan isn’t indefinite. Over time, silicone sealant can lose its flexibility and become brittle, allowing water to seep through cracks and wreak havoc on the surfaces below. Signs of deterioration include peeling—where gaps form, enabling moisture to accumulate in hard-to-reach corners, potentially leading to problems like rot and mold. Other indicators that it’s time for a replacement include persistent black mold that won’t wash off, discoloration, or sealant that lacks the usual give when pressed. Franklin advises autumn as an optimal time for sealant replacement. “Moderate temperatures and humidity allow it to cure properly,” he explains. With extreme summer heat and freezing winter conditions both creating hurdles, this moderate fall window is ideal for small home repairs. Resealing jobs, like siliconing a shower, can usually be tackled by homeowners themselves if they ensure that the old sealant is completely removed and the area remains dry during the cure.
2. Properly Descale Faucets and Mixers
Cleaning your kitchen taps require more than just scrubbing away limescale haphazardly. Ana Padilla Martinez, e-commerce manager at Plumb2u, reminds us that the finish of your faucet significantly dictates the cleaning method. Chrome can withstand a little vinegar attack, but finishes like brushed brass and matte black are much more fragile. “Using a weak acid on these finishes can damage the coating,” she warns. For these faucets, stick to warm soapy water and a soft cloth, and always dry them thoroughly. If you must use a descaler for tough spots, ensure it’s pH-neutral and test it out in a less visible area first. According to Padilla, avoid one popular cleaning tip at all costs: the vinegar-soaked bag method to soak the faucet overnight. “While it works on chrome, on textured finishes it will strip the coating entirely,” she stresses. A straightforward fix for a tap that’s struggling to deliver a strong water flow often lies in cleaning the aerator instead of the tap body.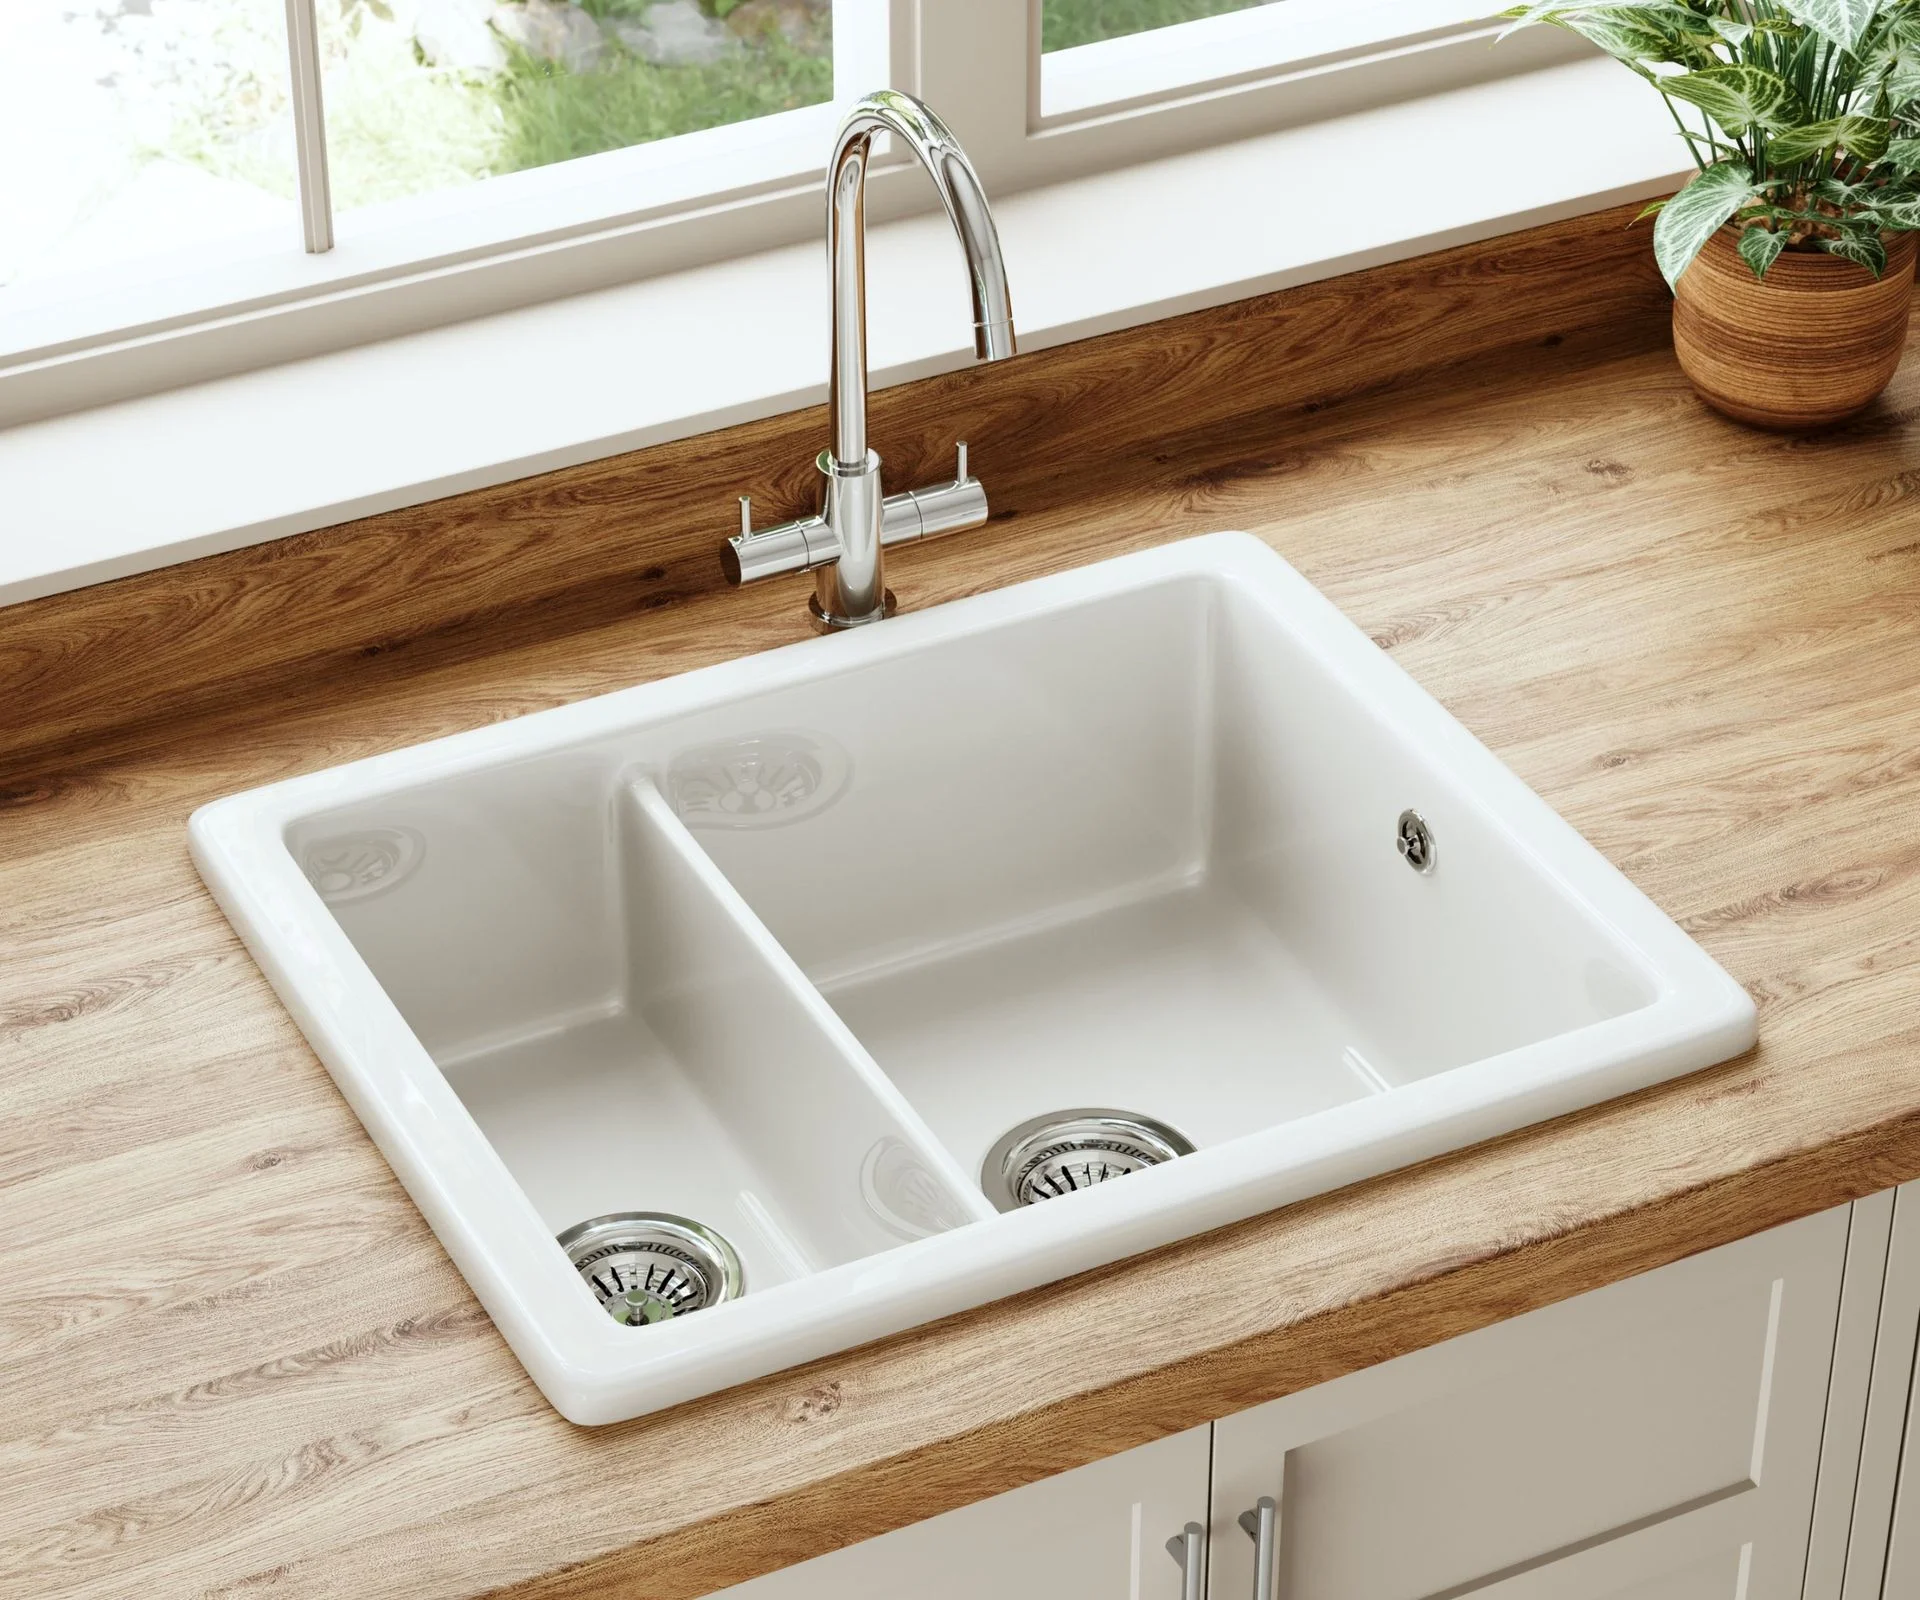
3. Investigate Under the Kitchen Sink
Often overlooked, the space beneath your kitchen sink is a hidden treasure trove of potential problems. Michael Sammon, design director at Wödår, notes that most people don’t check this area until something goes wrong, yet there are usually warning signs long before a leak occurs. Start with an inspection of the isolation valve that controls your tap’s water supply. If this valve is left untouched for an extended period, it can seize up, complicating what should be a minor repair. “The isolation valve allows you to turn off one fitting without impacting the main water supply,” explains Padilla Martinez. If it’s stubborn, swap it out while the conditions are still relatively dry. While you’re down there, take a moment to examine flexible tap connectors—often unnoticed but critical components in your plumbing system. These hoses can fail without warning, with an expected lifespan of five to ten years. Sammon also advises running the tap while checking under the sink for any signs of moisture or musty smells, which could indicate far more serious moisture issues.
4. Maintain Hinges and Drawers
Maintenance isn’t all about plumbing; wear and tear can also affect kitchen hardware. According to Frankling, problems with hinges and drawer runners often surface first in older kitchens due to consistent use. A sticking drawer might seem annoying but addressing these issues early prevents more extensive damage down the line. Newer kitchens often face challenges with their soft-close mechanisms. These can malfunction and require expensive replacements if ignored. If you notice any irregularities—like a drawer slamming or sticking—it’s worth tightening or lubricating those elements before they fail altogether.
5. Clean Your Extractor Fan Thoroughly
A well-maintained extractor fan is your kitchen’s primary defense against winter condensation, which can lead to mold and unpleasant odors. Jade Golding-Gault, an appliance expert at AO.com, points out that many of us forget about this appliance until cooking becomes less pleasant as weather changes. “You need to clean the filters every two to three months,” Jade advises. Over time, grease accumulates, diminishing airflow and making the fan less effective. During winter months, when homes are sealed up, this problem becomes even more pronounced. Cleaning the filters can be straightforward: either run them through the dishwasher or soak in hot, soapy water. While you wait for these to dry, wipe down the fan’s hood and surrounding surfaces. Not sure if yours needs attention? Take a quick glance; greasy filters are a telltale sign that it’s time for a cleaning.



Discussion
Sign in to join the discussion.