Essential Tips to Prepare Your Garden Shed for Winter: A Practical Guide
Published Sep 28, 2026Reads 788Desk Gabriella Dyson
Get your garden shed ready for winter with expert tips on decluttering, sealing gaps, and checking for roof damage to prevent moisture issues.
The world of gardening often cascades into rustic neglect, especially when it comes to our tools and storage spaces. Picture this: you glance at your garden shed and wonder what lurks within. Is that a relic from last year's summer project? Or perhaps forgotten holiday decorations sitting alongside tools that have seen better days? After the annual heatwaves, that sense of unease strikes harder. What if winter is lurking just around the corner, ready to unleash its chilly wrath? With that thought nagging at the back of my mind, it was time to confront the clutter and prepare for the inevitable cold.
What I’ve gleaned from experts on this topic is essential for anyone looking to restore their shed to a semblance of order and functionality. Here are the most vital takeaways to ensure your storage doesn't transform into a dank, mold-ridden tomb as temperatures drop.
1. Clear It Out and Diagnose the Damage
The first step in this daunting task is emptying the shed entirely, a process which, I’ll admit, felt a bit overwhelming. But DIY expert Georgina Burnett reminds us that apprehension often stems from a lack of clarity. “You need to see what you’re dealing with,” she advised. “Before any cleaning, identify sources of dampness and poor airflow.” That makes sense—understanding the extent of the problem is half the battle. With gloves on, I began the laborious process of hauling out my forgotten exercise bike and the remnants of celebrations past.
Once the shed was decluttered, the reality wasn’t as dire as I had imagined. Sure, there was a faint mustiness—a clear indicator of moisture—and a soft whisper of mold graced the walls. But it didn’t look like I was about to need a hazmat suit.
2. Assess the Entry Points
Next on my to-do list was examining the shed's doors. According to Sam Jenkinson from Tiger Sheds, these areas often require special attention. My shed, which lacks windows, forced me to focus exclusively on the door frame—historically a stiff and stubborn feature. "Winter can wreak havoc if the door frame's integrity is compromised," Jenkinson remarked. So I got to work, probing for signs of wood rot. Turns out, a soft spot in one corner confirmed my worst fears, but addressing it was manageable. A quick dig with a screwdriver and some wood filler later, my door frame was ready for winter's onslaught.
Fill Gaps and Repair Damaged Areas
Filling those gaps isn’t just about ensuring a tight seal; it’s crucial for warding off moisture. As I learned, products like expanding foam can easily fill in those cracks, and they’re topped off with a coat of paint once dried to keep the aesthetics intact.
3. Roof Checks Are Imperative
And let’s not forget the roof—it bears the brunt of the elements. "Clutter on the roof only invites bigger problems, like leaks," cautioned Jenkinson. After clearing off leaves from months of neglect, I inspected for tears. Thankfully, most of the felt held steady, and only a couple of minor repairs were needed. It’s vital to patch small damage promptly; failing to do so might be the difference between a sturdy shelter and a moisture disaster.
Repair Options for the Roof
For those minor tears that do crop up, using self-adhesive roofing repair tape can be a lifesaver—quick, effective, and easy to apply.
4. Boost Airflow
A salient point repeatedly echoed by the experts was the importance of ventilation. Jenkinson highlighted that many shed owners overlook this. “Proper airflow mitigates dampness and prevents wood rot. Without it, mold spores flourish in the damp,” he explained. My shed, with its lack of vents and tightly packed items, was a case study in how not to manage airflow. While I haven’t added vents yet, I did ensure that nothing touched the walls, creating some airflow while reorganizing the contents.
5. Address Internal Moisture Sources
Time to scour the interior for damp items, as Jenkinson advised. Old decorations or soggy boxes can act like sponges, soaking up moisture. Hence, I made the tough decision to discard what wasn’t essential and opted for moisture-resistant storage solutions—out of reach of damp walls.
For those with power in their sheds, a dehumidifier is a worthy investment. It seems counterintuitive not to have one, but running electricity isn’t an option for everyone. Yet, if you can, especially for sheds doubling as home offices, it’s a smart move.
6. Treat the Exterior with Wood Preserver
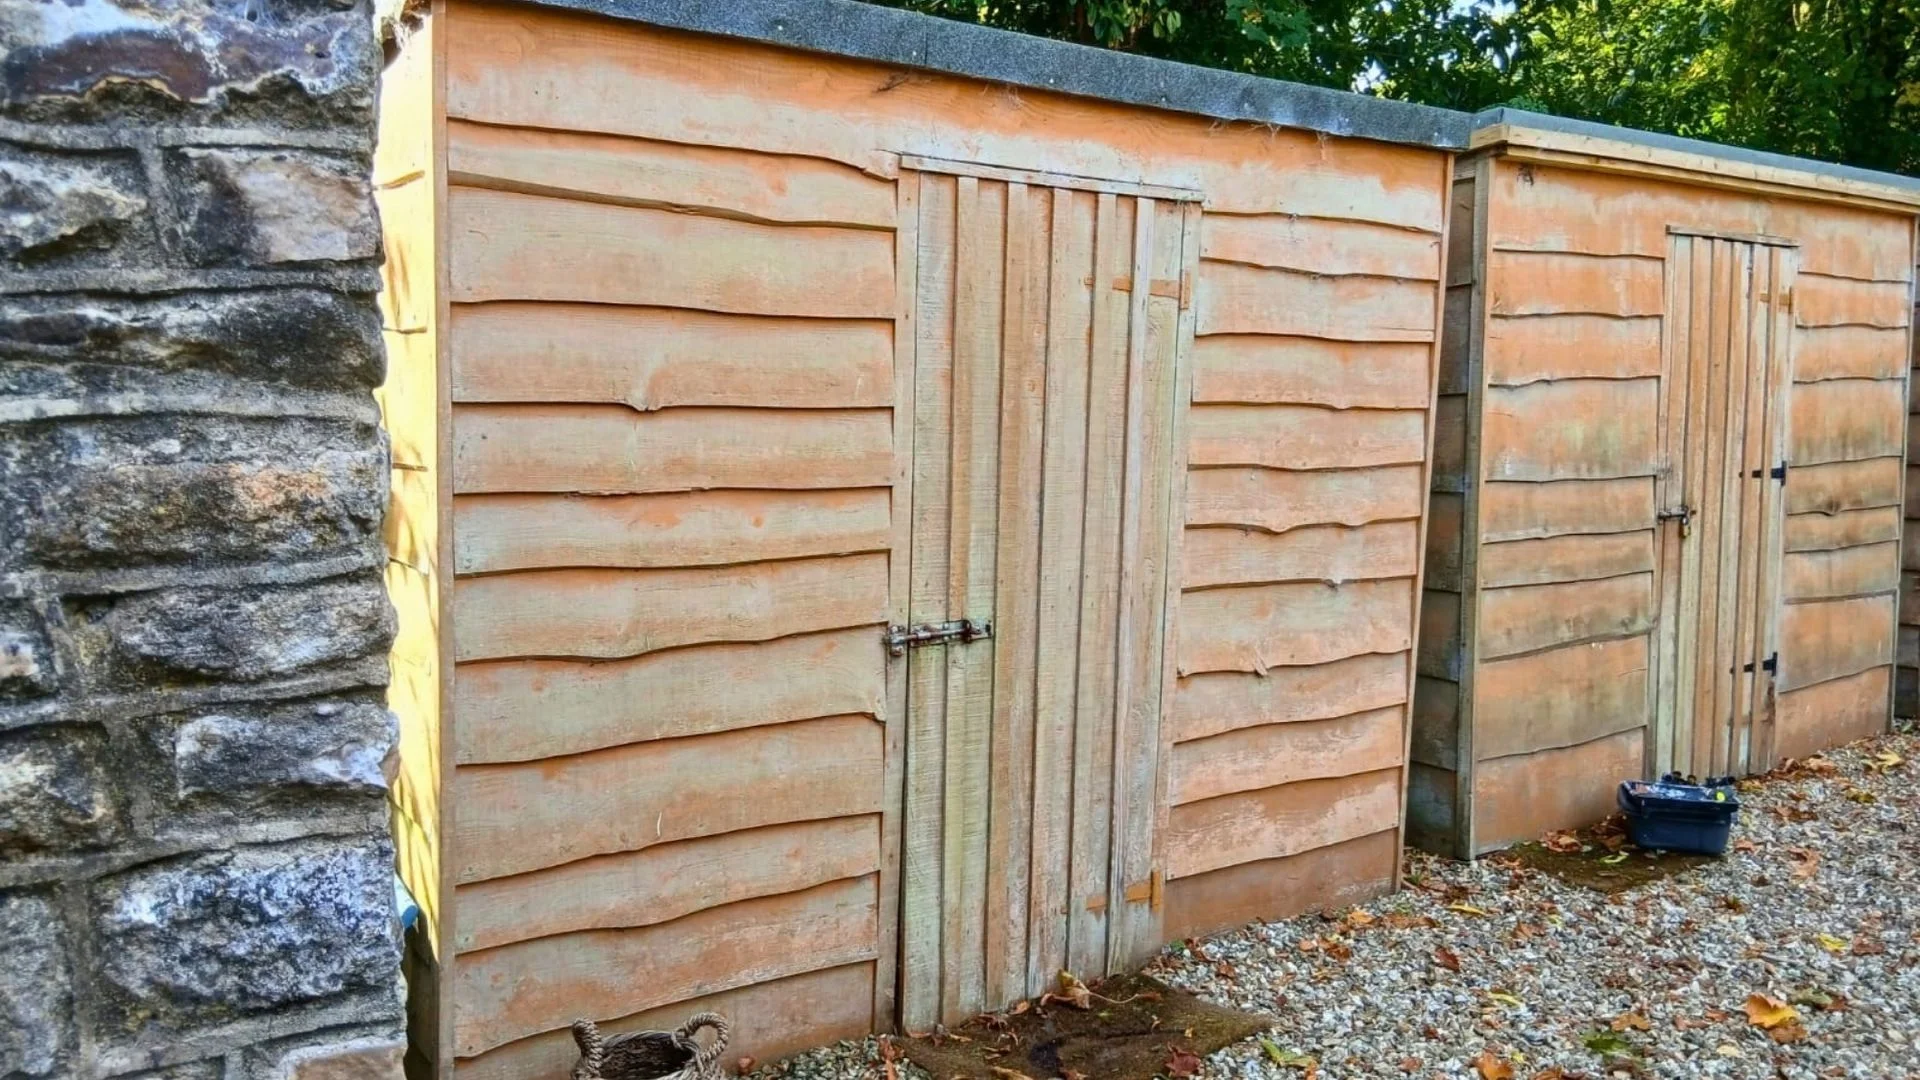
Lastly, don’t skimp on exterior treatment. A good wood preservative shields your shed from pesky rot and pests. Remember: preparations can make the difference between seasonal maintenance and constant repairs. Follow the proper procedure to ensure the wood is dry, clean, and free from damage before applying treatments effectively.
When the weather permits, roll up your sleeves and get to work; you’ll be grateful when your shed stands resilient against the coming cold.
Final Thoughts: Is Your Shed Worth Saving?
As you stand before your shed, the question isn't just about what needs fixing; it's whether it's even worth the investment of time and money. The journey of restoring a shed can be rewarding but also draining. If you're in this situation, take a moment to assess the real condition of your space, as not all sheds are salvageable.
Renowned shed expert James Crane emphasizes the critical signs that should guide your decision. Persistent dampness and recurring mould often signal deeper structural issues. It’s all too common for homeowners to throw money at surface-level repairs, thinking a fresh coat of paint will do the trick. But if the underlying causes—like a compromised roof or insufficient ventilation—aren't addressed, you may find yourself back at square one.
It's remarkable how many satisfactions restoring a shed can yield, from the sheer achievement of DIY success to the enjoyment of an improved outdoor space. However, vigilance is key. If the rot keeps returning despite your best attempts, or if you notice structural instability, it might be time to seriously reconsider.
Moreover, sifting through your list of “fixes” should serve as a reality check. If simple solutions like replacing worn-out roofing or enhancing ventilation aren't feasible, then it might be time to rethink the project altogether. All wood surfaces eventually succumb to the elements; some are just not built for an endurance test.
For those who can save their sheds, remember: the right protection—like using a quality wood paint—can extend the life of your structure. Yet, choosing the right treatment is only half the battle. Ongoing maintenance will be essential to ensuring your shed stands the test of time. So, whether you decide to revamp or retire your shed, weighing the potential outcomes against the investment is crucial. What it ultimately boils down to is this: will the effort and expense pay off with a functional space, or is it a sinking ship? You'll want to be on the right side of that decision.



Discussion
Sign in to join the discussion.