The right adhesive, trowel and cutter depend on the tile and surface. Get those choices wrong and hidden bond failures can turn into costly repairs.
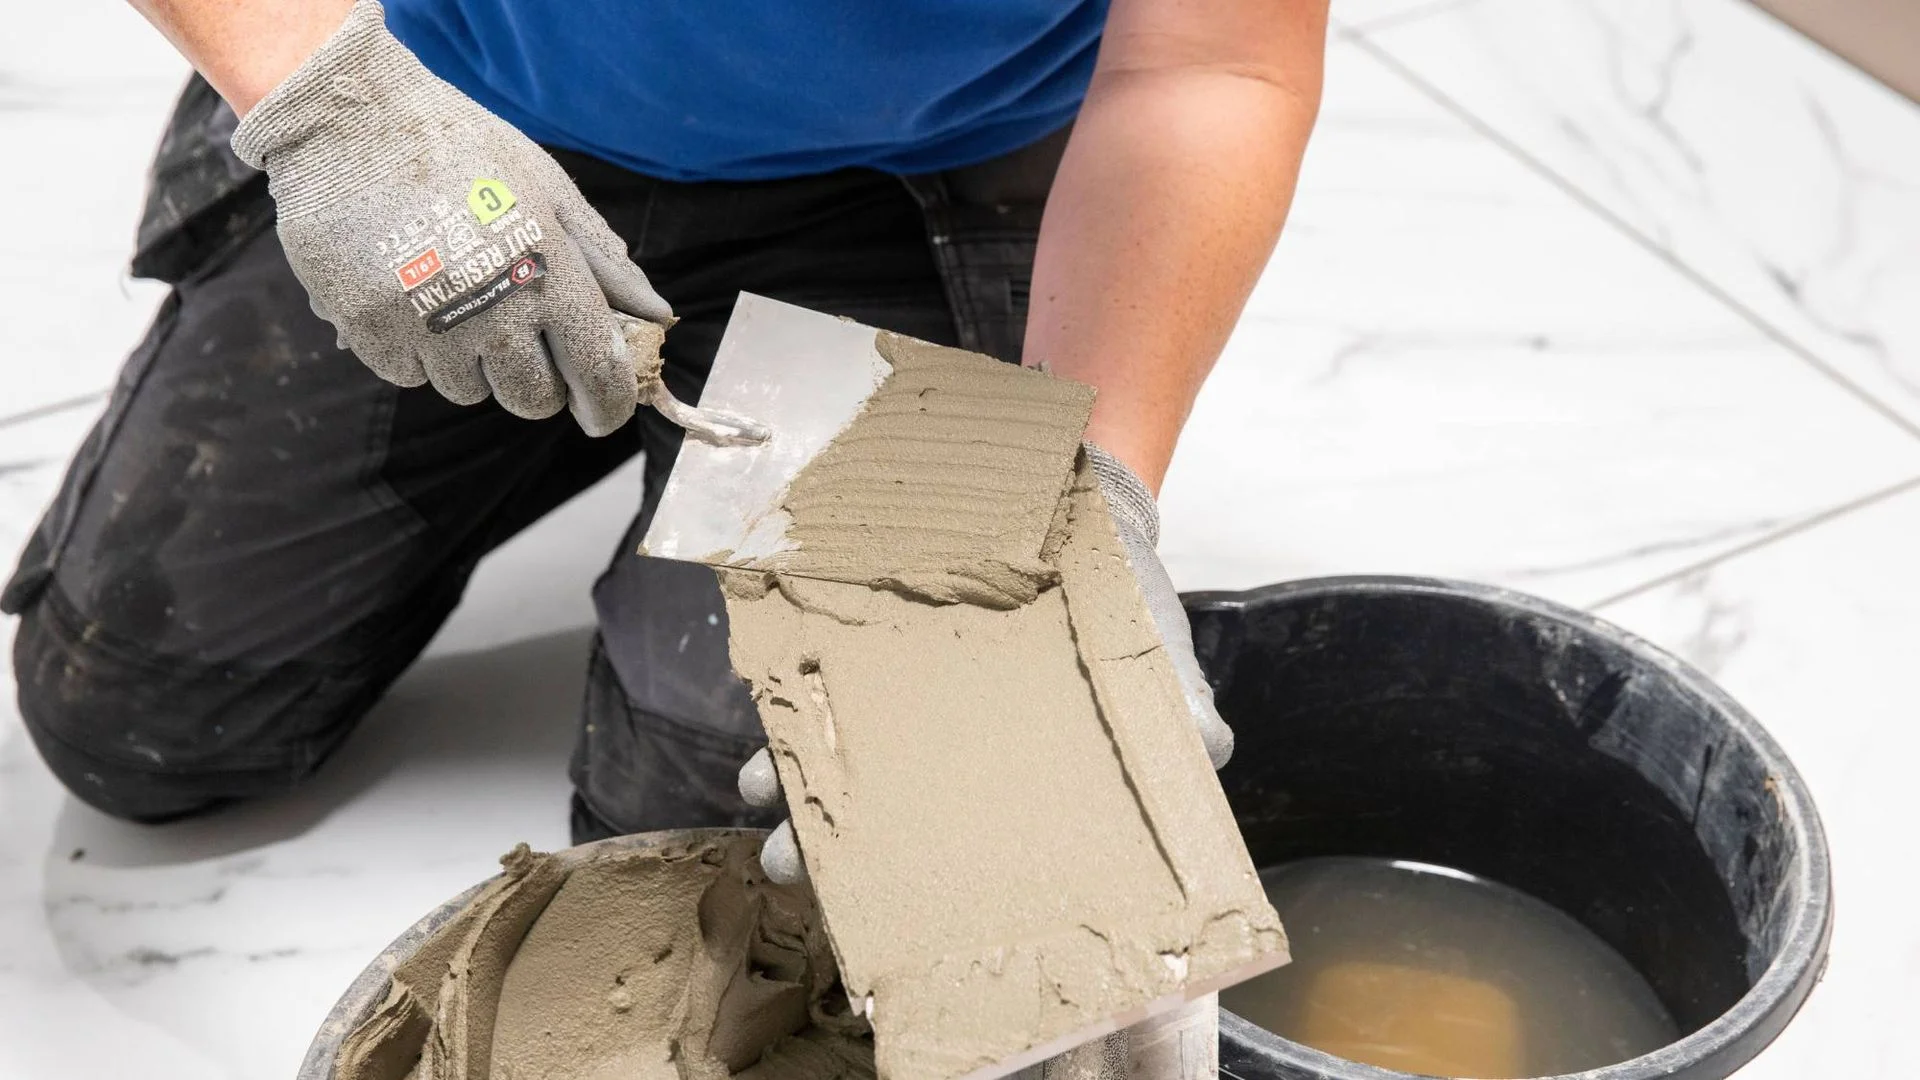
Tile failures often start with a choice that seemed harmless: an adhesive suited to walls used on a floor, a trowel notch that leaves too little coverage, or a cutter that chips a hard tile. The finished surface may look sound at first, but a weak bond can show up later as loose or cracked tiles. Matching materials and tools to the tile and the surface is the practical way to reduce that risk.
That choice matters especially when the repair means lifting finished work. James Roberts, director at Sanctuary Bathrooms, says poor bonding can lead to cracked or loose tiles, particularly where the installation experiences movement. Tiler Stephen Russell of Ashley Cross Tiling points to the more immediate consequence: tiles may come loose from floors or fall from walls. Natural stone can also stain if paired with an unsuitable adhesive, potentially requiring removal and refitting.
Start with the surface beneath the tile
Adhesive performance depends on the background. As Roberts puts it, the adhesive can only perform as well as the surface allows. Before choosing a product, check that the substrate is stable, clean and prepared according to the manufacturer's instructions.
Plasterboard should be dry, securely fixed and strong enough to carry the tile's weight. Plaster and boards may also need priming, depending on the adhesive instructions. Existing tiles need to be firmly attached and clean, with preparation suitable for a non-absorbent surface. Concrete and screed should be dry and fully cured before tiling begins.
Timber floors need particular care. Wood-based boards can move, and a flexible adhesive by itself won't stabilise them. Roberts recommends using an appropriate intermediate layer, such as tile backer board or an uncoupling system. The supporting structure needs to be right before the adhesive can do its job.
For guidance on tiling onto plasterboard, tiling over existing tiles or tiling a floor, the same principle applies: follow product directions for the specific background and tile.
Choose adhesive for the installation
Walls and floors place different demands on tile adhesive. Wall tiles don't take foot traffic, while floor tiles must cope with wear and pressure. That distinction makes ready-mixed wall adhesive a common choice for smaller ceramic wall tiles, while floors generally call for a powdered cement-based product.
Wall tiles
Ready-mixed adhesive in a tub is convenient for many wall jobs because it requires no mixing. Russell recommends options such as Mapei Ultimate Showerproof Adhesive. Another option, according to Roberts, is BAL White Star Plus, which is suitable for ceramic tiles up to 300 × 300mm on approved backgrounds, including bathroom walls.
Powdered adhesive can cost less, but the product's limits matter more than the convenience of a tub. Larger tiles and most porcelain installations are better matched to a suitable cement-based powdered adhesive. Check the stated tile size, background and bed thickness before buying; those details determine whether the product fits the job.
For smaller wall tiles, the adhesive label should guide mixing and application. A product that works well on one wall or tile may not be suitable for another surface or format.
Floor tiles
Russell's advice is direct: don't use pre-mixed wall adhesive on a floor. Powdered adhesive is the typical choice, and the label should determine how it is mixed and applied. Standard-setting products give more working time, which can be useful in a large room. Rapid-setting products are an option when the floor needs to be ready sooner.
For underfloor heating, Roberts recommends a deformable adhesive that can accommodate limited movement. A product with an S1 or S2 flexibility rating is typically a suitable category to consider. BAL Rapid-Flex One is one example for ceramic and porcelain floor tiles, subject to its substrate requirements.
Setting speed should fit the schedule, but it shouldn't decide the specification. A rapid-setting adhesive can shorten the wait before a floor is used; the tile, background and installation conditions still need to match the product.
Match the cutter to the tile
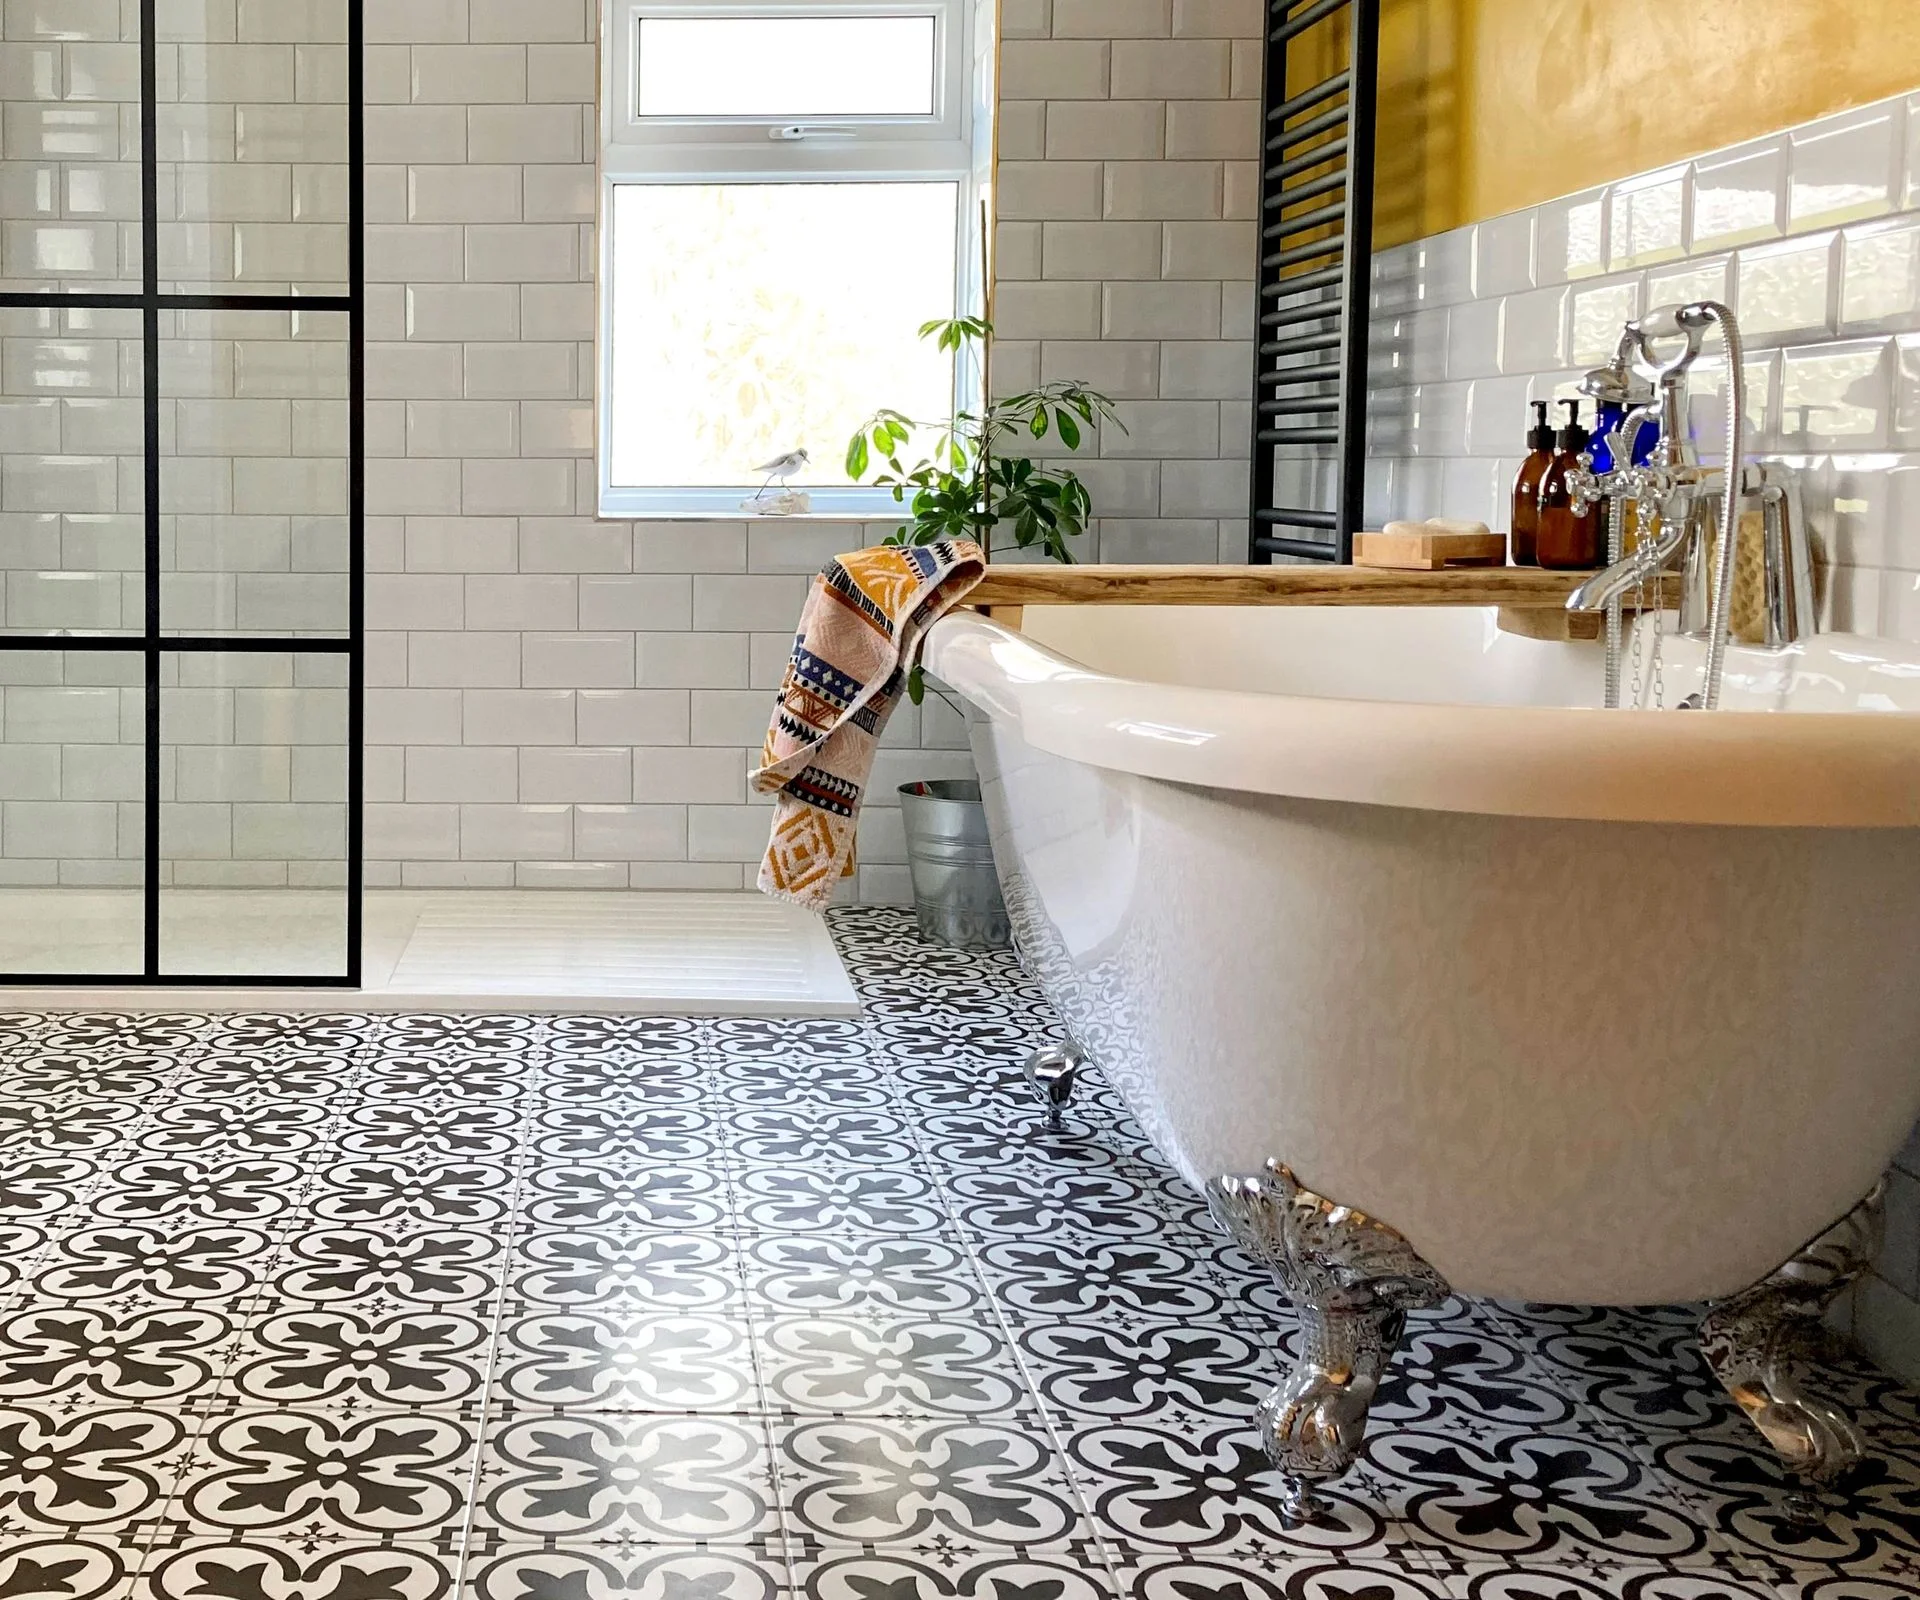
A score-and-snap cutter is useful for straight cuts in many ceramic wall tiles and thinner porcelain. It's a poor fit for every material, though: thick tiles and natural stone can split unevenly, chip at the edge or break altogether. Roberts advises choosing the cutter for the tiles in the project, and checking its capacity before purchase.
Harder floor tiles, including porcelain, typically call for a diamond-bladed wet cutter. Natural stone generally needs an electric cutter fitted with an appropriate diamond blade as well. For a range of cuts beyond straight scoring and snapping, an electric model such as the Vitrex Torque Master Power Tile Cutter may be more suitable. A heavier-duty option is the Erbauer 750W Corded Tile Cutter; wet cutters can also be hired from tool rental companies such as HSS or SpeedyHire.
Using the wrong drill bit can cause similar damage when making holes. Check the tool and bit against the tile before starting, as covered in this guide to drilling into tile.
Set trowel size for coverage
The trowel notch controls how much adhesive reaches the tile. Too small a notch can leave inadequate coverage; too large a notch can push adhesive into grout joints or make application harder to control. The required size varies with tile dimensions, adhesive and installation conditions, so product guidance should lead.
As a starting point, Russell suggests a 6mm notched trowel for small ceramic wall tiles. Medium-sized tiles installed with cement-based adhesive may call for an 8mm notch, while larger wall and floor tiles often need 10–12mm. Floors generally require a larger notch than small wall tiles, but the tile and adhesive instructions remain the deciding factors.
Mosaics need enough adhesive contact under each piece without filling the narrow joints. There isn't one notch size that fits every mosaic and adhesive: Roberts cites minimums of 4mm for BAL Rapid-Flex One and 3mm for ARDEX WA. Follow the relevant product directions and lift a tile during installation to check coverage.
Some combination trowels offer different notch sizes for walls and floors. The Vitrex Combination Wall & Floor Trowel, for example, has 6mm notches for wall adhesive and 20mm notches for floor adhesive. Those dimensions are a tool feature, not a universal specification for every tile.
Build the specification before you start
Before work begins, identify the tile material and size, the surface it will sit on, and whether the installation is on a wall or floor. Then check the adhesive's permitted uses, preparation requirements and setting time, and choose a cutter and trowel that suit the tile and the planned coverage. For layout ideas, see these guides to kitchen wall tiles, kitchen floor tiles and patterns that can make a room feel bigger.
The useful takeaway is simple: tile work depends on a matched set of surface preparation, adhesive, trowel and cutting tools. Getting those choices right before mixing adhesive can prevent failures that might otherwise appear only after the room is back in use.

Discussion
Sign in to join the discussion.