Elevate your kitchen or cupboard aesthetics with cane webbing. This guide offers a detailed, step-by-step process for installation.
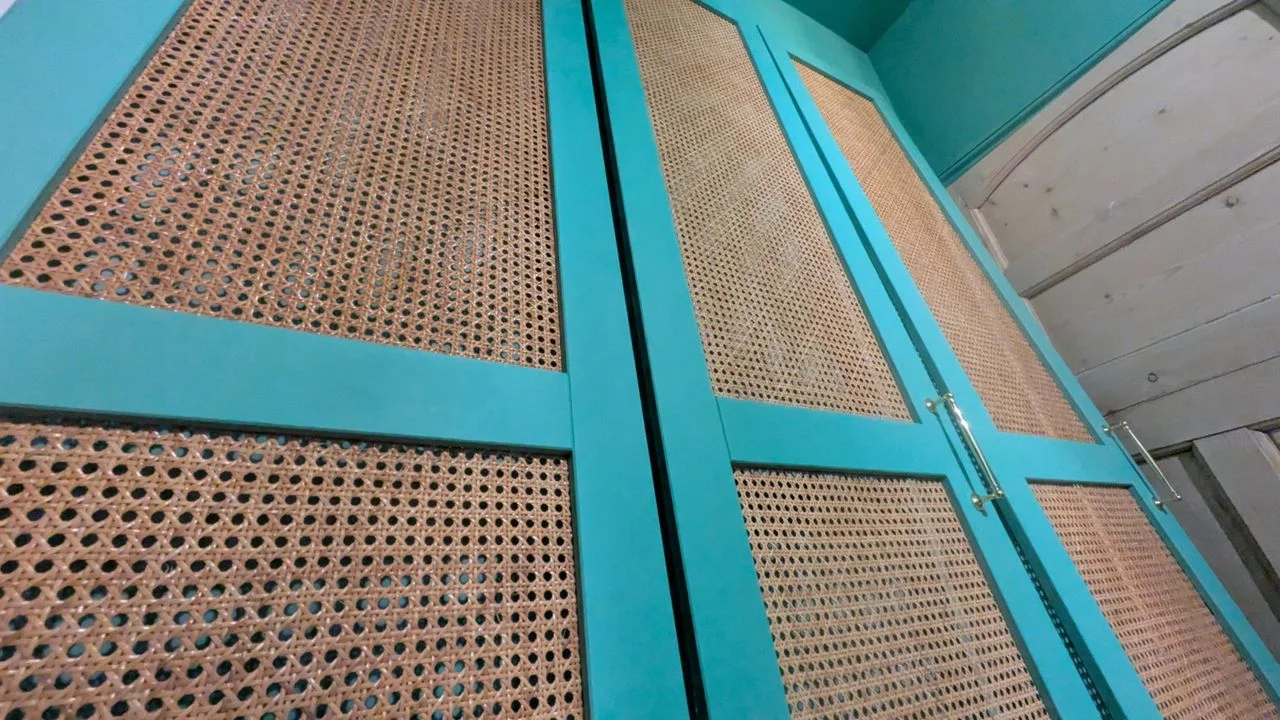
Transforming your cupboard doors with cane webbing can dramatically enhance both aesthetics and functionality. This approach not only beautifies your space but also allows for air circulation, particularly valuable for items that require a degree of ventilation. In this article, I’ll provide a detailed step-by-step guide based on my own experience, complemented by insights from professionals in the field.
Understanding Cane Webbing and Choosing the Right Type
Cane webbing, traditionally crafted from rattan, has a long history, having made its way to Europe from Southeast Asia in the 17th century. Today, you can find it produced in regions like Vietnam and Indonesia, where specialized craftspeople continue this age-old technique. When embarking on your project, it’s crucial to select the right type of cane webbing as well as the appropriate cupboard door styles for installation.
Natural rattan options tend to provide an authentic look and feel, but they can be pricey. If budget constraints are a concern, synthetic alternatives are available, which still deliver an attractive finish at a more manageable cost. Check out options like Cane Webbing on Etsy or ALLINKIT Cane Webbing from Amazon.
Ideal Styles for Installing Cane Webbing
Cane webbing can enhance various styles of cupboard doors, particularly:
- Doors with cut-outs: Here, the webbing is attached peripherally to fill the space.
- Shaker-style doors: The webbing can be affixed directly to the solid panels.
Tools Required for Installation
Installing cane webbing doesn’t require an extensive toolkit. Here’s a concise list of essential tools and materials:
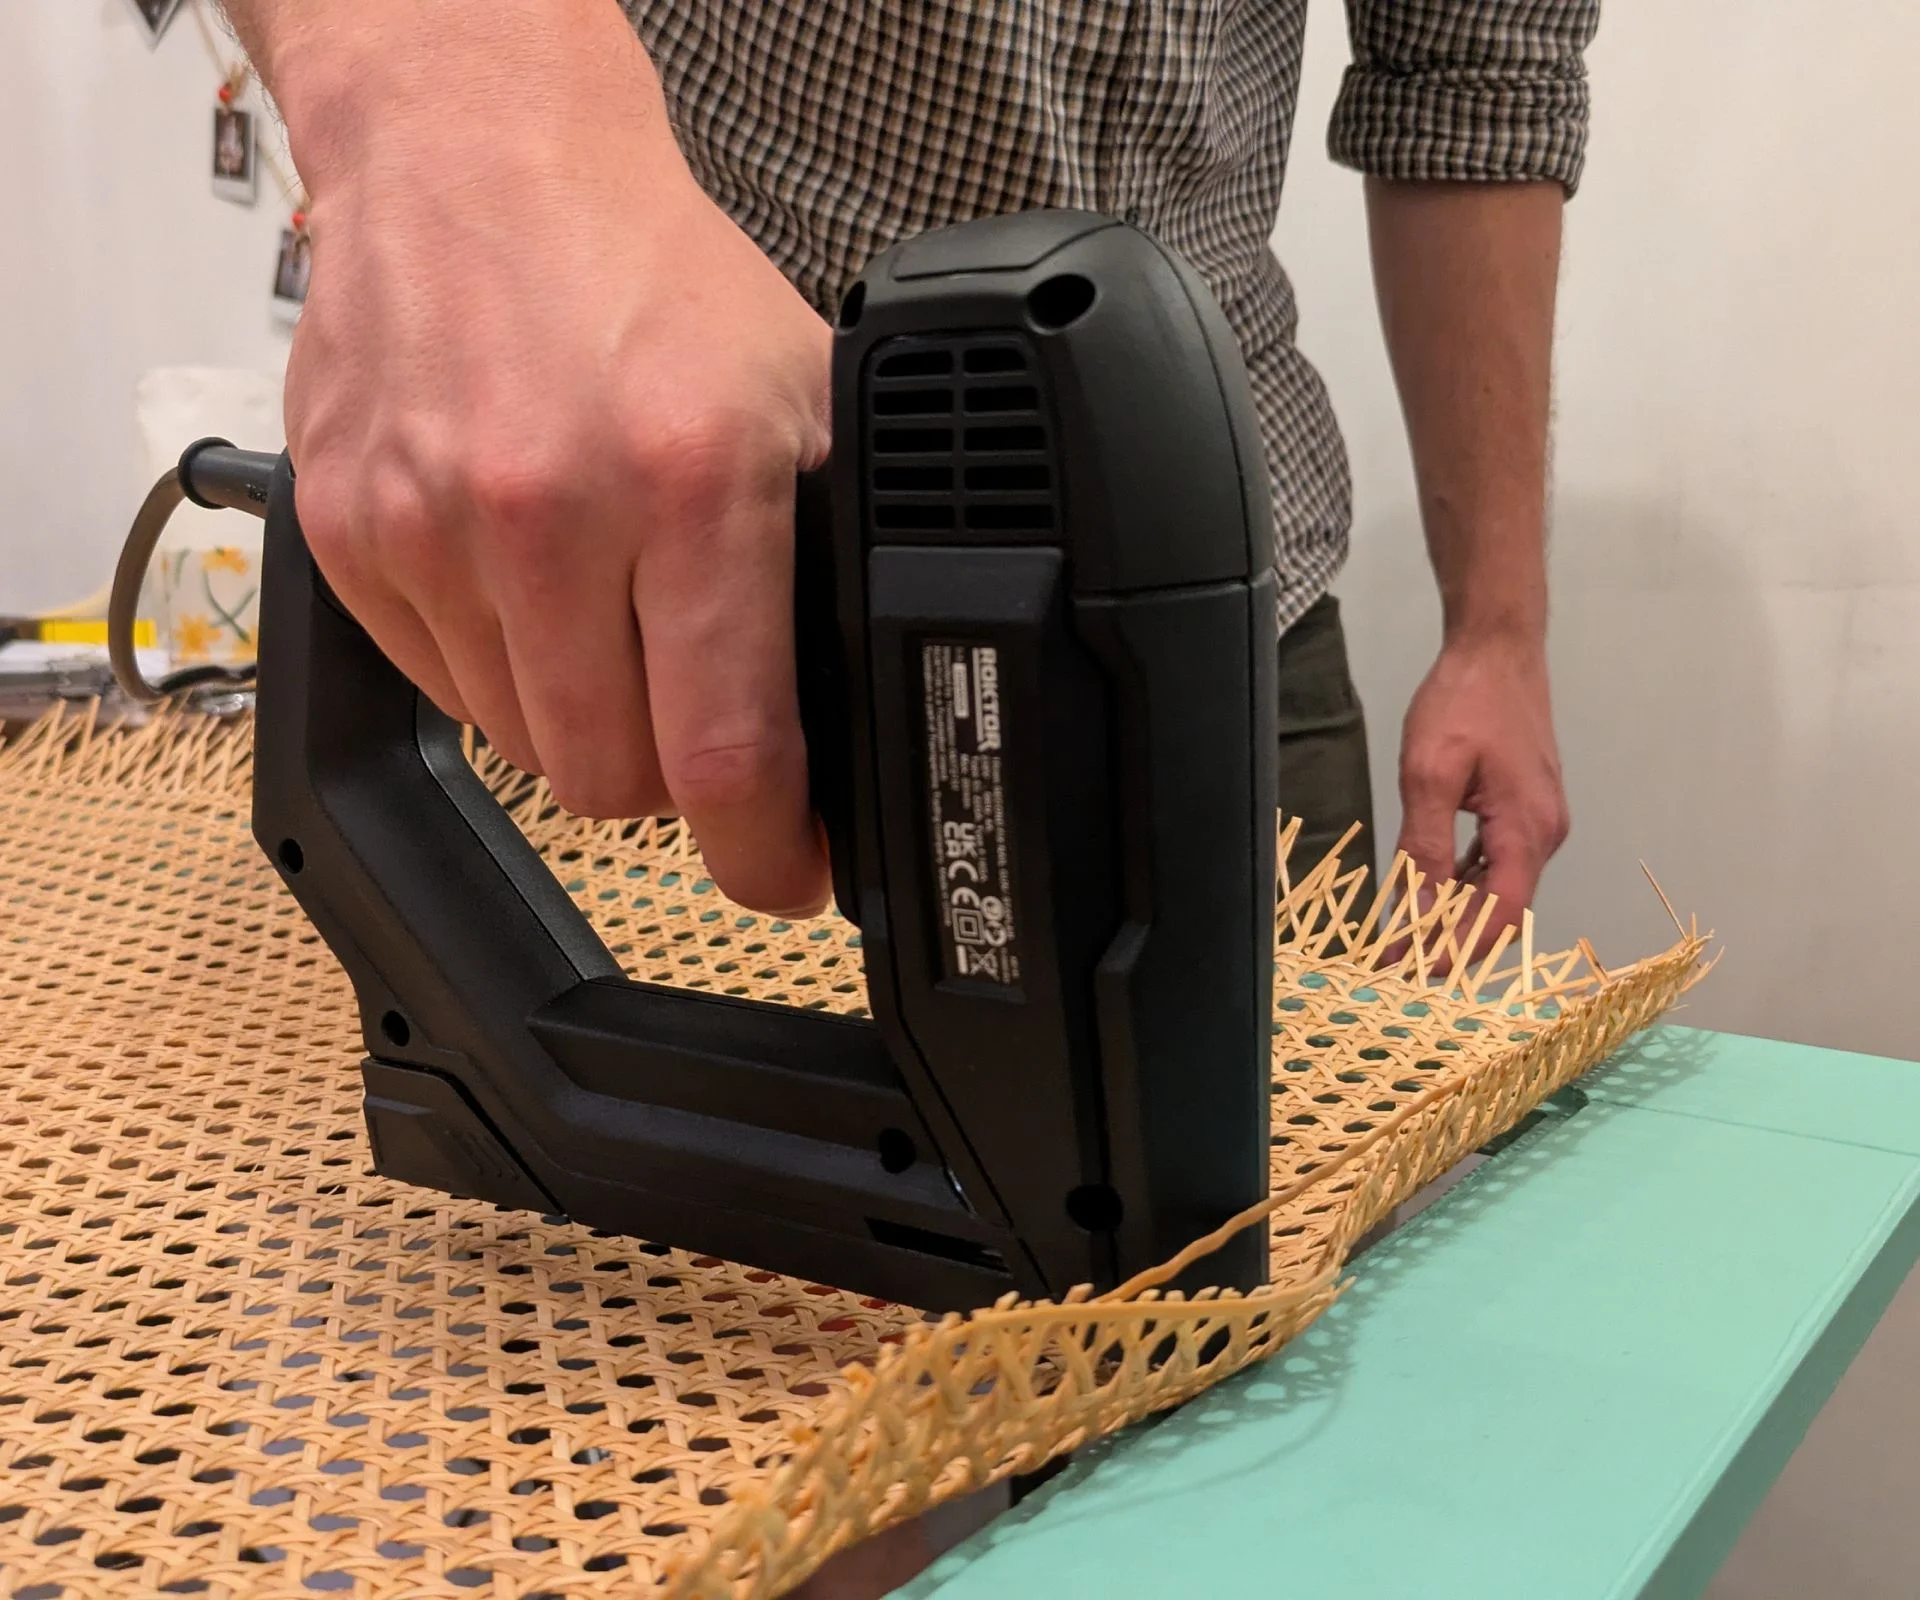
- Staple Gun: A 15mm Electric Staple Gun is perfect for the job, allowing for easy attachment.
- Staples: A pack of heavy-duty staples such as the Tacwise 0350 Heavy Duty Galvanised Staples will ensure you have the right size for your project.
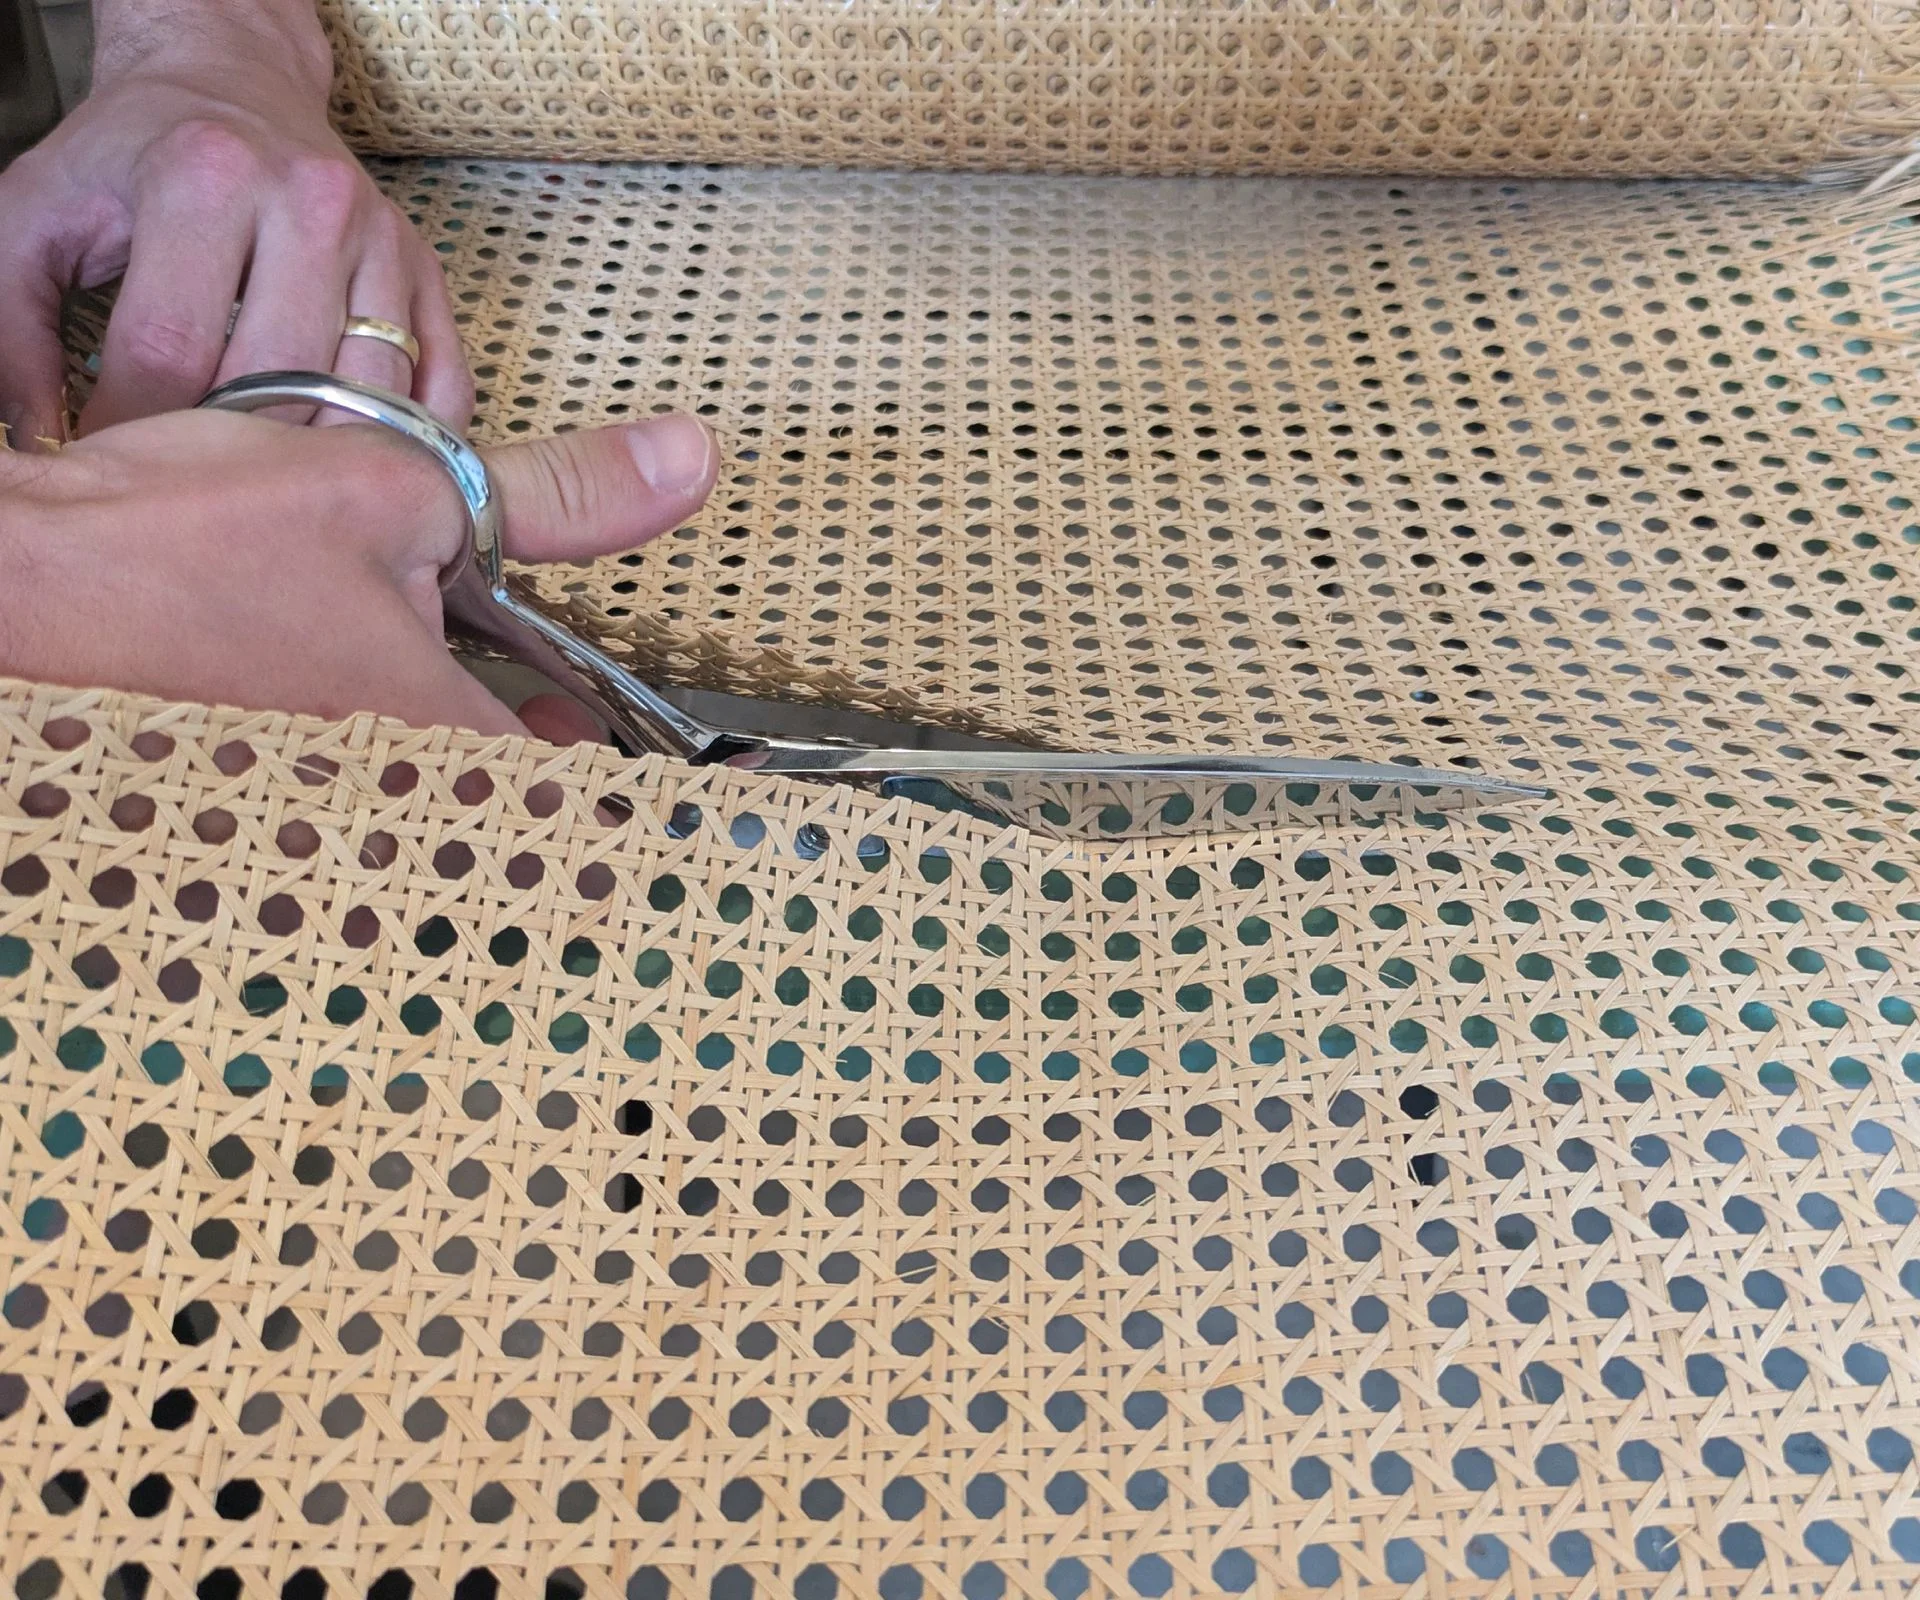
- Shears: For precise cutting, high-quality shears, like the 10 Inch Sidebent Tailor Shears, are ideal to achieve a clean edge.
A Step-by-Step Installation Process
1. Cutting the Cane Webbing to Size
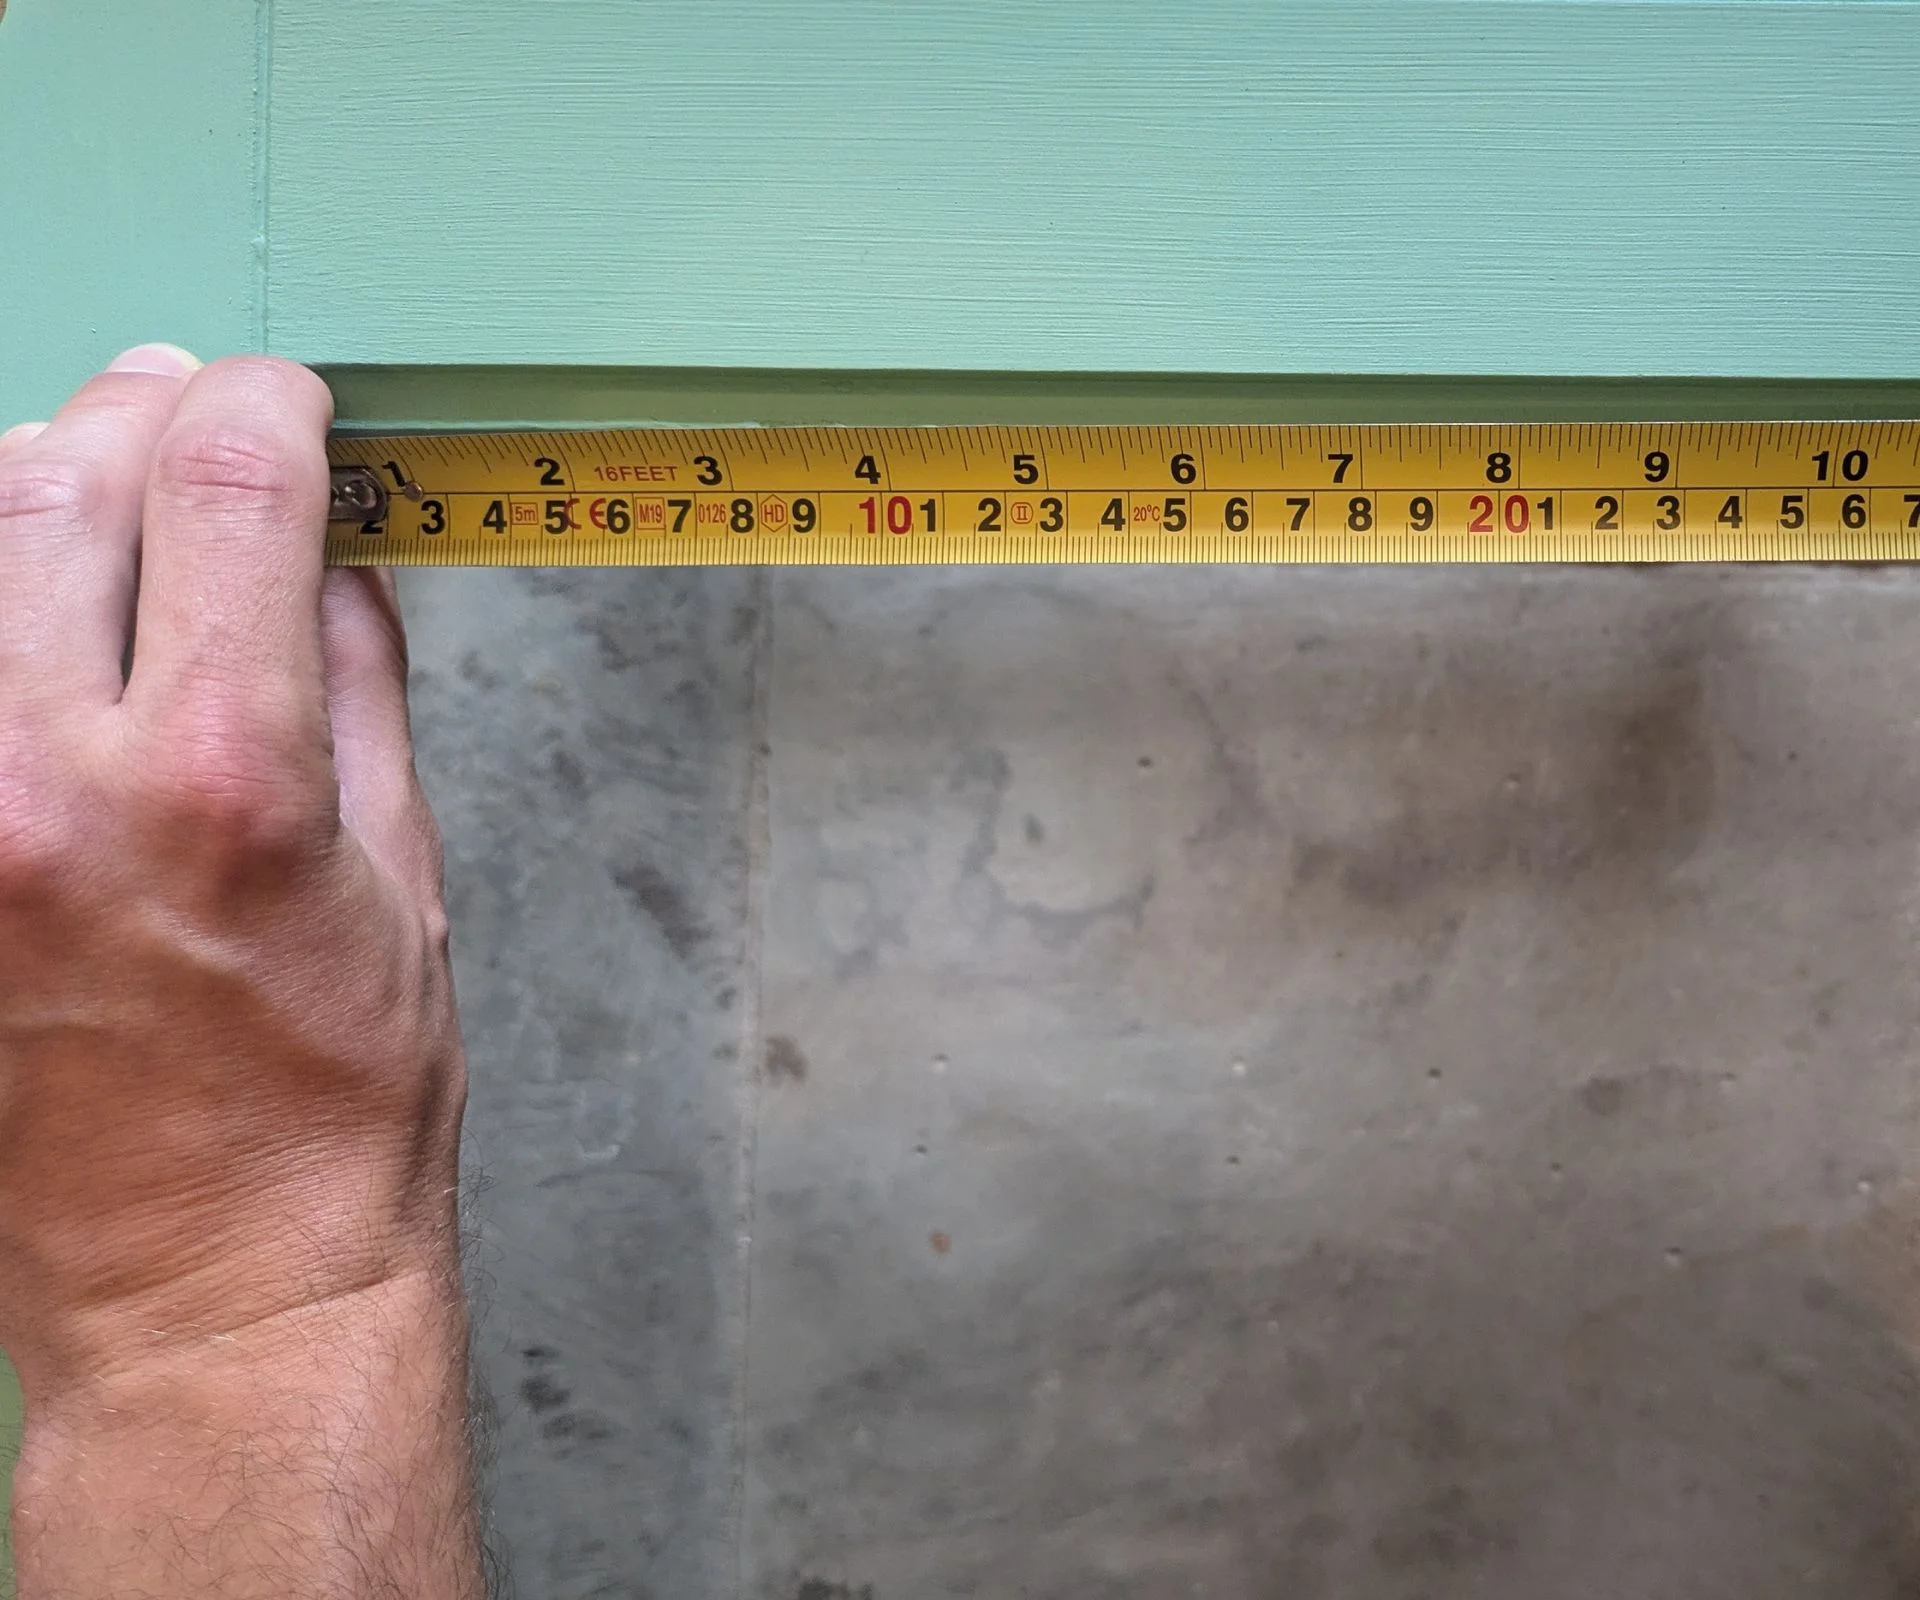
The first step involves accurately measuring the cut-out spaces on your cupboard doors. It’s essential to purchase enough webbing, allowing for an additional 5 cm on each side to ensure a secure fit. Once it arrives, carefully cut the webbing to size, making sure to double-check your dimensions as Oliver Bryan, director of Foxstow Kitchens & Cabinetry, emphasizes the importance of allowing for an overflow while cutting.
2. Soaking the Cane Webbing
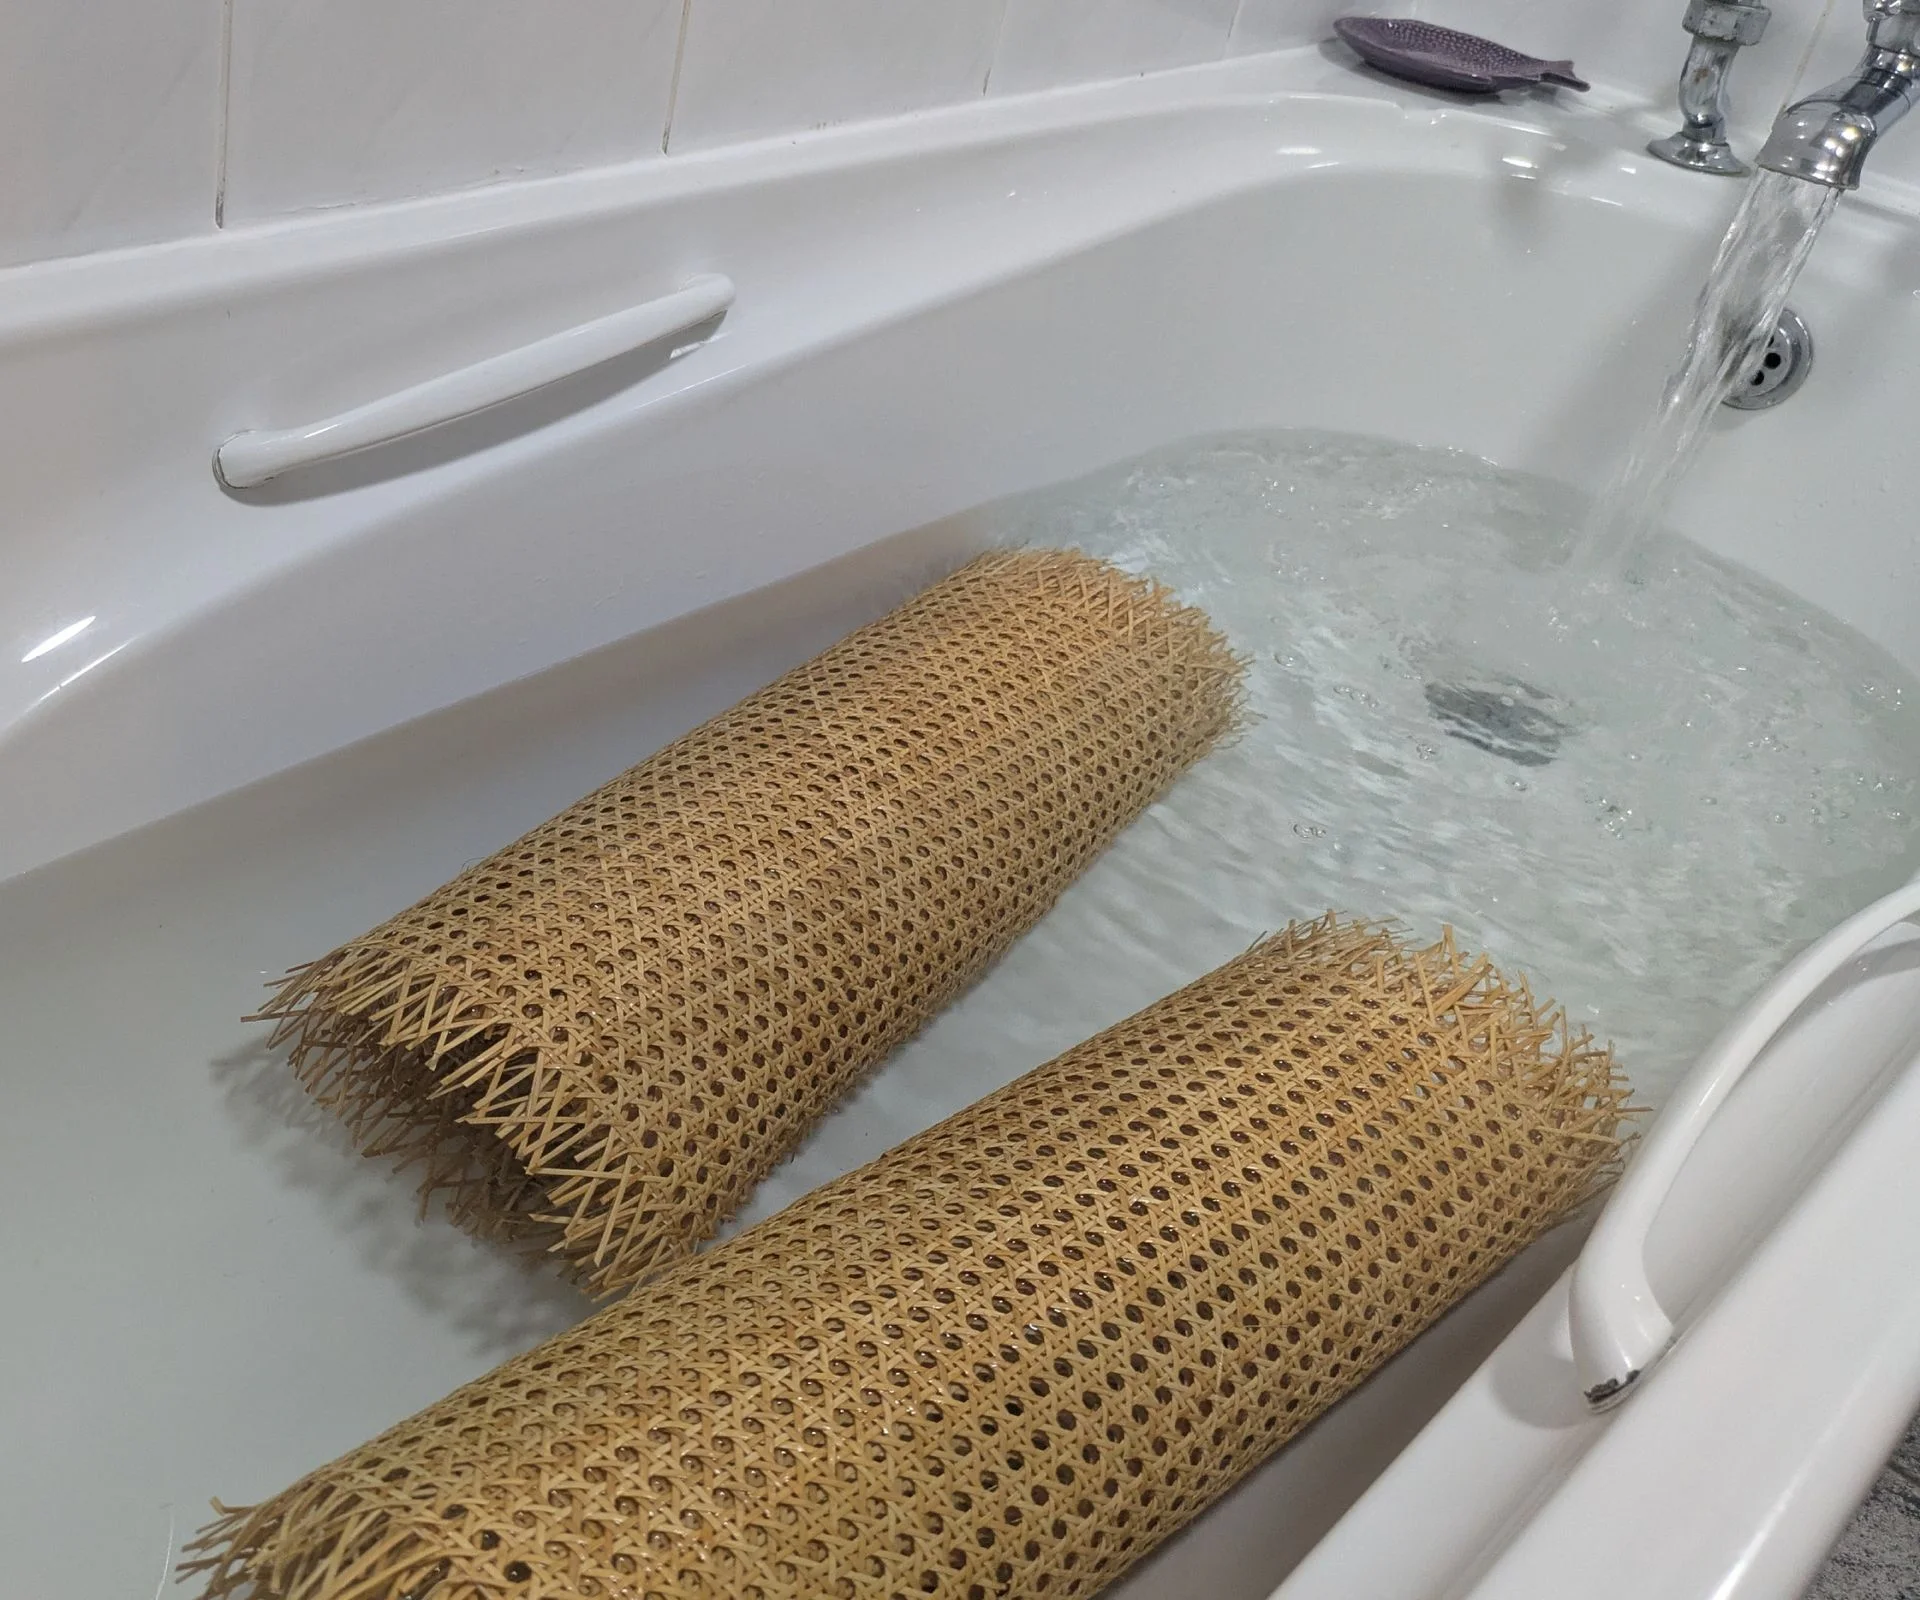
Your next step is to soak the cane webbing. This process makes the material more pliable, decreasing the risk of breakage and ensuring it fits tightly once installed. Typically, soaking for about 20 to 25 minutes in lukewarm water works best, as suggested by Oliver. Rolling it up prior to submerging ensures even soaking.
3. Attaching the Webbing
If possible, remove your cupboard doors to work on a flat surface. Adhering the cane webbing requires precision; ensure the weave is correctly aligned. Once set, use a staple gun to affix the webbing, aiming for one staple every few inches. A tested technique is to start with one shorter side, followed by both longer sides, and finally the remaining shorter side for a clean finish.
4. Final Touches
For enhanced stability and a polished appearance, consider gluing narrow wood beading around the edges of each cut-out. While this step may not be necessary for all installations, it can provide additional support for securing the webbing. Be careful when trimming off the excess cane webbing, as precision matters—the aim is a neat finish without damaging the material or the door itself. Allow the webbing to dry completely—approximately 4 to 8 hours—before reattaching your cupboard doors.
Pros and Cons of Cane Webbing
The allure of cane webbing lies in its blend of beauty and practicality. Many homeowners appreciate its organic charm and texture, which can enliven the typically flat surfaces of cupboard doors. When applied thoughtfully, it offers both aesthetic gratification and functional benefits, such as improved airflow in spaces that house electronics or less-used items. As Samantha-Jane Agbontaen, an interior designer, points out, cane webbing not only aids ventilation but also enhances the home’s natural texture.
However, it’s crucial to acknowledge the downsides. The cost of natural cane webbing can be significant, ranging from £10 to over £70 per square meter. Furthermore, maintaining clean cane webbing can be laborious due to its tendency to attract dust and dirt within the weave.
Addressing FAQs
Can I Fit Cane Webbing Without Much DIY Experience?
While installing cane webbing on cupboard doors can be managed by DIY enthusiasts, achieving a professional finish typically requires skill and attention to detail. As emphasized by Oliver Bryan, simpler projects often hide intricate elements that demand precise craftsmanship to ensure consistent quality across multiple doors. If you're inspired after completing your cane webbing project, consider further enhancing other elements of your home, from hidden utility room entrances to outdoor patio access solutions.

Discussion
Sign in to join the discussion.